|
|


 08-14-2006, 03:18 PM
jup, Creepy CrawlerOriginally Posted by ILikeMud
 08-30-2006, 02:50 PM
Since Dutch Jeep Camp 2006 originaly scheduled for early september, then canceled and now rescheduled for late oktober.
I thought, well that must be possible so get at it.
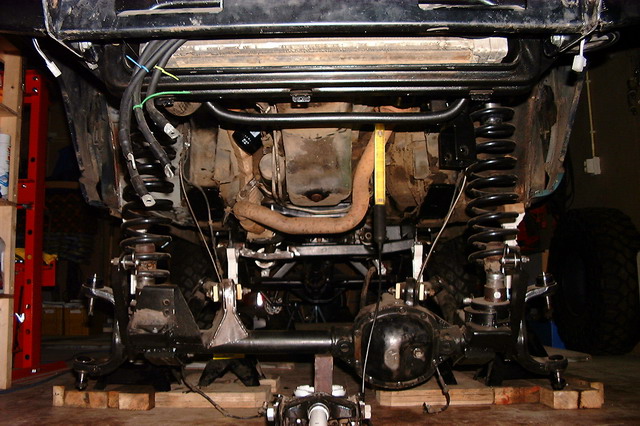
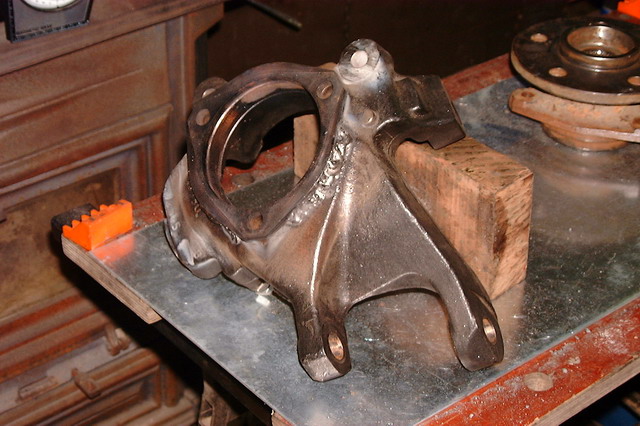
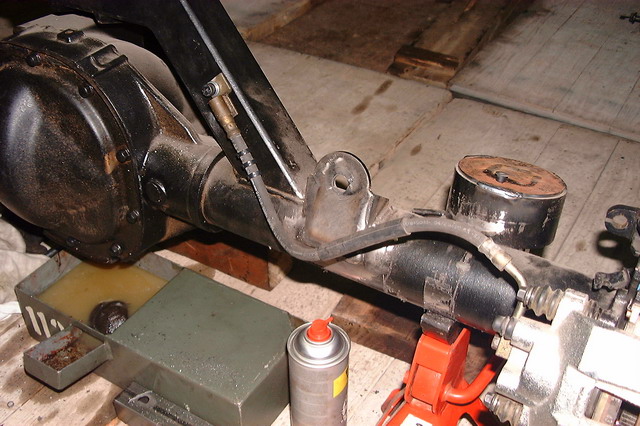
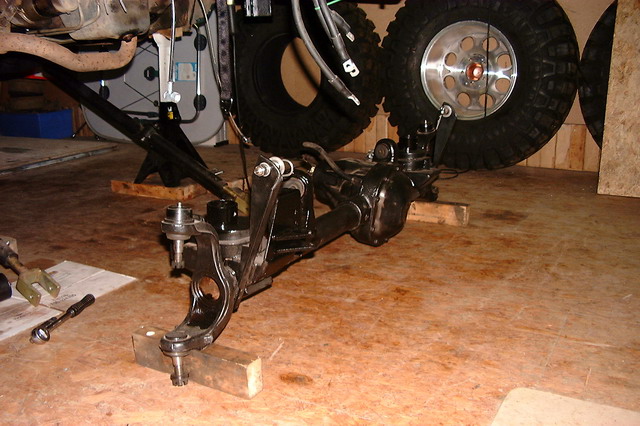
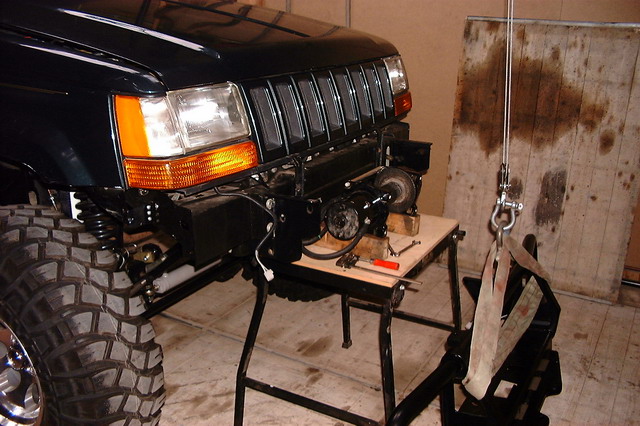
Took out the front axle
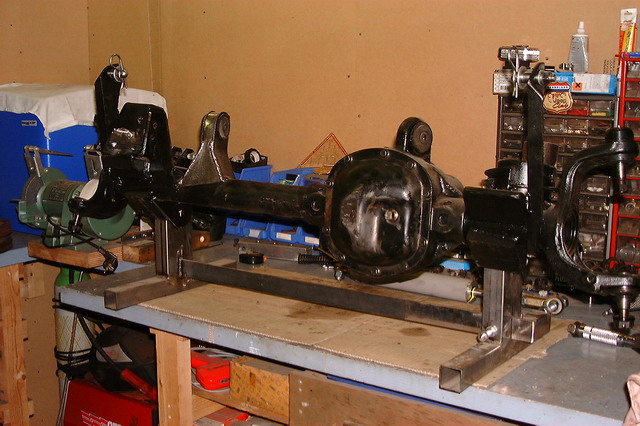
Got it on the bench
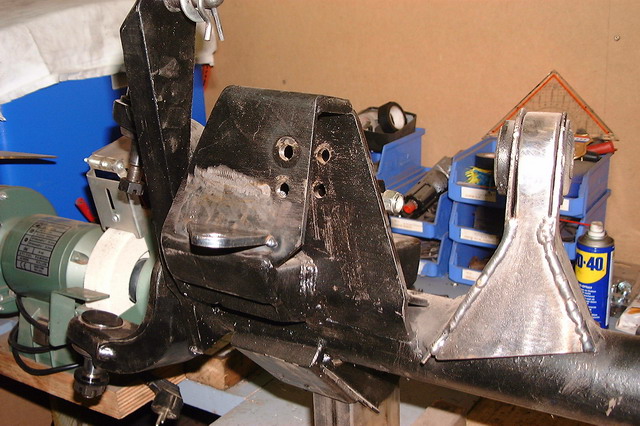
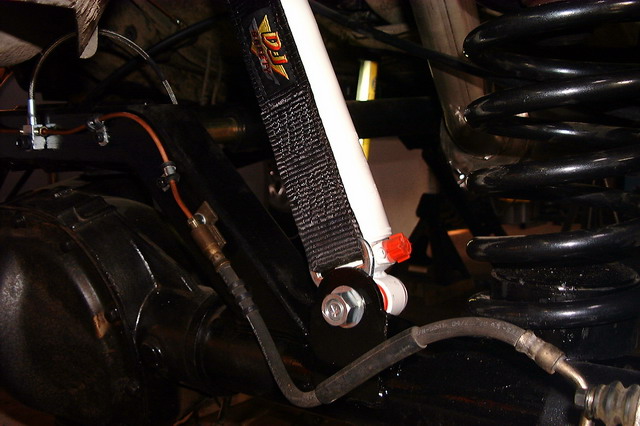
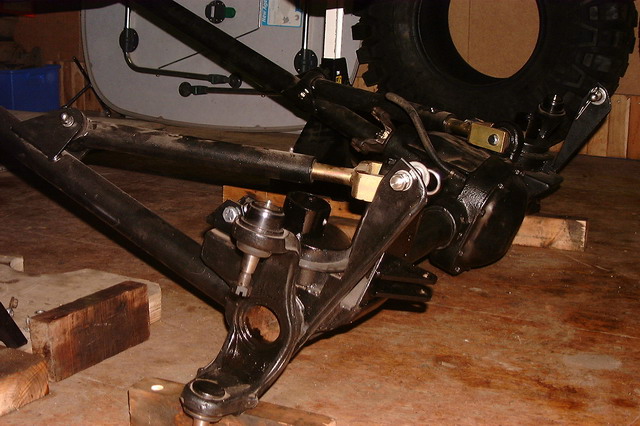
To finish the upper CA mount and the tabs for the hydro assist
Done.
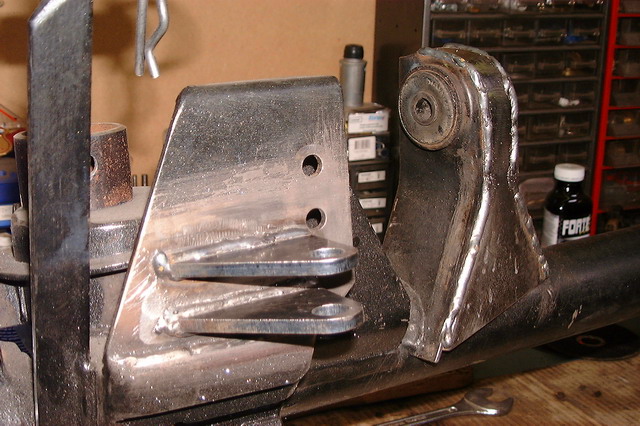
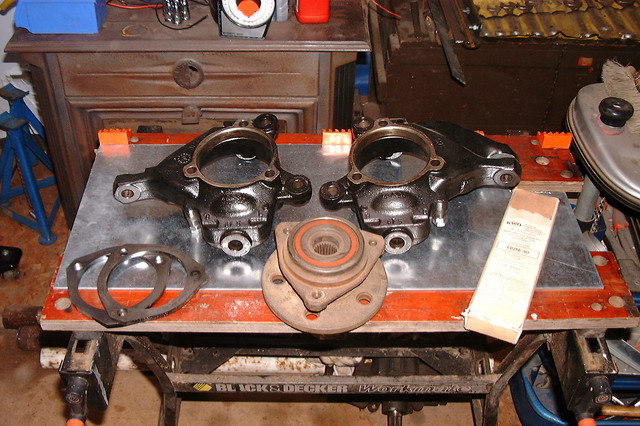
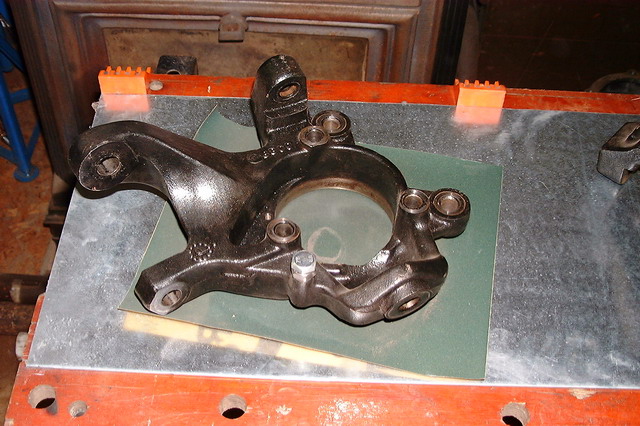
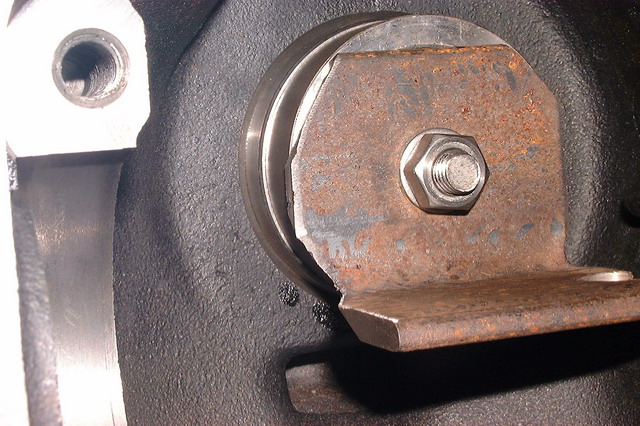
Other issue to be done, welding the spacers on the wj kuckles to get the u-joints inline withe the ball-joints.
That will acquire stick welding with a nikkel rod
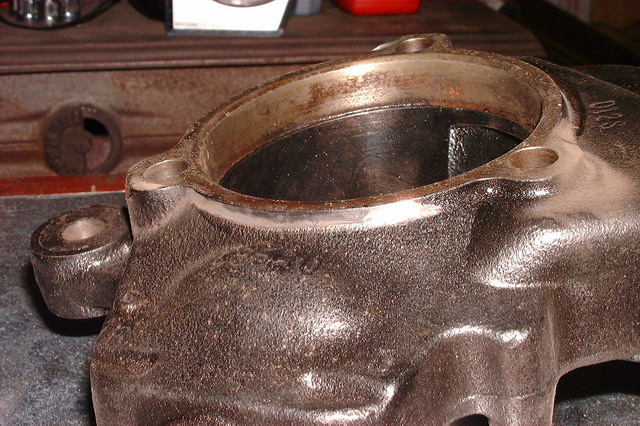
Cleaned the surface
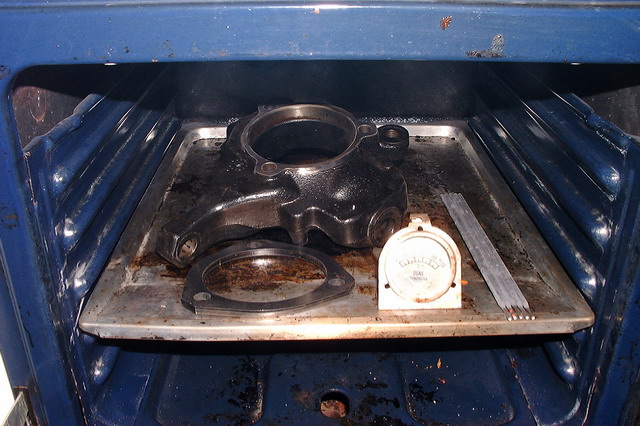
Put it in the oven for an hour at a little over 500
Started welding, but not really happy with the result, so that is gonna need some more attention
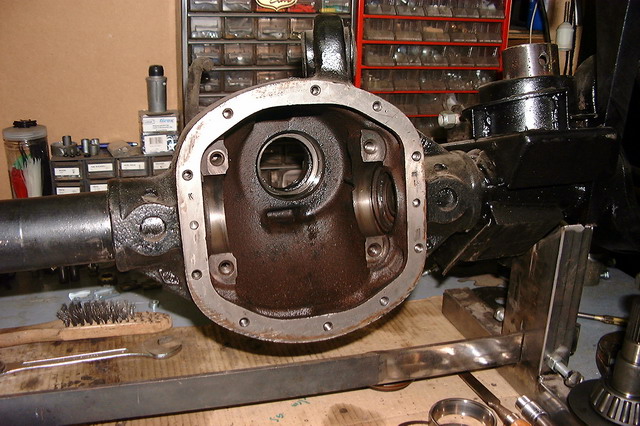
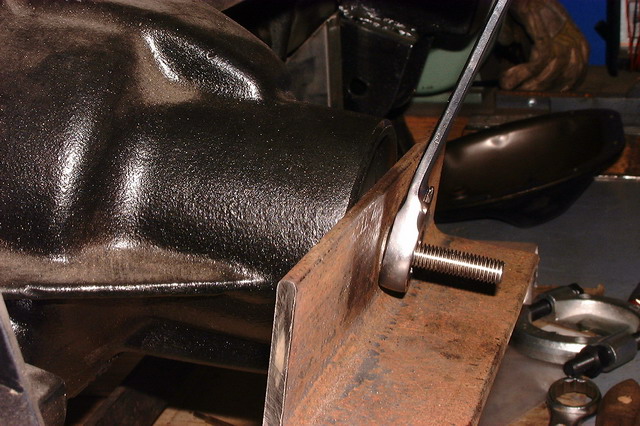
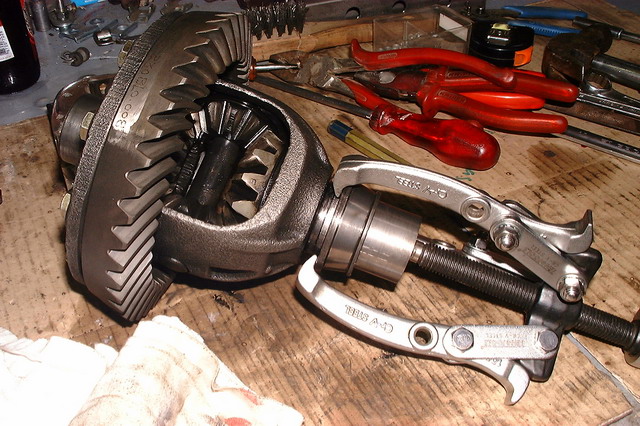
Other thing on the front to do is changing R&P
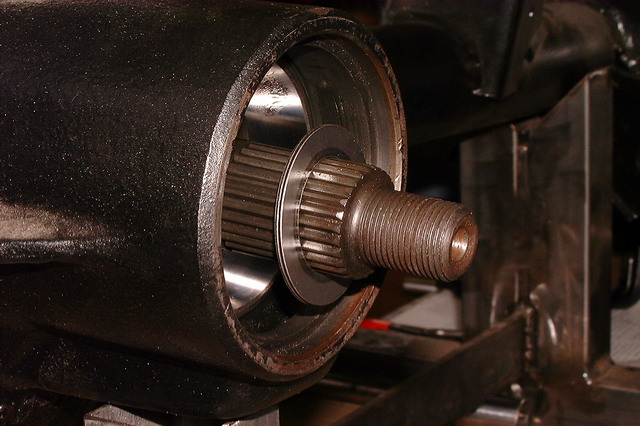
Empty axle and all what came out off it
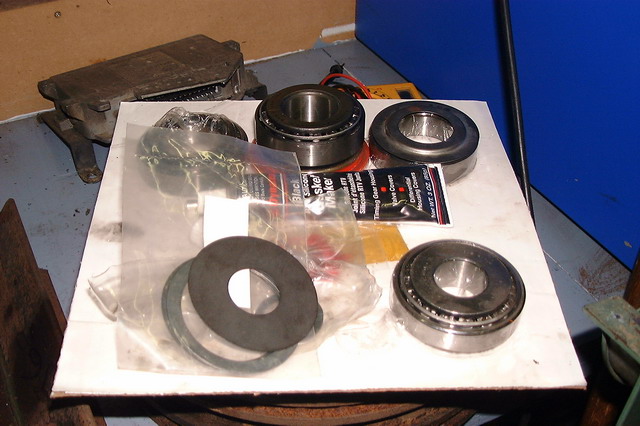
Overhaul kit
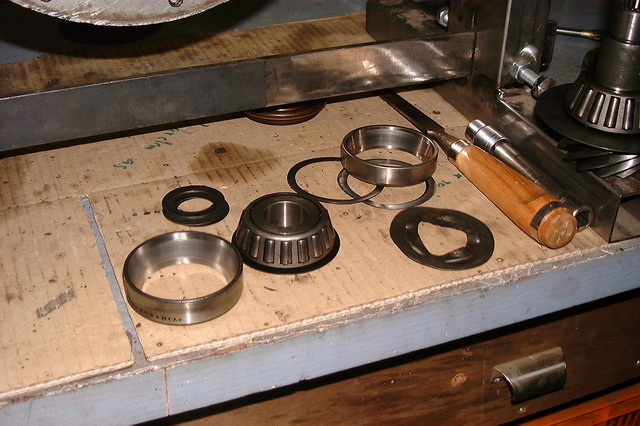
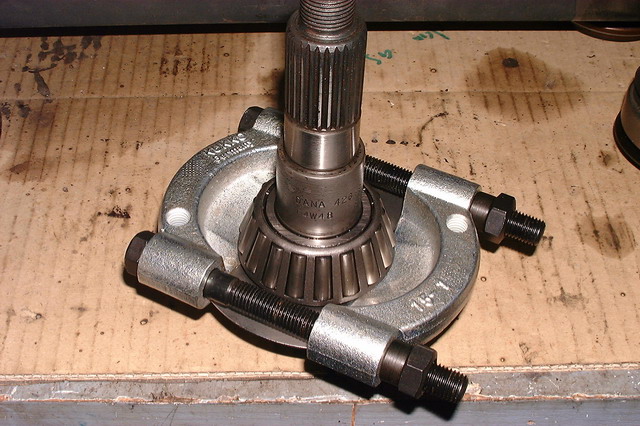
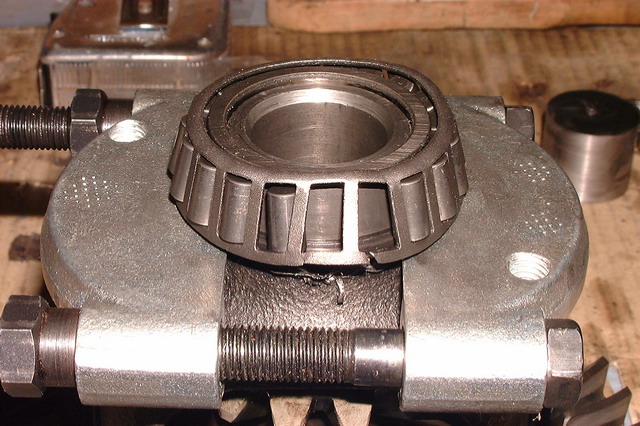
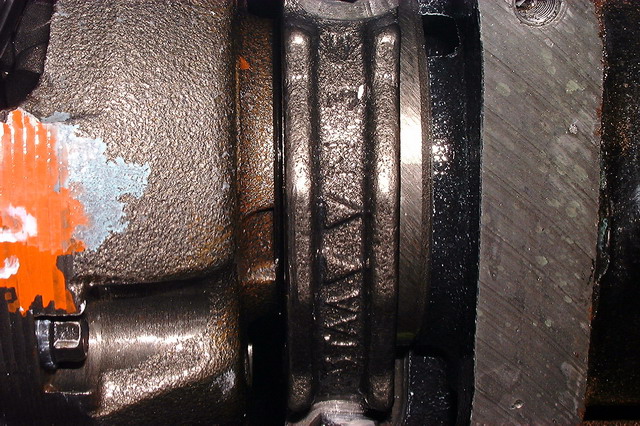
Used a knife puller the get the pinion bearing going,
On to the press, just to get the oil slinger out to reuse it.
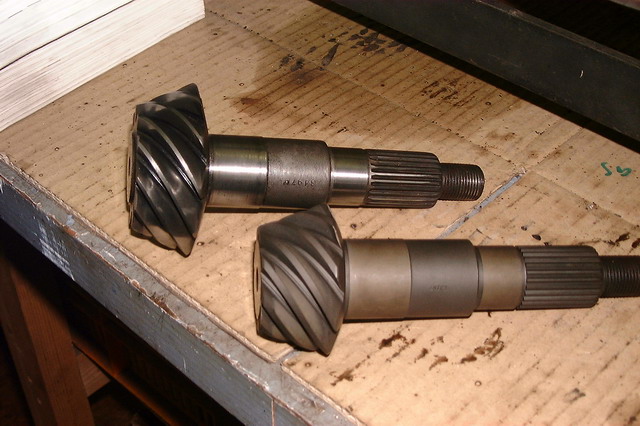
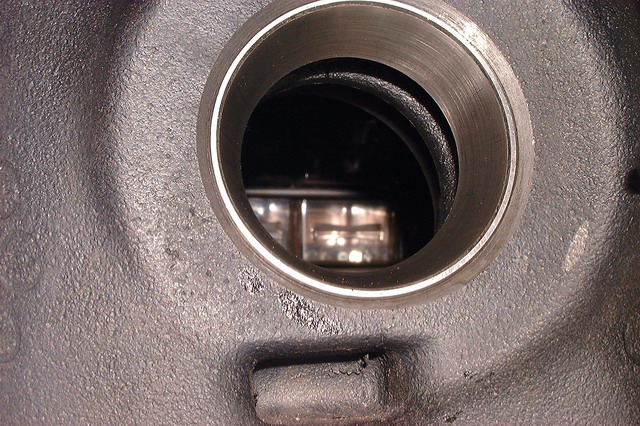
3.73 vs. 4.56
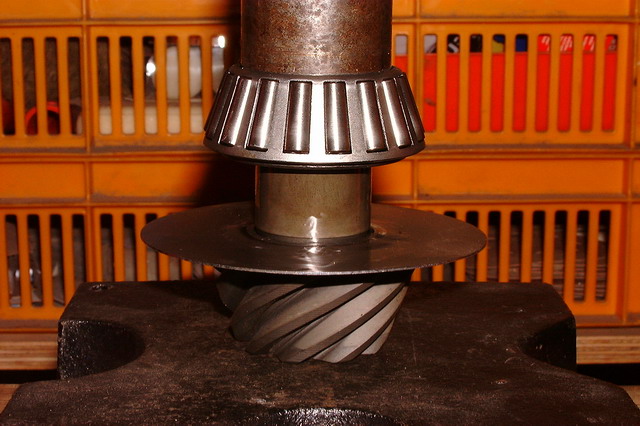
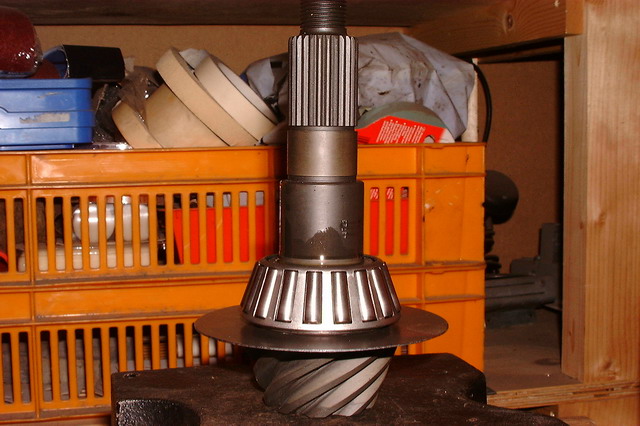
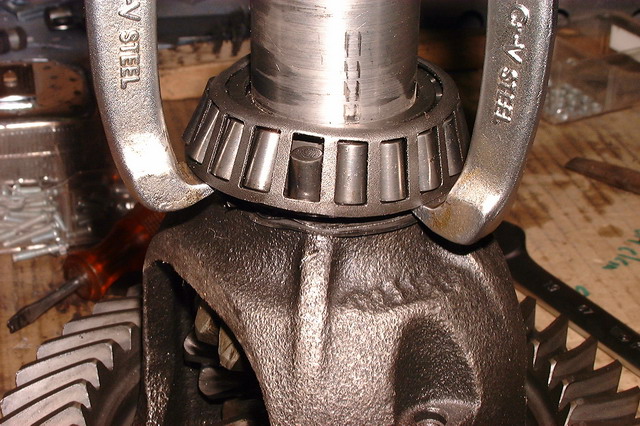
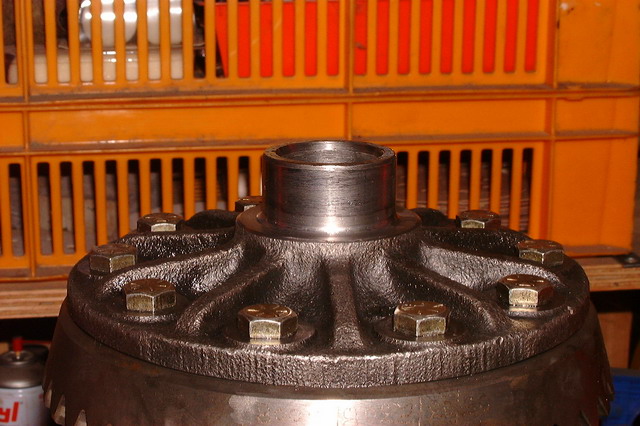
New bearing with old oil slinger pressed in place.
After the nescesary math adjusted the shimpack thickness and pressed the bearing housing in
Next time ringgear and more.
Last edited by ogdak; 12-14-2006 at 03:31 PM.
 08-30-2006, 03:13 PM
Coming along nicely. Can`t wait to see it all finished.
09-16-2006, 03:53 PM
He,
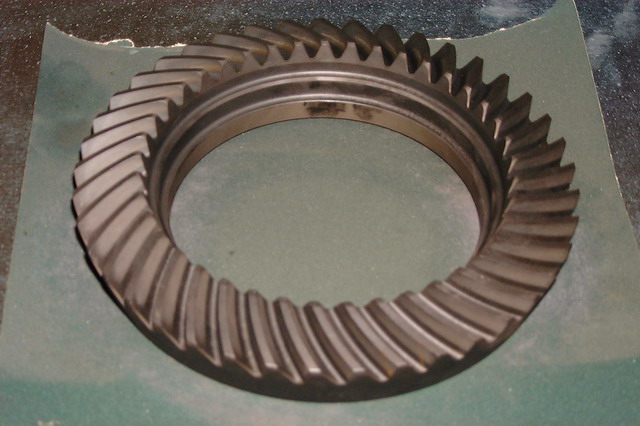
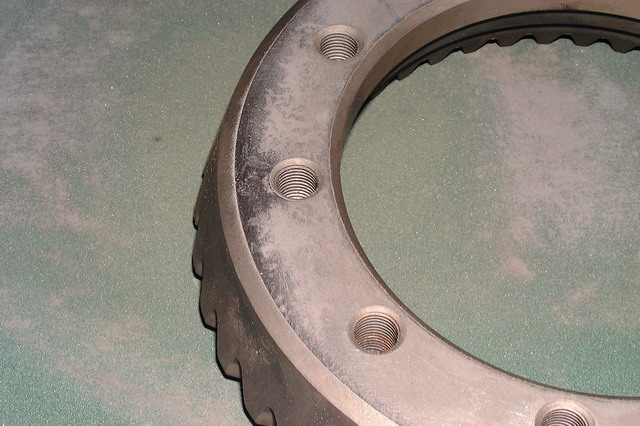
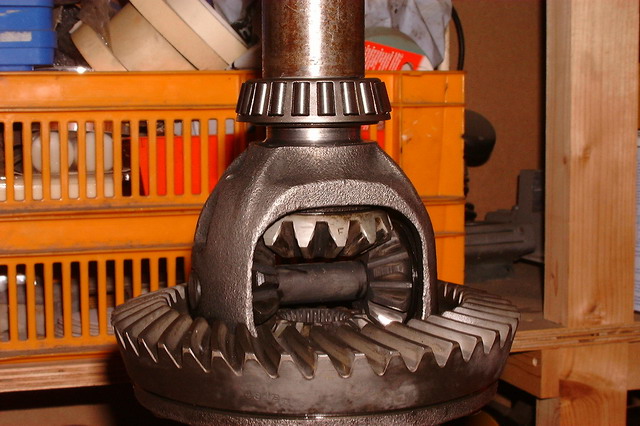
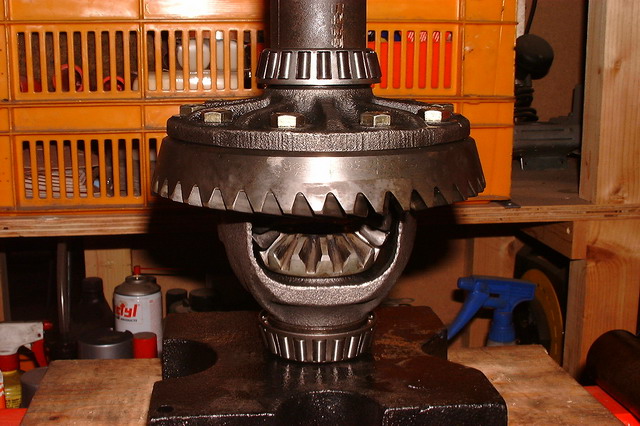
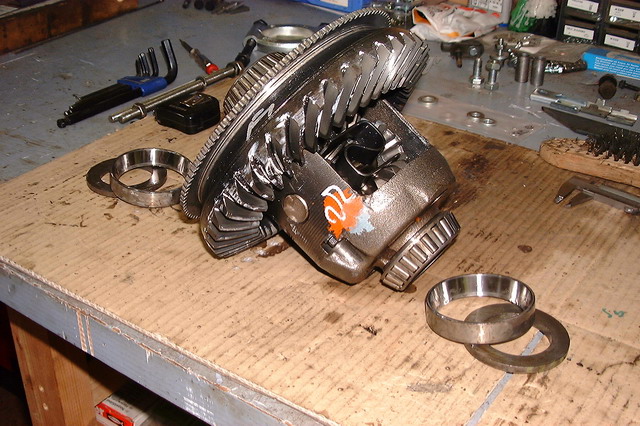
Like said, on with the ring gear, cleaned the surface
New bolts
Old bearings removed, did not come off easy
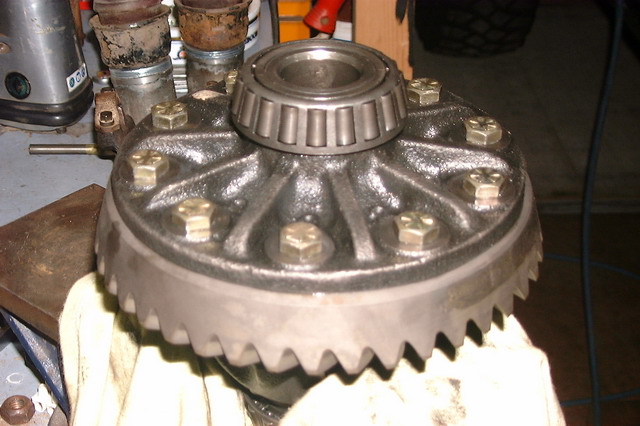
But got it done
New bearings on, now the shims are on the outside, much easier to adjust
Most time consuming must have been to get the preload right with these kind off shims.
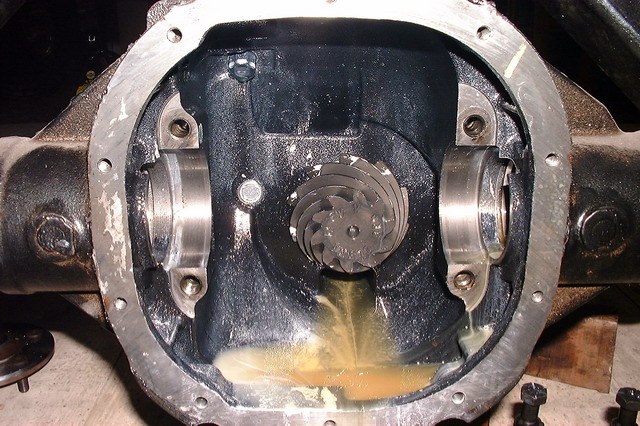
On to the 8.8
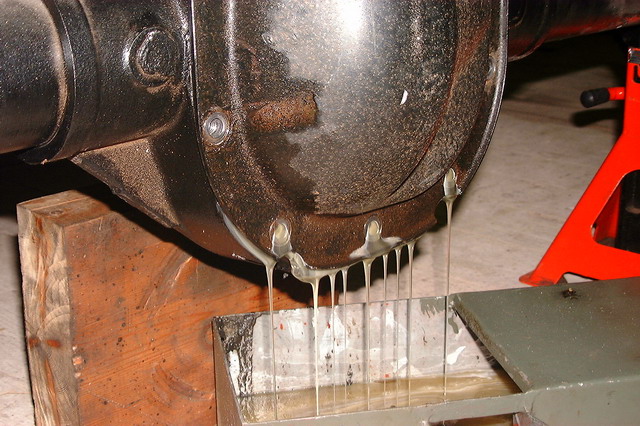
Fresh gear oil out, it is a new axle but with the wrong 4.10 ratio
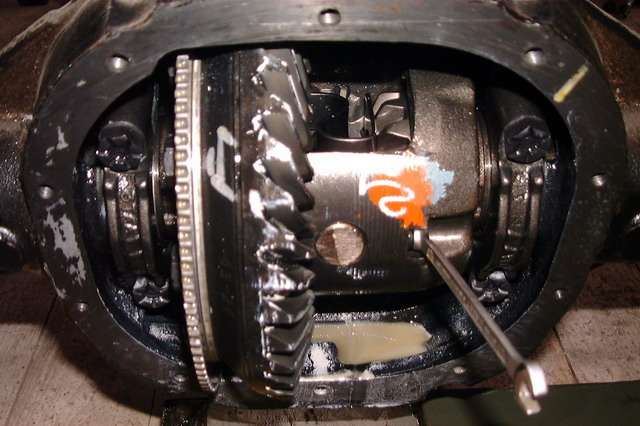
pinion mate shaft out to clear the axle's
Oem shims out off one piece, just a very slight difference between left
and right
Wow. lot off space in there
To clearify what goes where
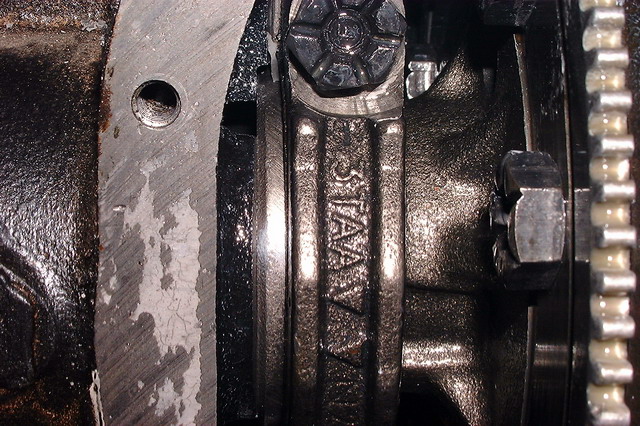
4.10 off
4.56 on, then the pinion mate shaft does not fit anymore
But that is discussed here
On the left the 4.56, just 1 teeth less
Did not make anymore R&P pic's, 8.8 went smooth.
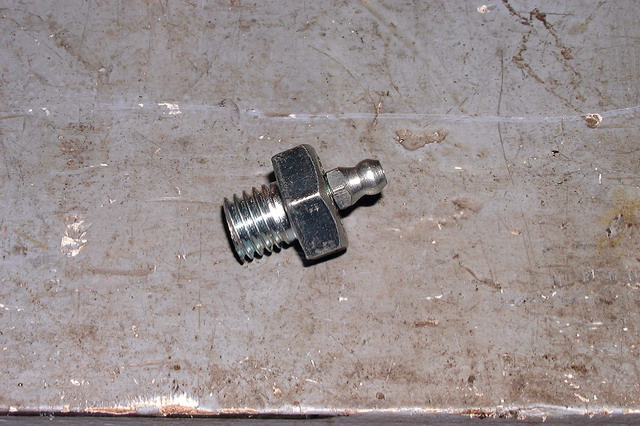
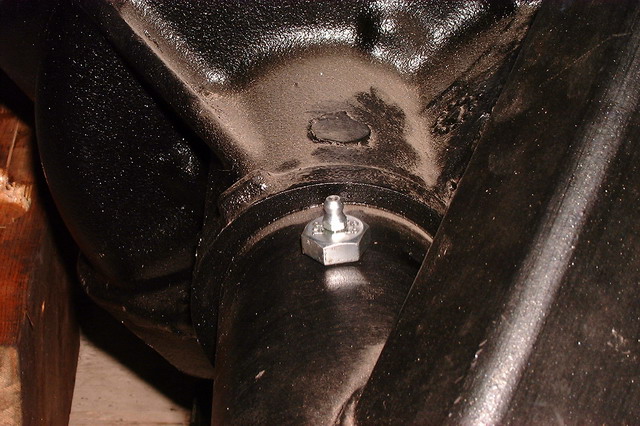
Did make a new airvent on the 8.8
Driled out a M10 bolt and fitted in a drilled out grease nipple
Just need a piece off tube on it.
All for now, enjoy
Last edited by ogdak; 12-14-2006 at 03:33 PM.
 09-17-2006, 12:01 AM
this may have already been asked, but what do you do for a living ogdak? your fab skills and work quality are awsome. keep us updated.
09-17-2006, 12:17 PM
Thnx
I´m in ICT.
 09-18-2006, 12:31 PM
With the grease zerk air vent, did you remove the little metal ball in it? Or have one without that ball in it? Otherwise, it isn't going to vent. Otherwise, looks good.
09-18-2006, 02:44 PM
thnxDriled out a M10 bolt and fitted in a drilled out grease nipple
 09-18-2006, 05:22 PM
Cool idea with the zerk vent.
Looking very nice!
-Tim
09-19-2006, 12:14 PM
Totally missed that, sorry.
09-21-2006, 02:20 PM
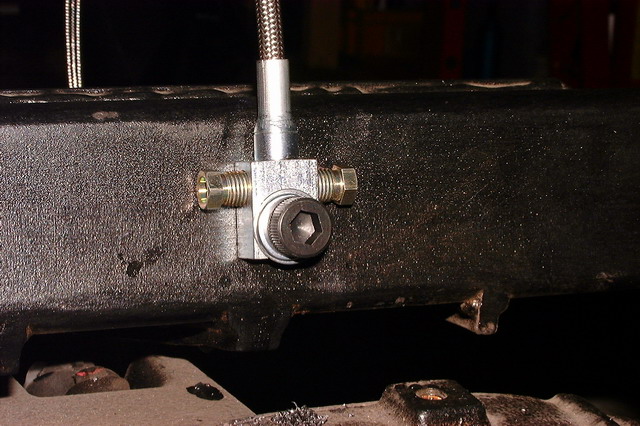
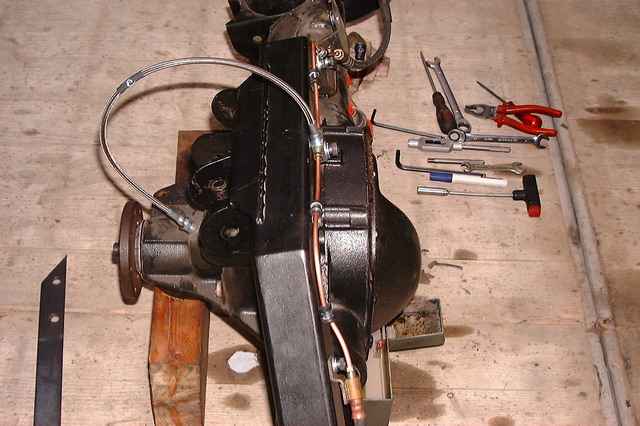
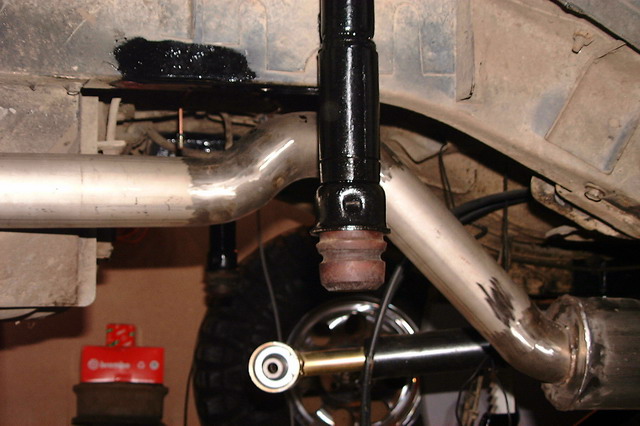
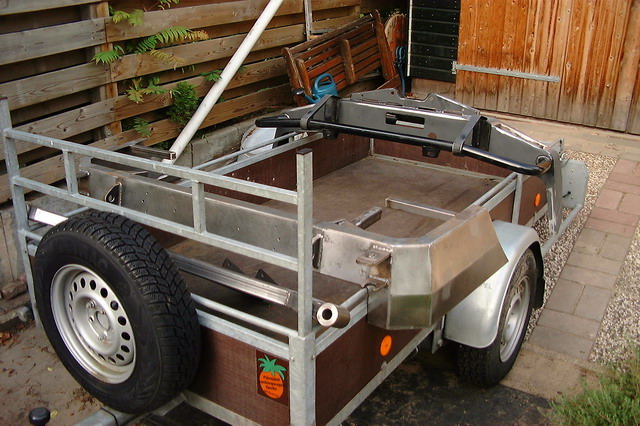
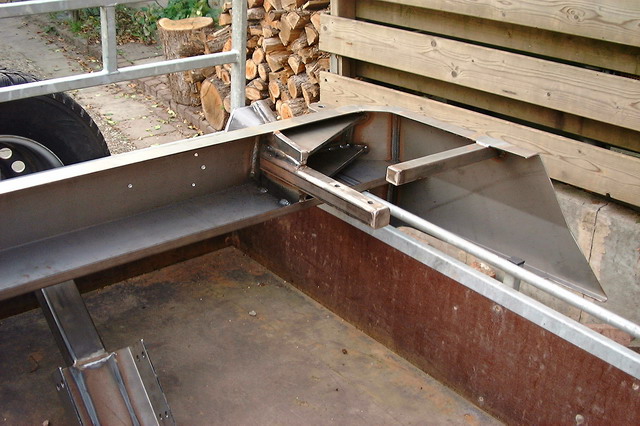
About time to hook up the brakes.
Reused the front flex brakelines in the rear.
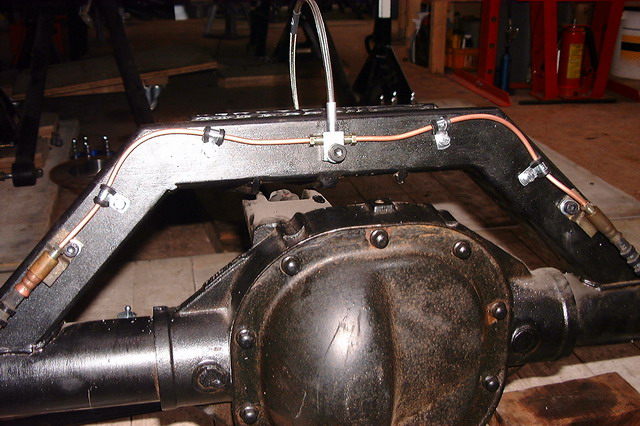
"T" section in the middle off the truss.
Some pieces off new hardline and a handfull off clamps.
Still had to paint here and there, also done now.
Every now and then, stock rim's come in handy.
Extended the fixed brake line
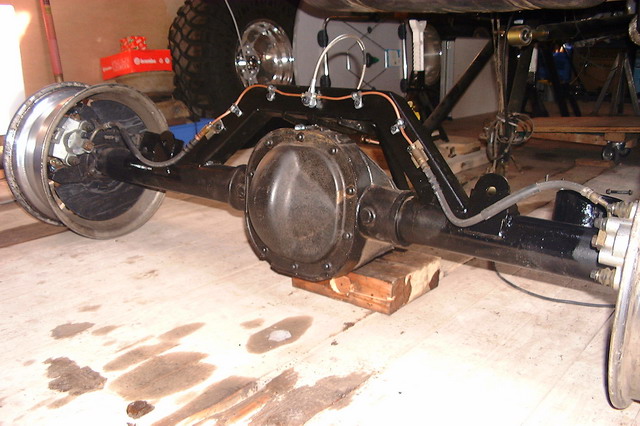
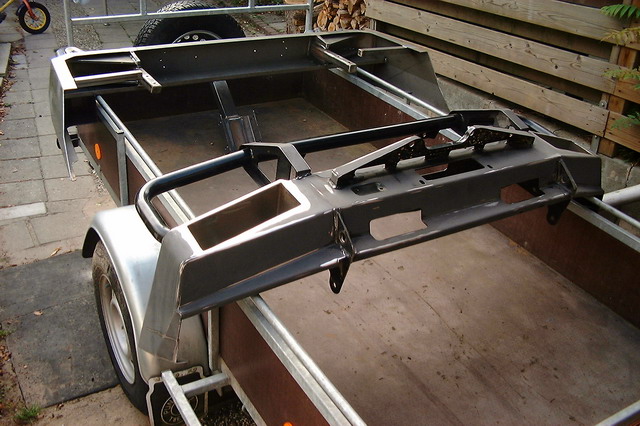
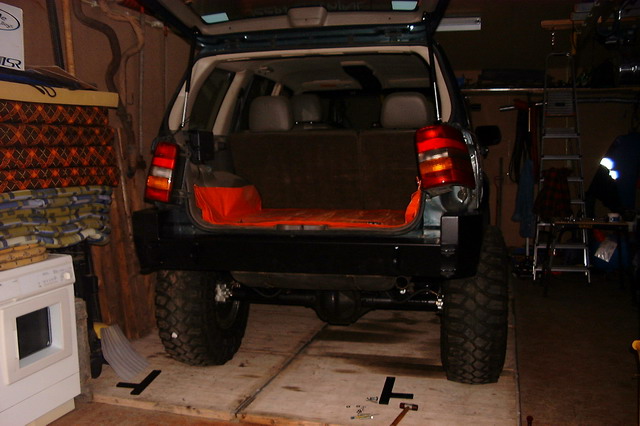
Painted some other stuff, then finally time to start putting things together.
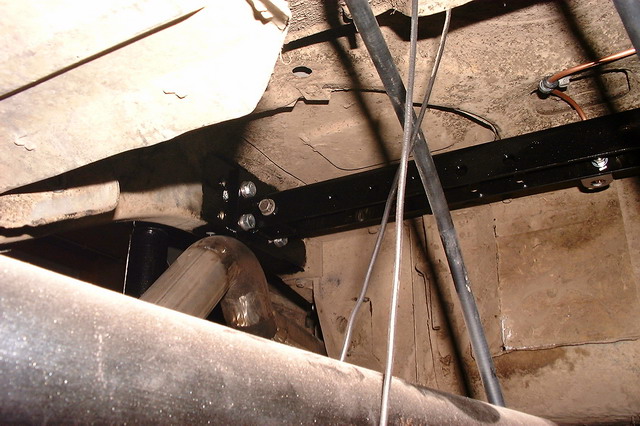
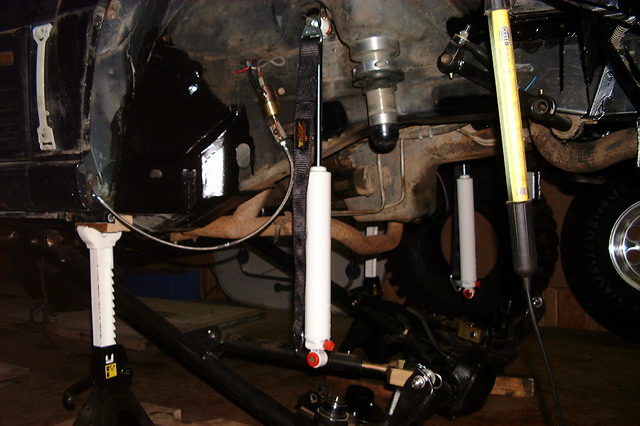
Rear bumpstops
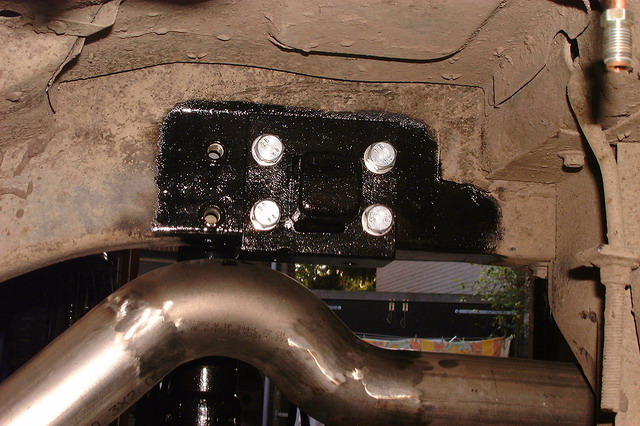
Brackets for the upper shockmounts.
Shockmount in place.
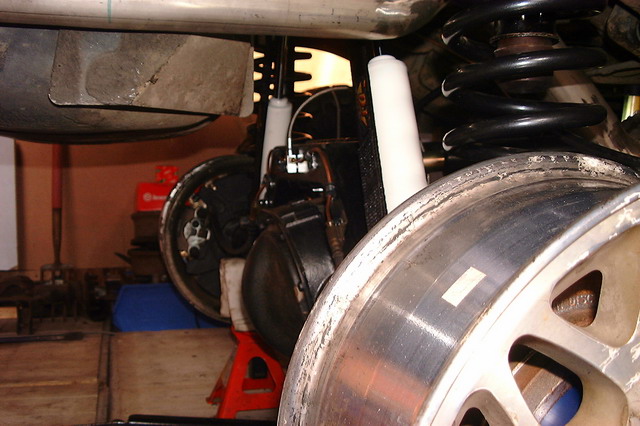
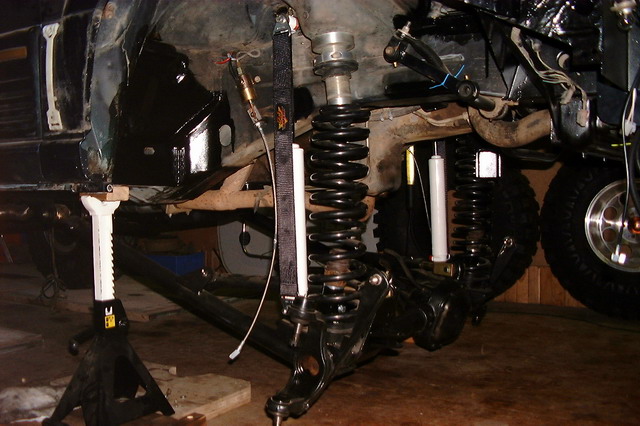
Axle, coils and shocks,
with limiting straps.
Almost everything checked!
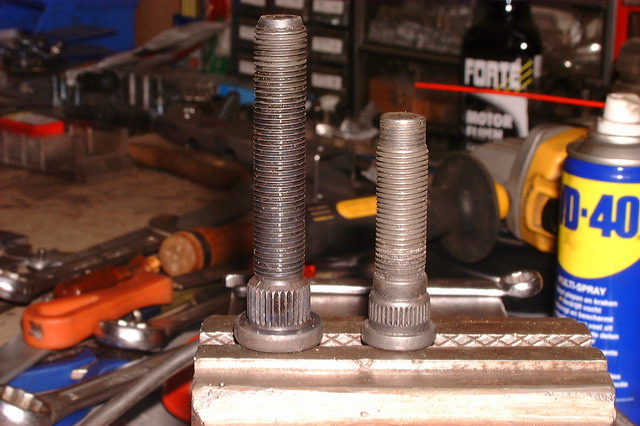
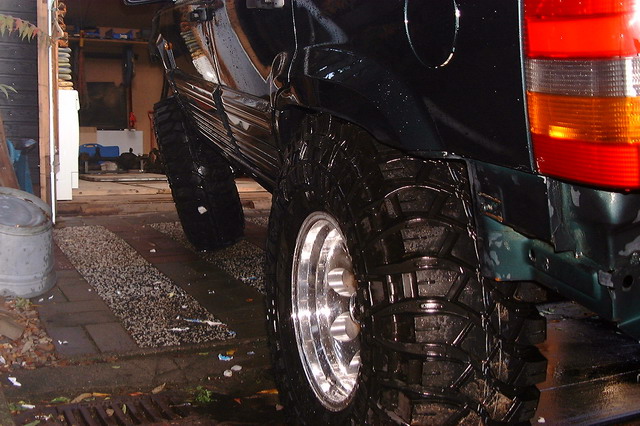
Longer studs for the front hubs, because off the alu rims and 0.5" spacers.
So more painting to do on the traverse, 4 weeks left to get everything done for
The 3rd Edition Off Dutch Jeep Camp, so SU
Last edited by ogdak; 12-14-2006 at 03:48 PM.
09-21-2006, 03:09 PM
Finally coming together, very nice.
09-21-2006, 10:41 PM
Looking good, I love the rear bumper.
Where did you get the front spacers, I am looking for some .5 or .75?

 09-21-2006, 11:13 PM
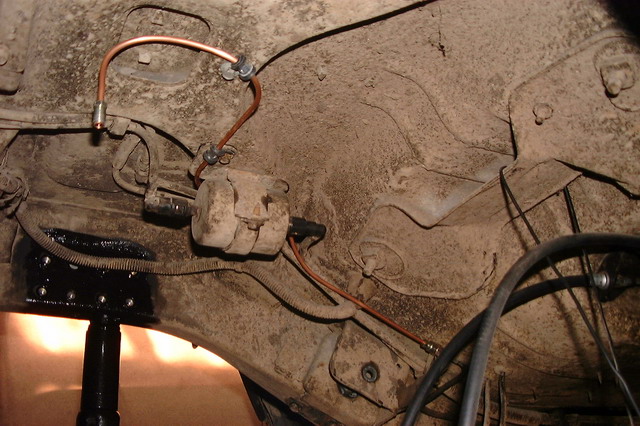
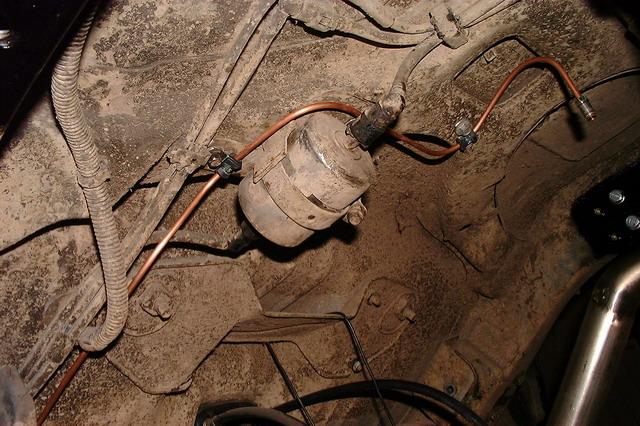
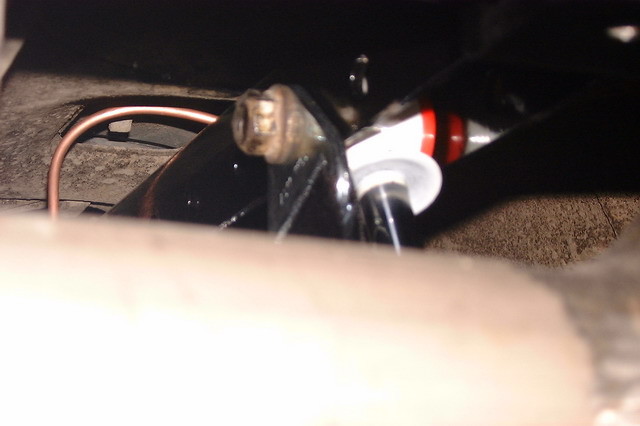
copper brake lines?
09-22-2006, 01:41 AM
Thnx. I just cut up a set off old XJ front brake rotors.
I can post a pic, but i think it is not that hard to visualize!
You seem suprised, It is pretty commenly used when redoing brake lines.
10-13-2006, 11:09 AM
Due to a server problem, the pic's were gone.
Started to restore today on a other server.
I'll post an update this weekend.
10-13-2006, 11:42 AM
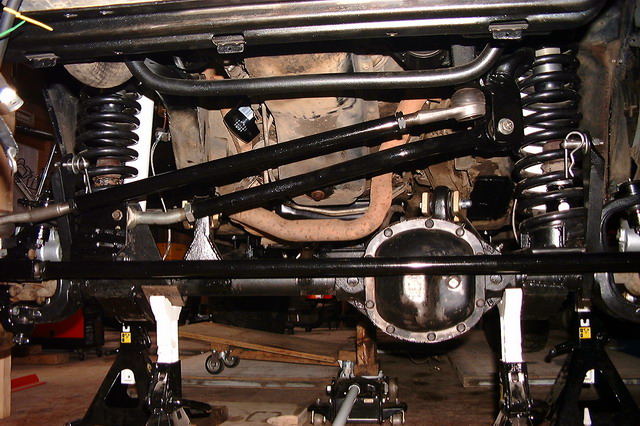
So after a small break due to a server error on the dutch jeep forum, on with this thread.
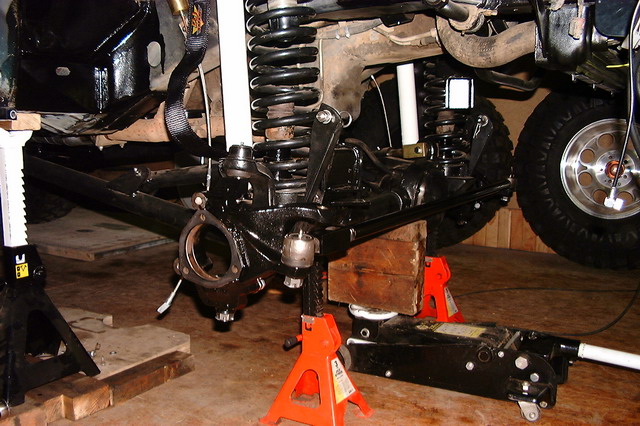
Time to install the front axle.
CA's in place
Shocks and straps.
Axle hanging on the straps, nice to see that the coils will not fall out off place.
Knuckles and tie-rod.
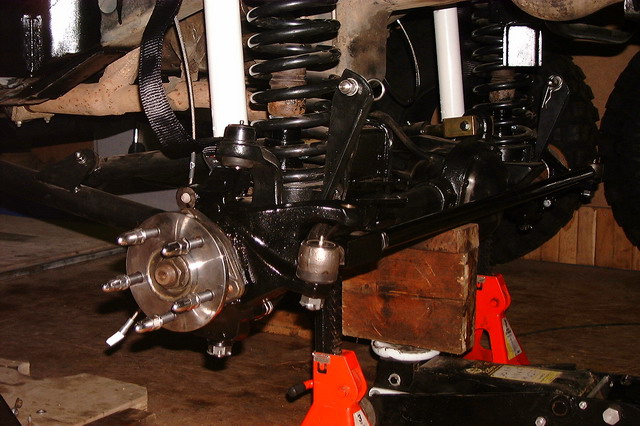
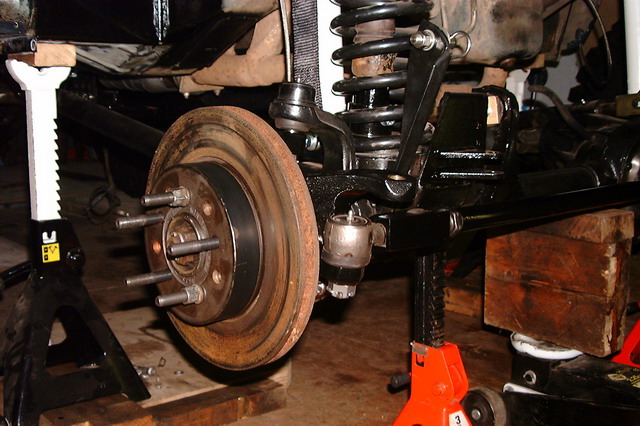
Wheelhubs with the longer studs and rotor's in place.
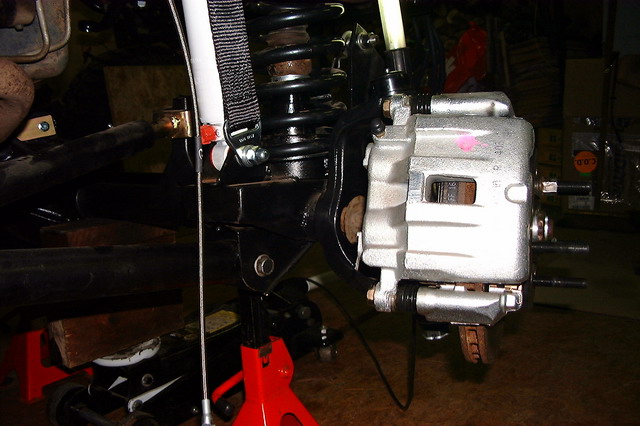
Callipers in place.
Drag link and track bar back on.
Time to start bringing levels up to level
Every now and then I have trouble finding things, don't know why?
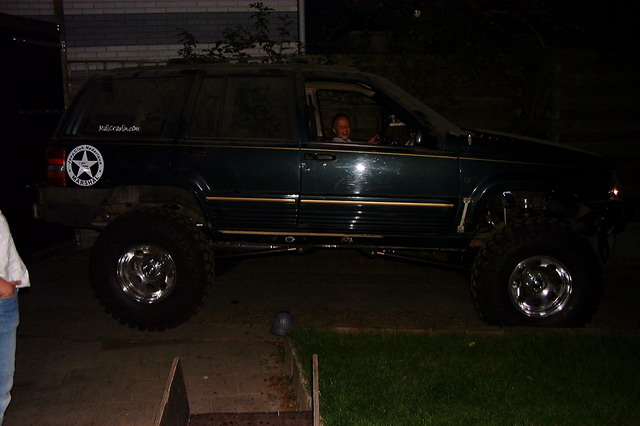
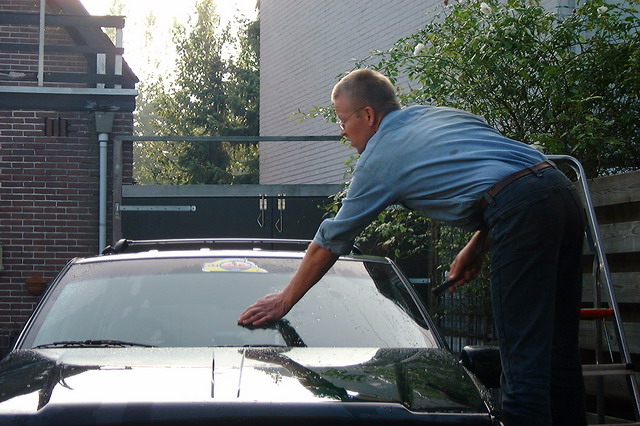
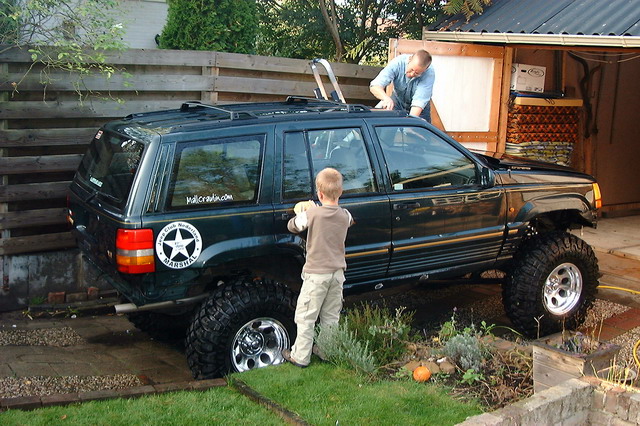
Zo after testdriving recently with Beest(also a member on this board) Zj.
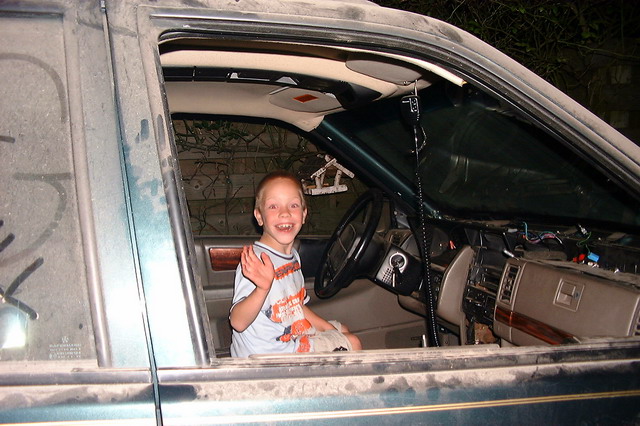
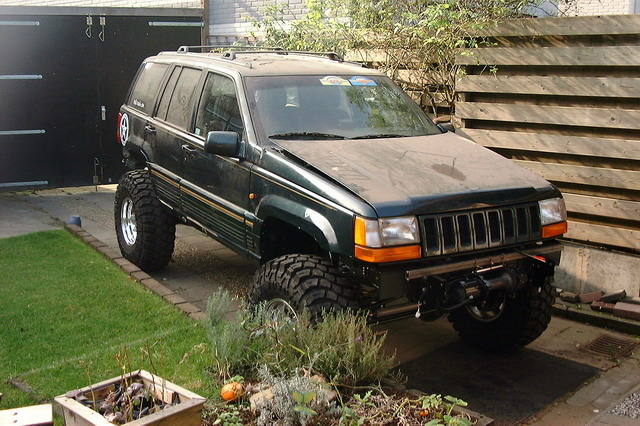
I could no longer resist, so with a slightly raised harbeat I drove it out off the garage.
Where as soon I got out, My 8 year old son Dennis took over the steering wheel.
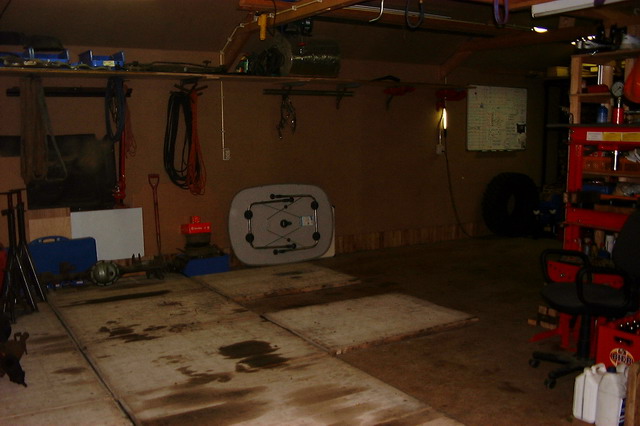
Almost forgot how much space I have in the garage
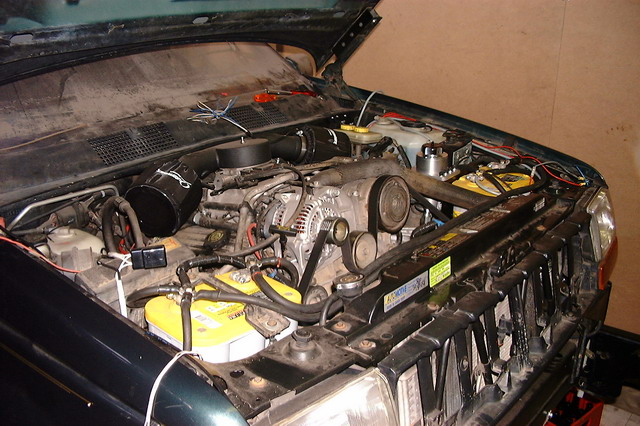
So back on its spot, the only problem that occured was the E-fan running on max pretty soon.
Cause off that the engine temp didn't came above 40 celsius, so it seems to have enough cooling capacity
which is nice to know. So looks like it that I shortcircuited the dc control unit.
Luckily I was able to borough the unit from Beest. Thnx Rene
Small world ha, this used to be Cue-Ball's unit
Time to get the bumpers powder coated.
If everything works out they should be back in early next week.
I should be able to get it ready in less then a week.
Dutch Jeep Camp 2006 is only 1 week away.
Last edited by ogdak; 12-14-2006 at 03:49 PM.
10-13-2006, 12:07 PM
Looks awesome man!
 10-13-2006, 04:31 PM
Congrats on moving it under its own power!
10-13-2006, 06:32 PM
Very nice! Finally getting to drive it will be a blast
-Tim
 10-13-2006, 06:53 PM
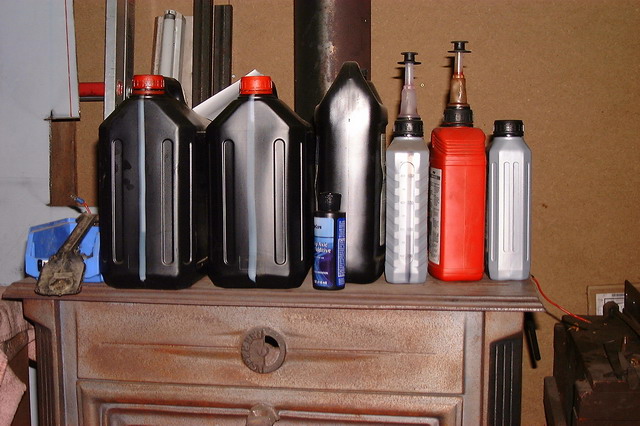
Hey now, those don't look like Amsoil containers to me
Just kidding man, glad to see it up and around so to speak.
10-13-2006, 07:08 PM
Ha ha, It would have been if it would be in store's overhere.
Don't worry Dirk, I'll keep the amsoil stickers on the ZJ.
10-14-2006, 12:41 AM
No worries man.
10-29-2006, 03:36 PM
Soo, Jeepamp 2006 is behind us.
Bud somethings had still to take care off before that.
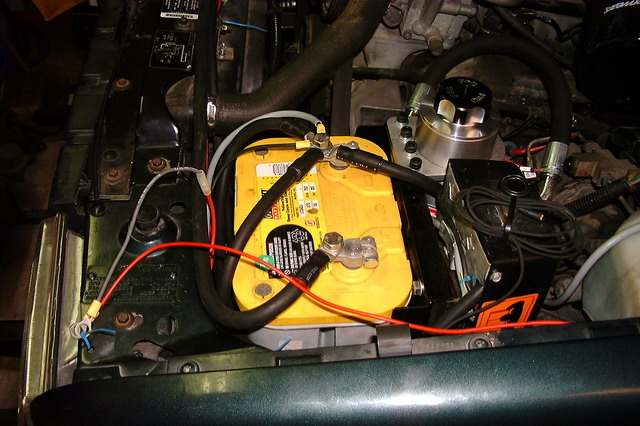
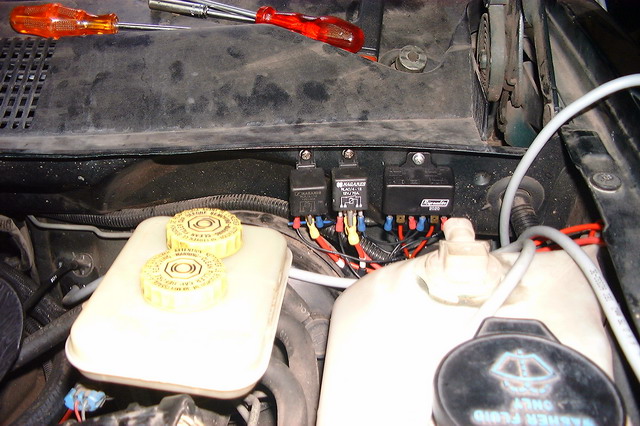
Some electronic parts still needed to be installed.
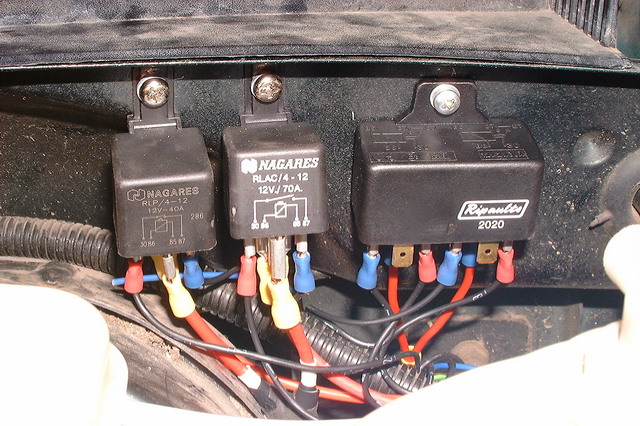
Found a spot for several relais
Left to right 40A, 70A and 2 off 20A.
40A for low-speed e-fan.
70A for high-speed e-fan controlled by "DC control" unit.
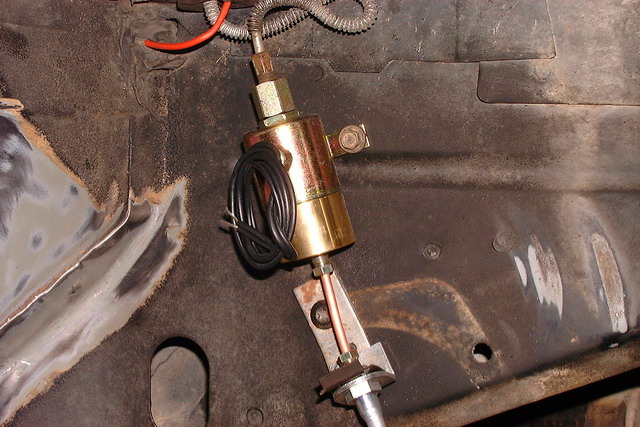
20A for left and right line lock to lock the front brakes independently.
To make things act like a locker
Here is one off them on the right hand side.
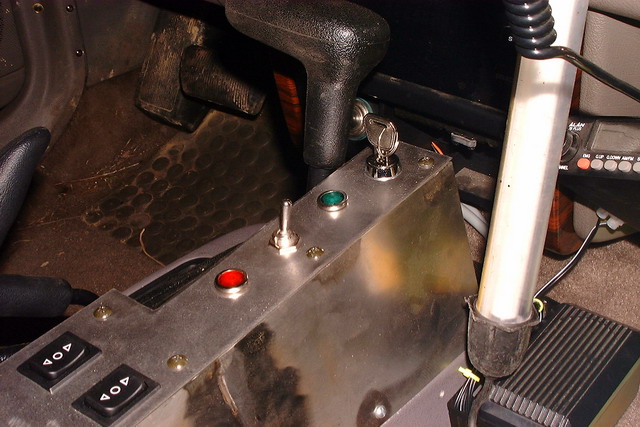
Part off the controll's
Keyswitch is for on/off to activate the incab whinch control.
Bottom left switch to use the front whinch.
Bottom right switch to use for the rear whinch(still on my whish list, ha ha)
On-Off-On switch
Towards front combined with green control light, is for Hi-speed e-fan controlled by "DC Control" unit.
Center to switch e-fan off, in case off deep water crossing's.
Towards rear combined with red control light, is for Lo-speed e-fan in case "DC Control" unit fails.
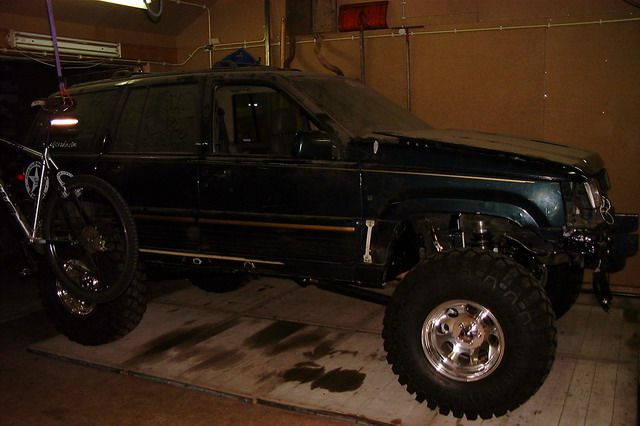
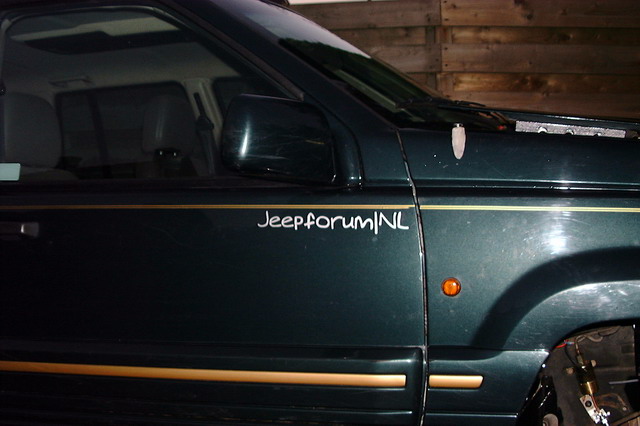
Time to clean things up, still without bumpers.
Does makes a difference
Foc Trophy stickers from 2004 took a lot off time to get them off, finally used a razor blade.
Dennis helped
Some "flexxin" with disconnects still on.
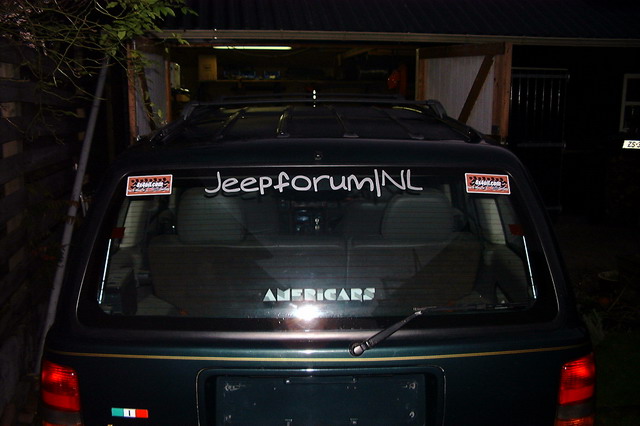
Putting on "some" stickers
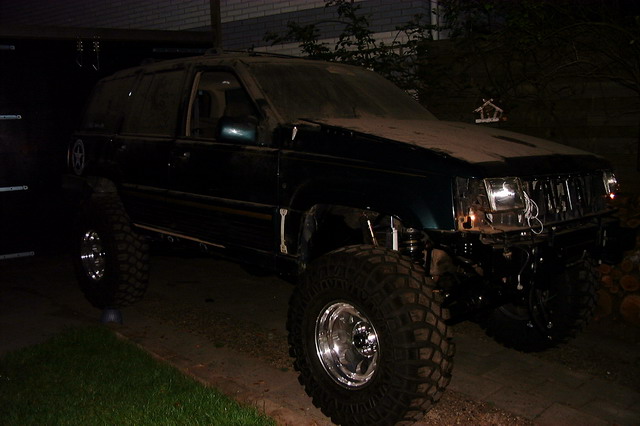
Time to mount the fresh powder coated bumpers.
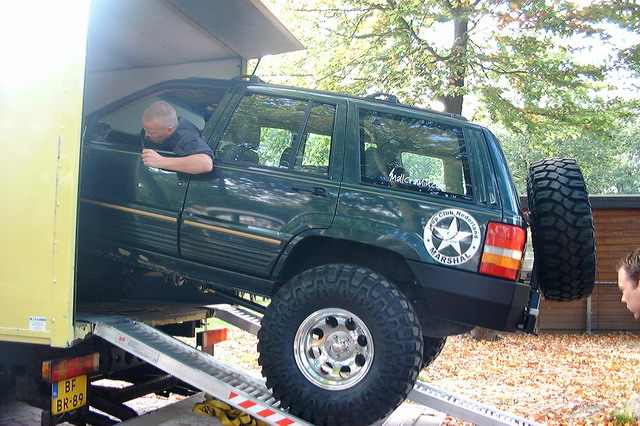
He he, Arrival on Friday 20th october at JEEPCAMP 2006 in Erm
Finally, SU.
Last edited by ogdak; 12-14-2006 at 03:51 PM.
10-29-2006, 03:47 PM
Very nice...
| « Previous Thread | Next Thread » |
| Thread Information |
Users Browsing this ThreadThere are currently 12 users browsing this thread. (0 members and 12 guests) |