|
|


 09-12-2006, 06:53 PM
Build up thread of Project Tortoise
-Some of these pictures may be out of chronological order, but hopefully you get the picture!
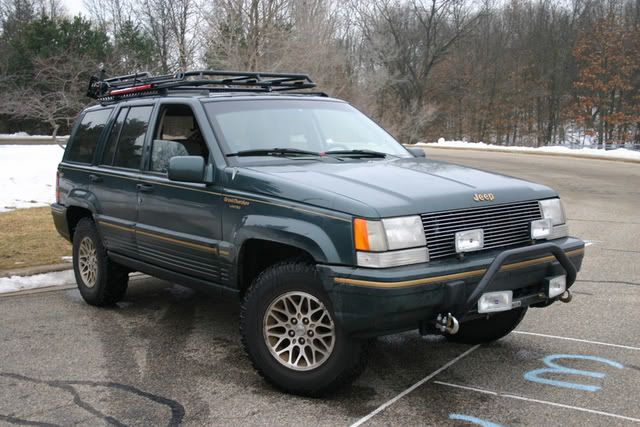
Stock: 1994 ZJ LTD 5.2L / 46RH / NP249
I purchased this ZJ after I struck two white tail deer @ 55 MPH simultaneously. Needless to say the 1997 Plymouth Breeze took it like a champ except for the bumper, headlights, grill, hood, quarter panel, windshield and air-bag ok it was totaled.
I get the rig and basically have no clue what I am doing. I purchased some weird mods and put them on boy was I nothing but
Yikes.
Soon after that I did some research and started off in the right direction. Kolak helped me get all the right parts.
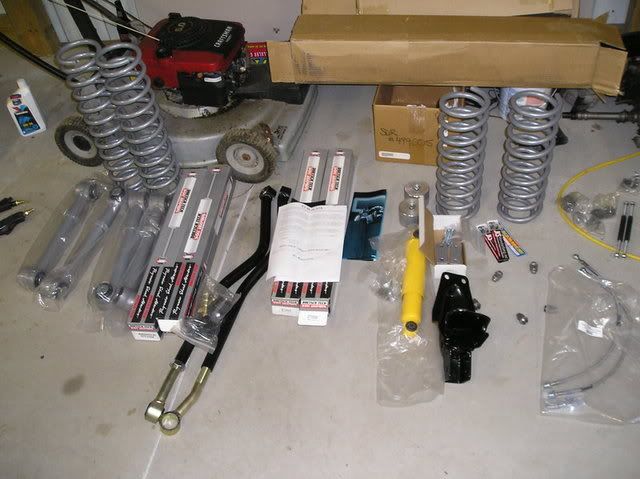
RE 3.5 SR-adjustable lowers, JKS TBs front and rear with Kevins TB conversion, REs bling brake line extension, Tera-flex bump stops, JKS gen II discos, OME SD-40 and DT3000s
Stock swaybar studs meeting the cut-off wheel:
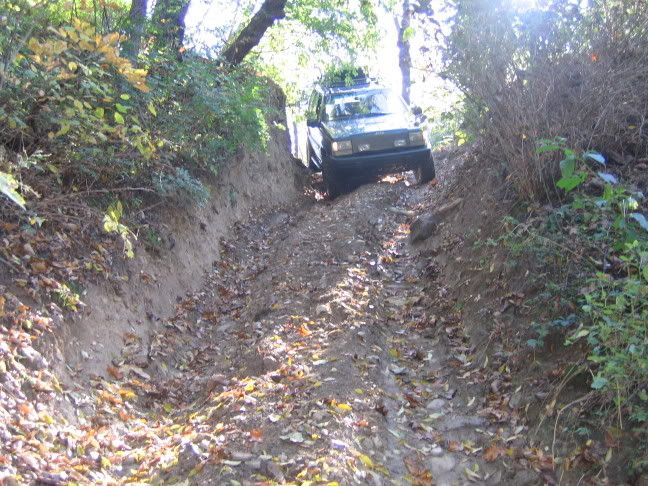
Put on some JCR sliders and Kumho 31x11.5s and a used ARB in the D35 and finally did some real wheeling at Paragon.

Last edited by EMTimZJ; 09-12-2006 at 10:55 PM.
 09-12-2006, 06:53 PM
Spring of 2005 my fuel pump died. Fixed with the Swampy Bypass, Thanks Carl! (aka Swamp Boy)
Tweedy mat was on sale for $0.49!
By the time of my next run to Paragon, the light-bar was removed along with the bumper fascia.
Wheeled again at Badlands in October of 2005 bumper cover just zip-tied on in case IN cops feel like giving me a hard time. MI cops could care less.
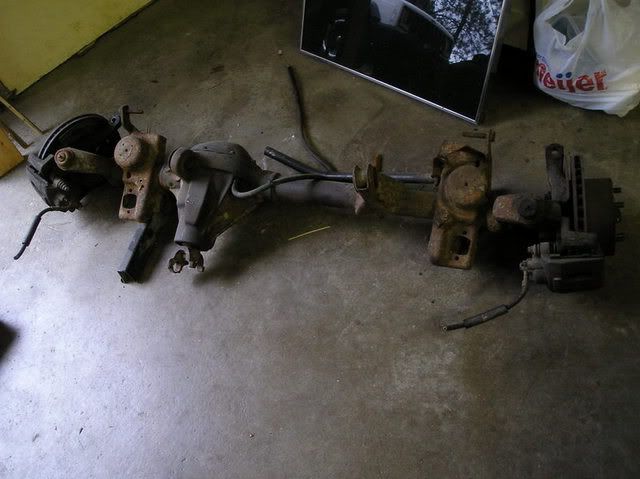
Scored an entire HP30 from a 96 XJ for $40
All polished with an ARB and just waiting for steering links to finish the WJ knuckle swap
(yikes what a horrible picture!)
Stock 1995 Crown Victoria rotors work with no machining or redrilling the bolt pattern.
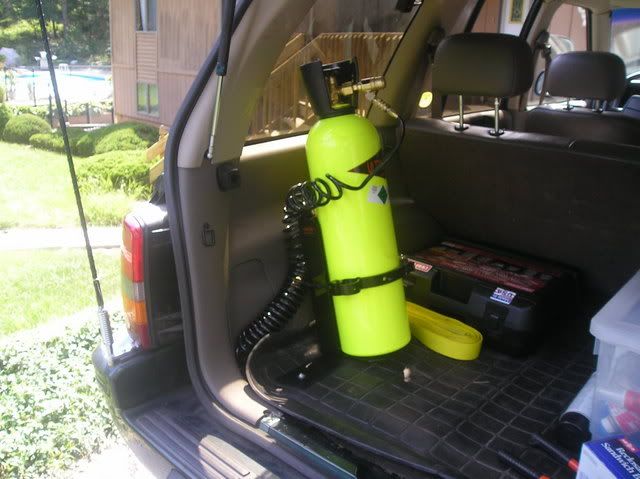
CO2 tank from www.ultimate-air.com This guy is somewhat local and gave me a killer deal on this 15lbs system. Basically only $30 more than assembling my own but the mounting bracket was included.
Last edited by EMTimZJ; 09-12-2006 at 07:05 PM.
09-12-2006, 07:00 PM
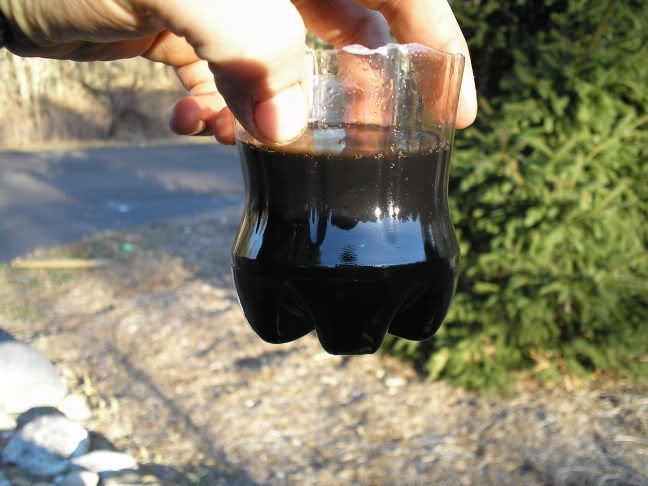
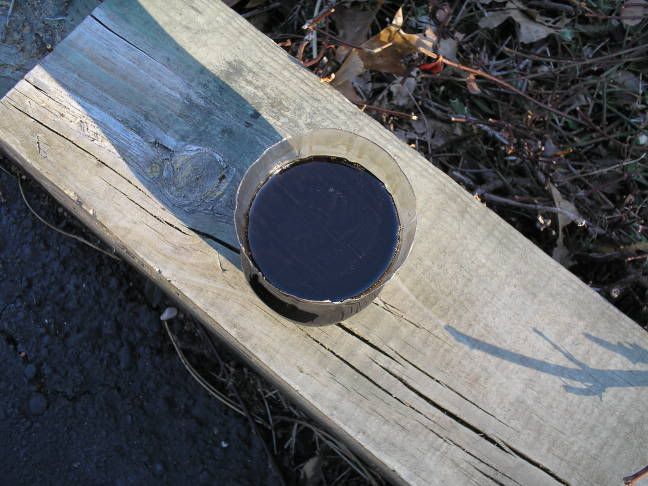
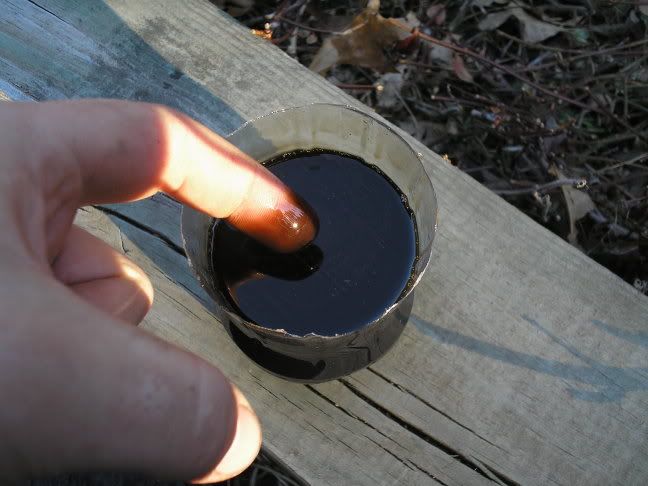
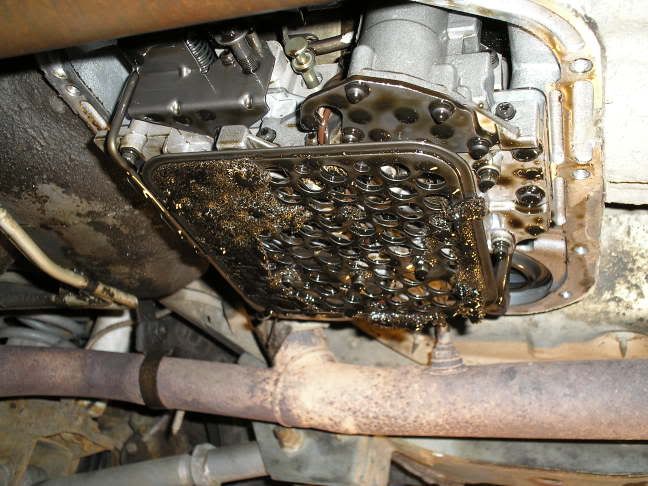
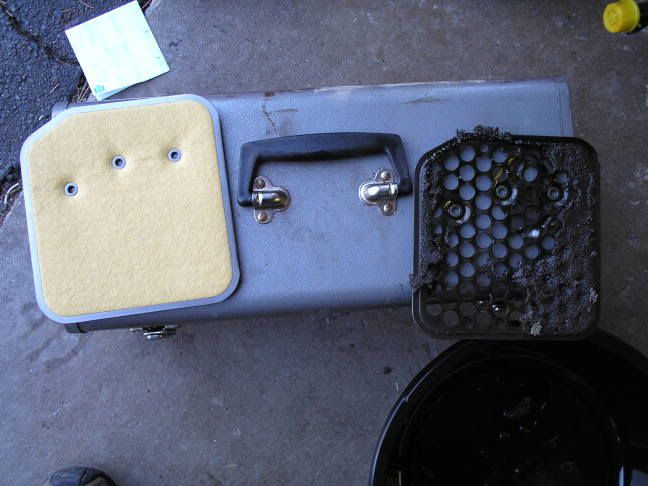
Anyone want to guess what fluid this is?
Tranny fluid that is only 7,000 miles old.
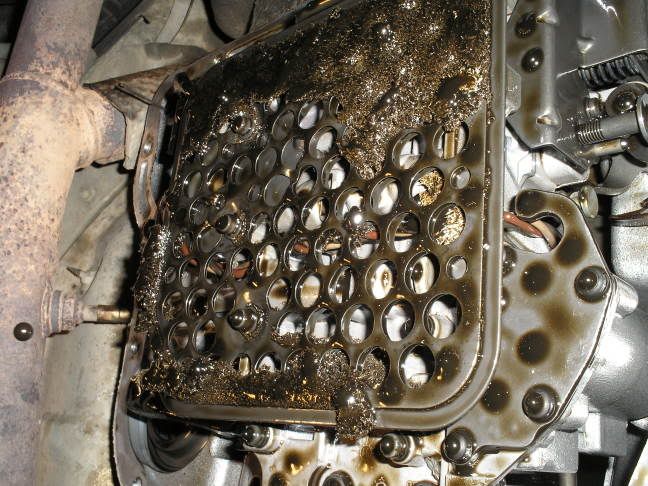
Filter shot after I dropped the pan:
Basically, my cooler lines running to the front leaked and pissed half my tranny fluid out on I-96 while I was driving. Trans overheated from running WAY low on fluid and well, this is the result along with internal damage. So much fun!
09-12-2006, 07:13 PM
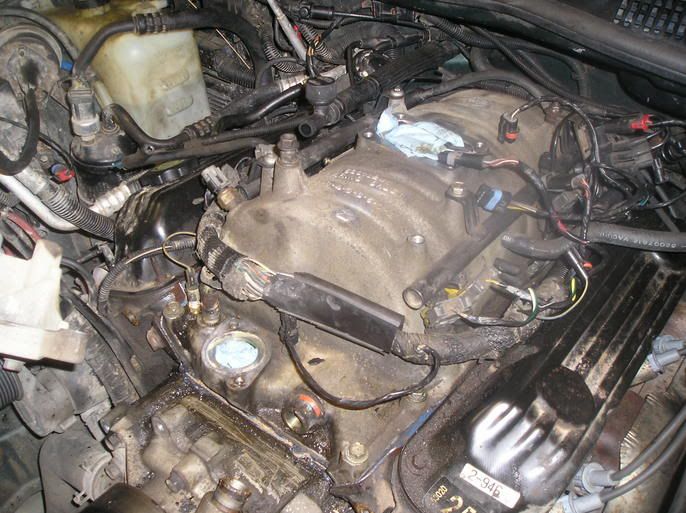
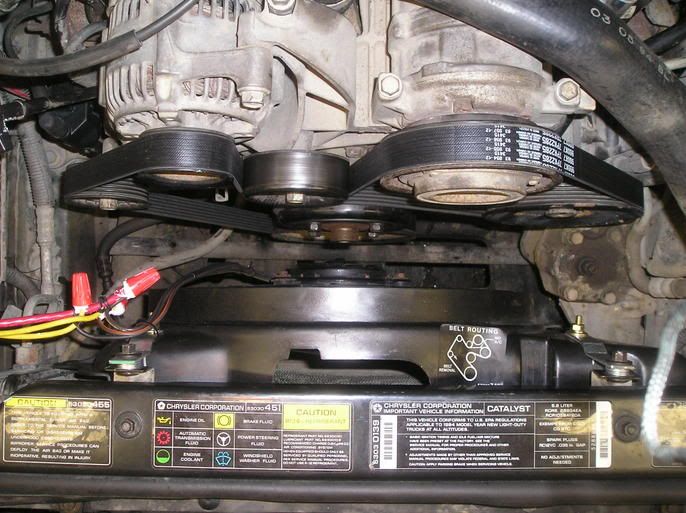
I fixed the leaking plenum gasket and did a little write up about it here:
http://www.jeepforum.com/forum/showthread.php?t=233448
I also installed the Taurus E-fan at the same time:
http://www.jeepforum.com/forum/showthread.php?t=233676
I rebuilt and swapped in an NP242:
http://www.jeepforum.com/forum/showthread.php?t=239528
09-12-2006, 07:35 PM
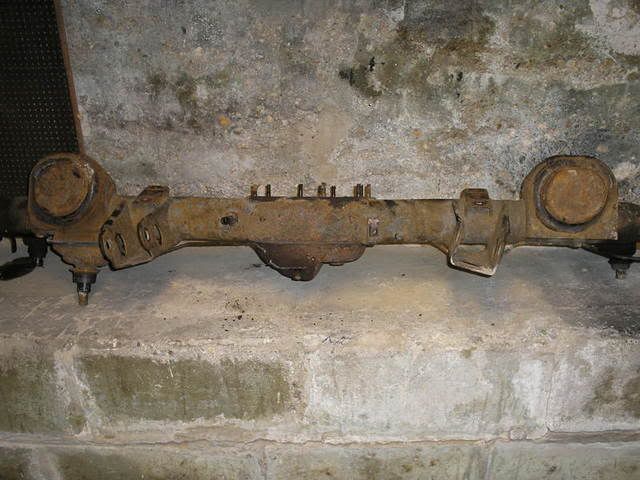
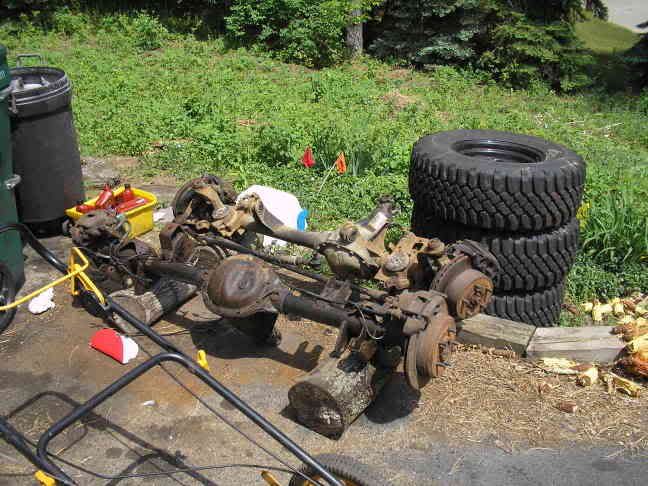
Before my tranny died I had started the build up of a Toyota 8" rear axle.
Pulled a Toy 8 from a 93 4runner at the bone yard for $50.
Cleaned up, drilled, tapped, and clearanced to accept the Toy E-locker:
More info on this process here: http://home.off-road.com/~kemanuel/elocker/elocker.html
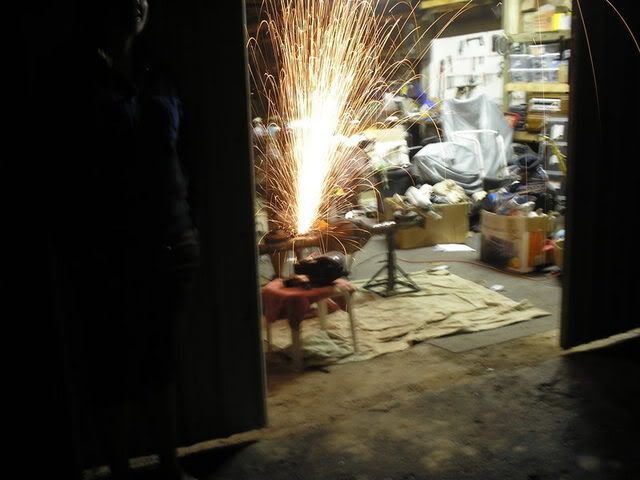
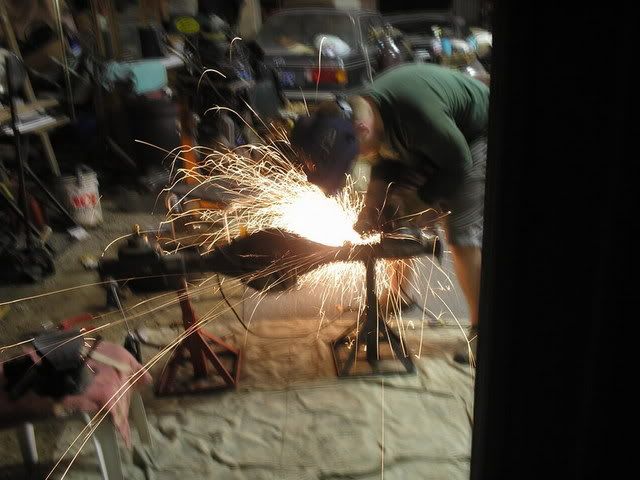
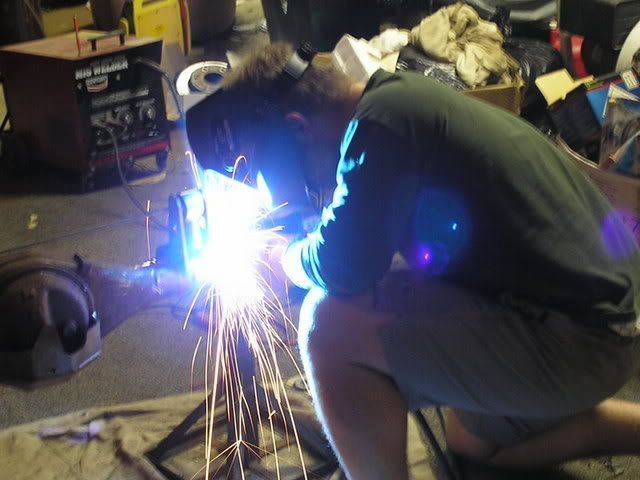
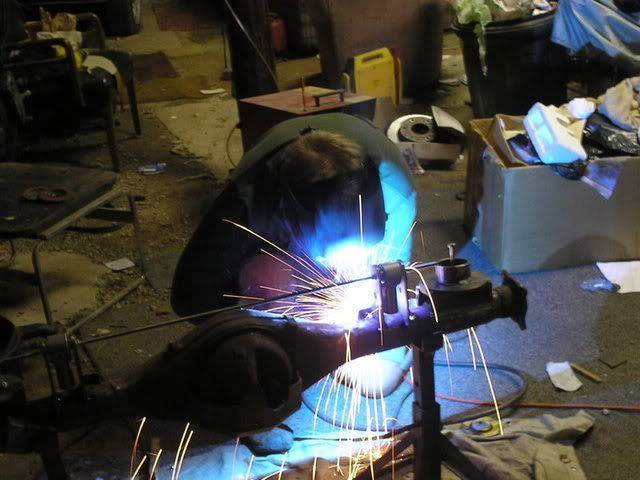
Having fun cutting:
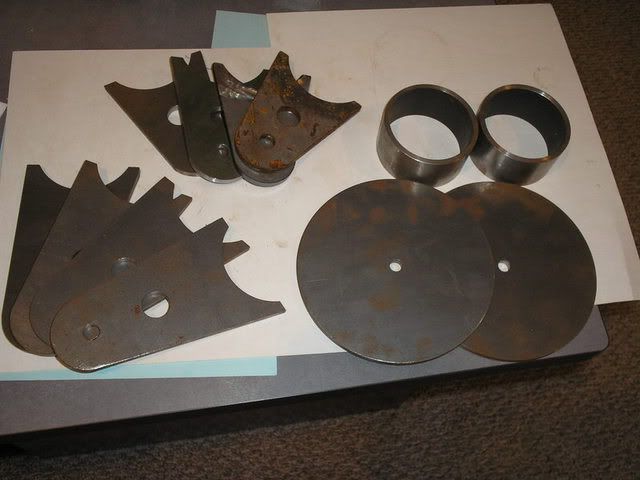
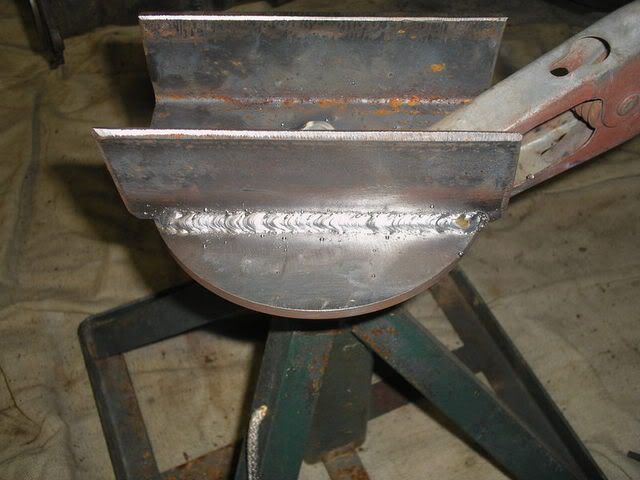
Welding the perches and brackets:
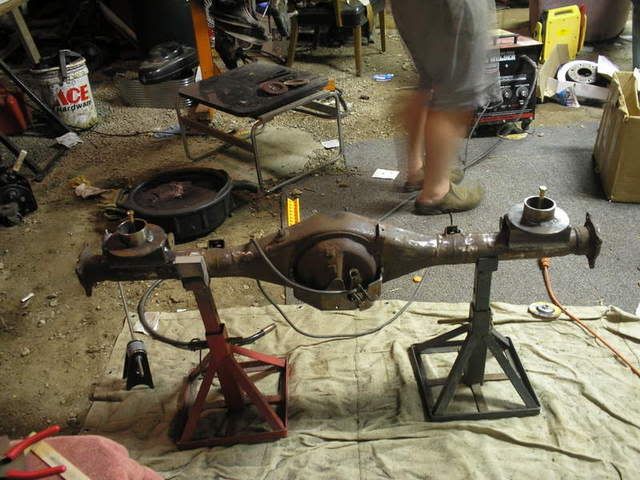
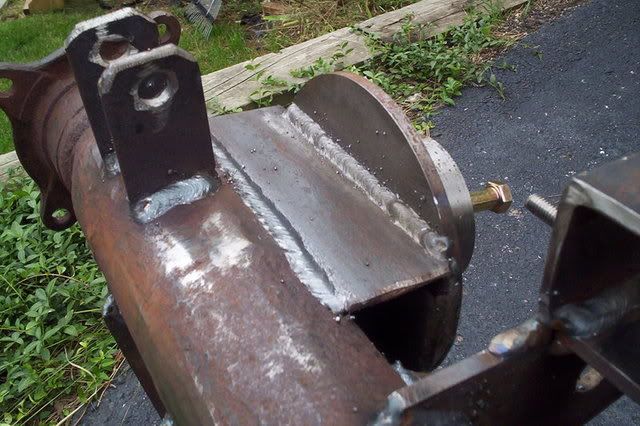
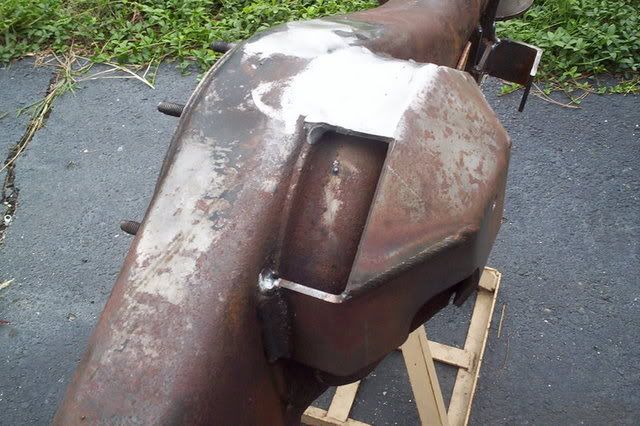
I can't believe I forgot to take a before picture, but Toy 8's have a drain plug on the bottom that hangs kind of low. I welded it up and cut/ground it flat and smooth. I also smoothed out the transition of the weld on cover I bought from www.sky-manufacturing.com
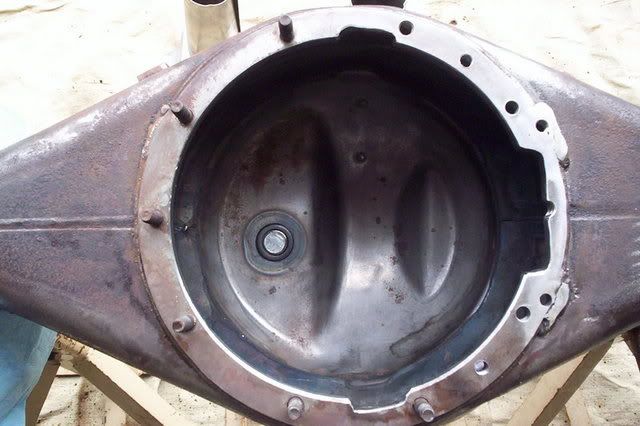
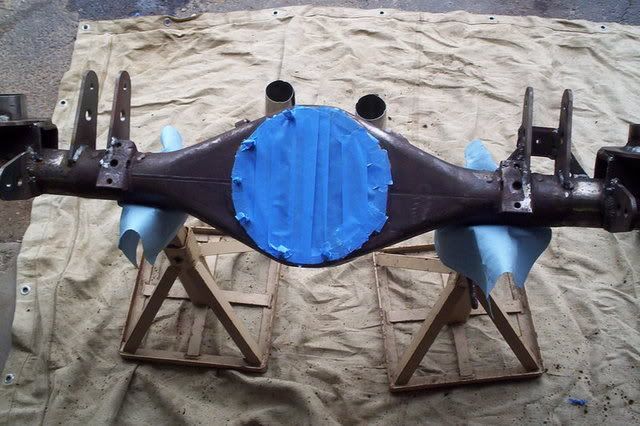
Cleaned out and ready to get prepped for paint:
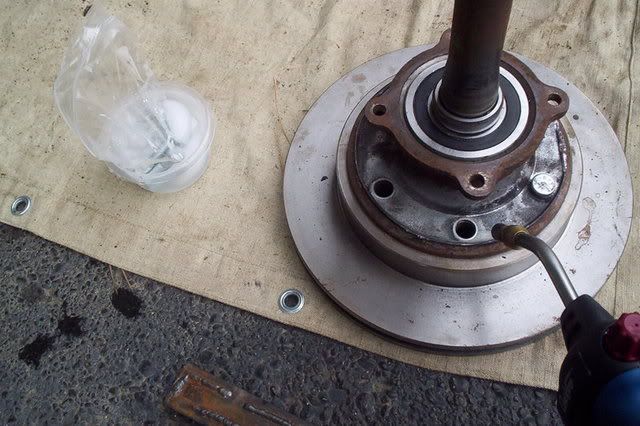
New studs on ice from the freezer, axle flange getting the torch. This makes it easier to drive in those studs.
Toy e-locker
Last edited by EMTimZJ; 09-12-2006 at 07:49 PM.

 09-12-2006, 08:35 PM
nice journal! I need to make one of these doohicky's... anyways that is Claytons high-clearance bracket kit right? It kind of "re-index's" the control arm mounts up higher to be able to move the lowers up right? looks great so far!
 09-12-2006, 09:09 PM
Nope, axle brackets were some my home-brew design that I traced out and had a buddy cut for me.Originally Posted by DJJordache

09-12-2006, 09:14 PM
Wheels, knuckles, caliper brackets getting primered.
Wrenching came to an abrupt stop when I found this male Io moth (Automeris io) underneath the ZJ. Being the complete science dork I am, within 3 minutes it was identified in my Audubon book and I was scrolling through info on the 'net. Pretty cool huh?
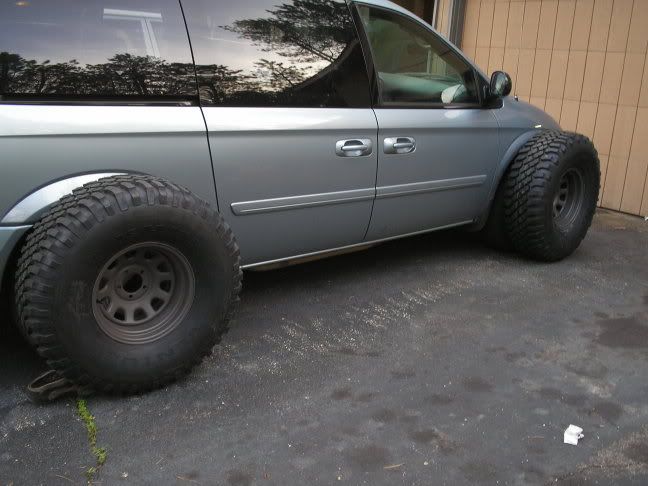
Mini-van for designated tire pickup duty.
Yep they'll fit! (hey it is a grand!.....caravan!)
09-12-2006, 09:32 PM
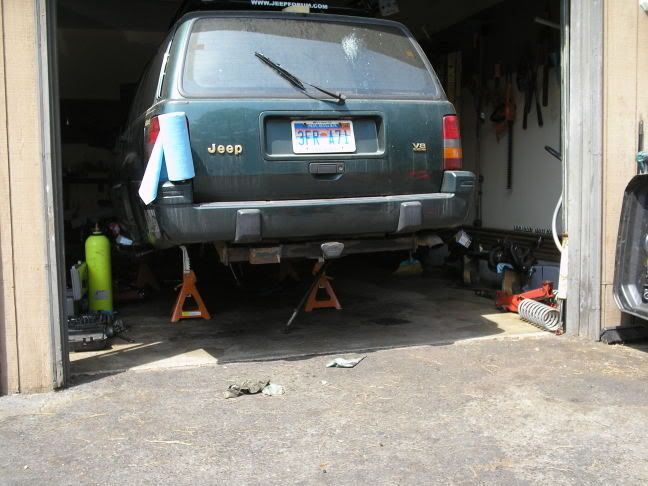
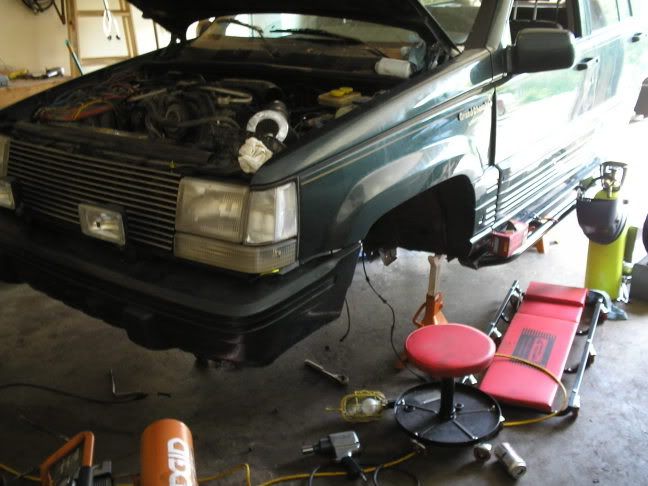
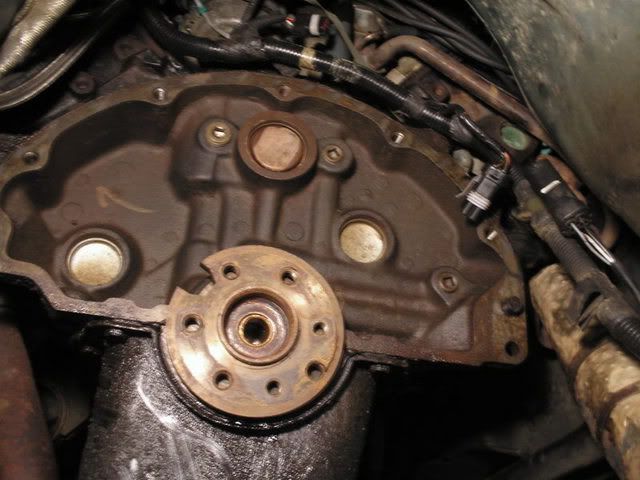
Sitting pretty on the jackstands; transmission, tcase, front and rear axle removed:
Shot of the back of the 318 block:
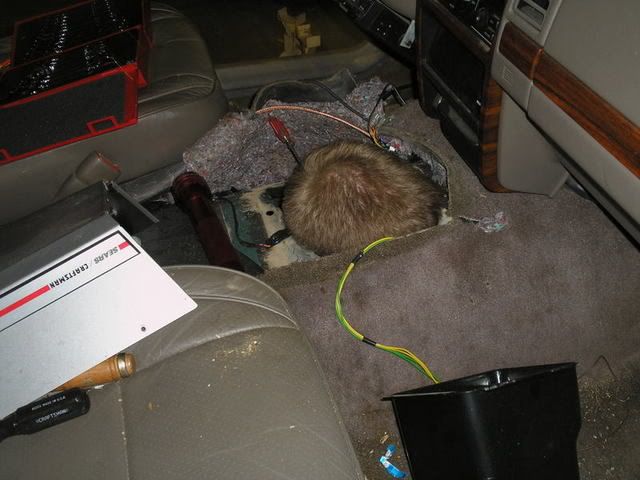
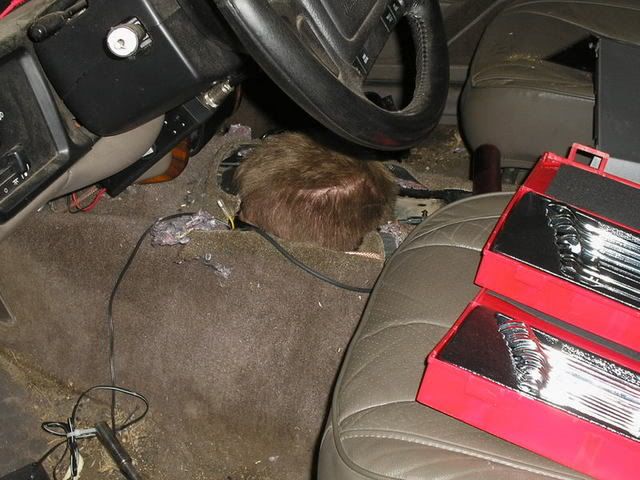
Looking up through the floor:
Here I am actually sitting up on the garage floor under the ZJ. I was attaching the Crankshaft Position Sensor to the rear of the block.
Since the auto trans was fried to a crisp, I started to get creative with the drivetrain plans.
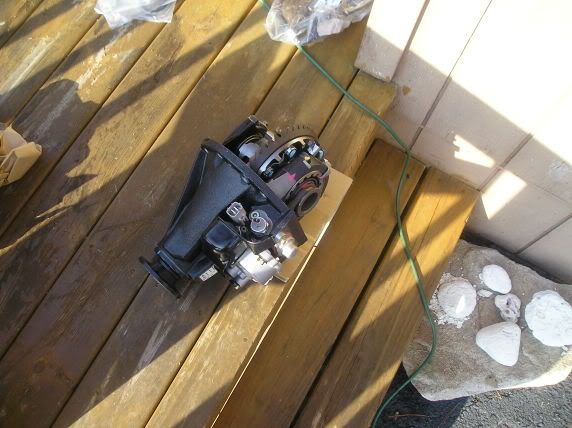
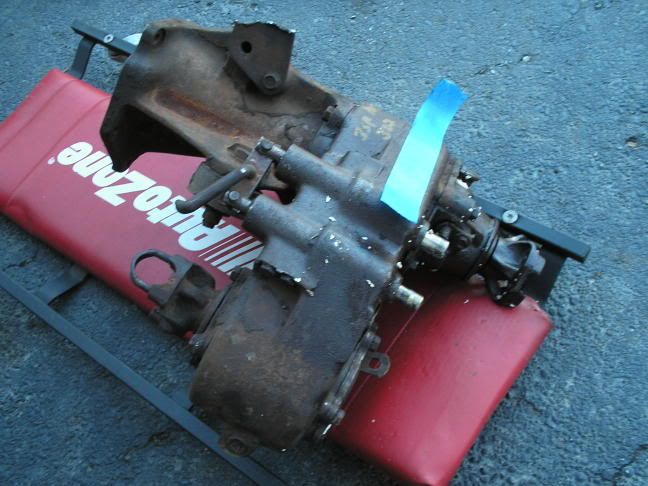
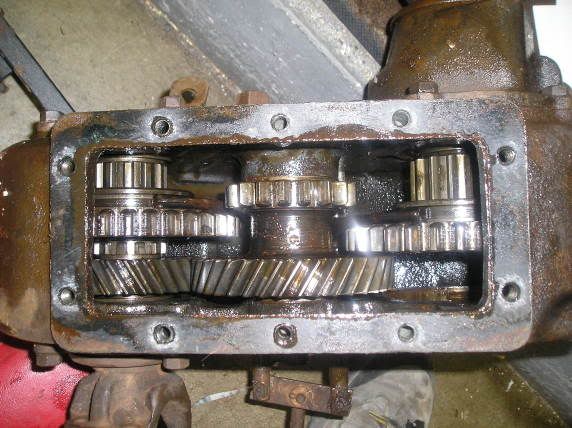
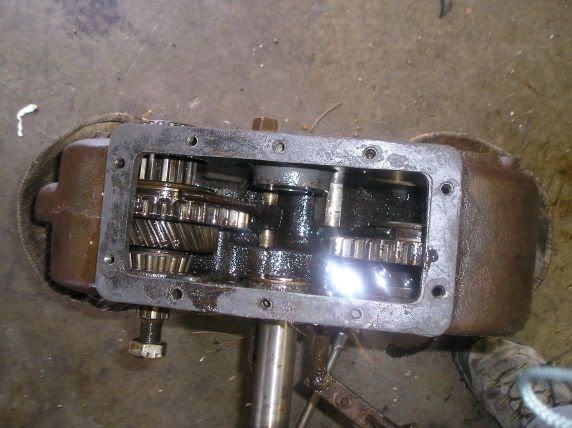
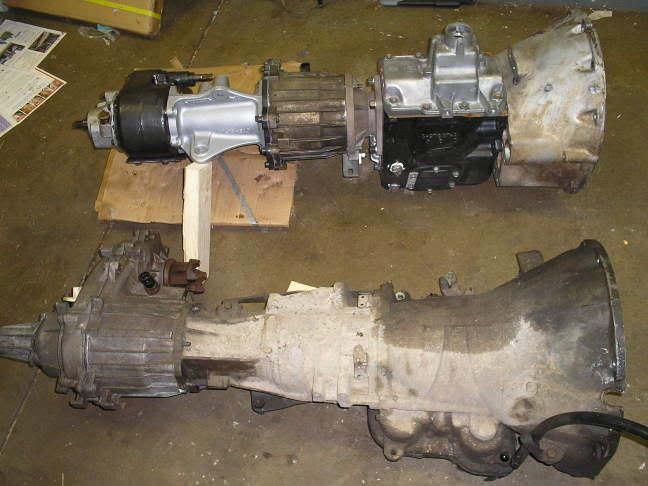
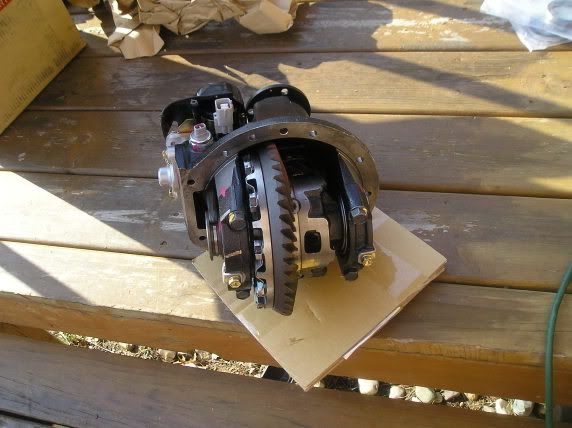
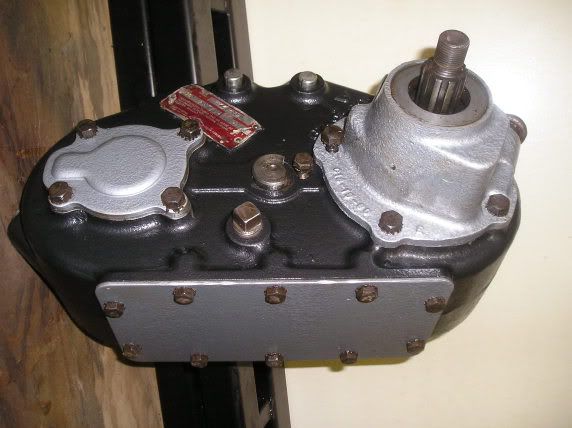
An NP435 manual transmission, to a home-brew 249 reduction box to a EB Dana 20 tcase:
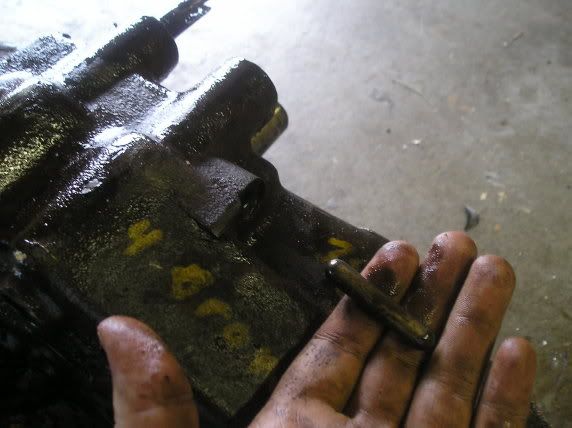
249 reduction box back from the machine shop. (not 100% complete. I still needed to hack part of that shift rail off and weld on a small cap.
NP435 + 249 reduction box.
09-12-2006, 09:39 PM
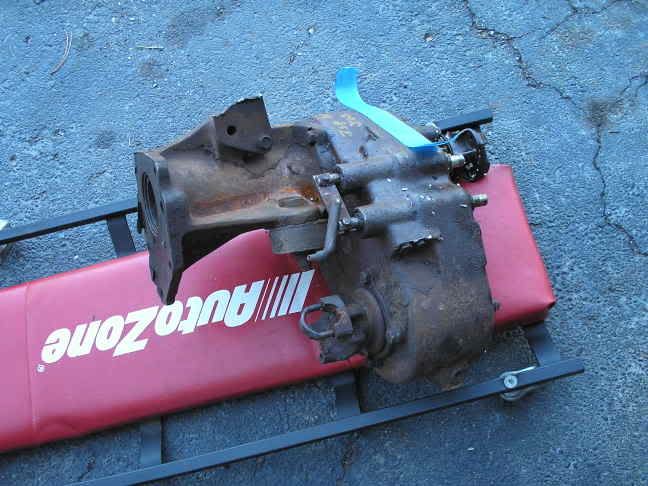
EB Dana 20 from the junk yard:
Modified for twin stick operation:
Write up is here: http://www.mallcrawlin.com/forum/sho...1581#post91581
All cleaned up and painted! Bling bling!
09-12-2006, 10:00 PM
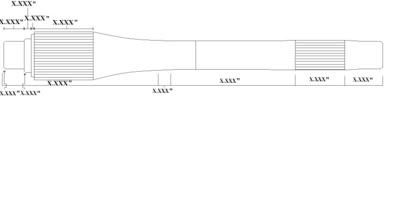
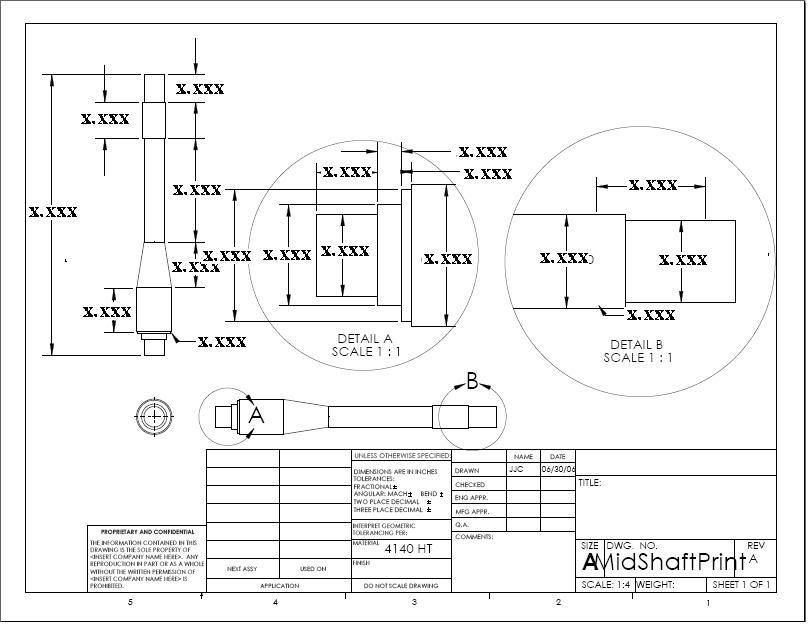
So how does one couple a 249 and EB D20?
Break out the calipers, tape measure, calculator, and brain power.
...and after just about 3 months later... the real product FINALLY showed up about 2 1/4 MONTHS after it was said to be finished:
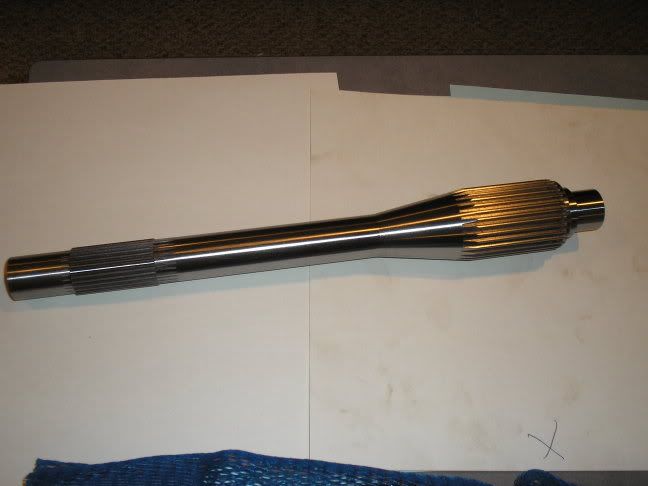
Through hardened 4140, yes they are mill cut splines. 30 spline coarse for the inside of the 249, 28 spline fine for the D20 input shaft. Considering this is before the second reduction of the D20 and the diff gears, the Dturdy shafts, pinion (26 fine spline), heck even the Toy 8 pinion are only 27 fine spline and after more reduction. They will all probably go before this will. [EDIT: Factory Toy pinions are 29 fine spline, and the aftermarket pinions are 27 spline. Currently I have a factory 29 fine spline pinion]
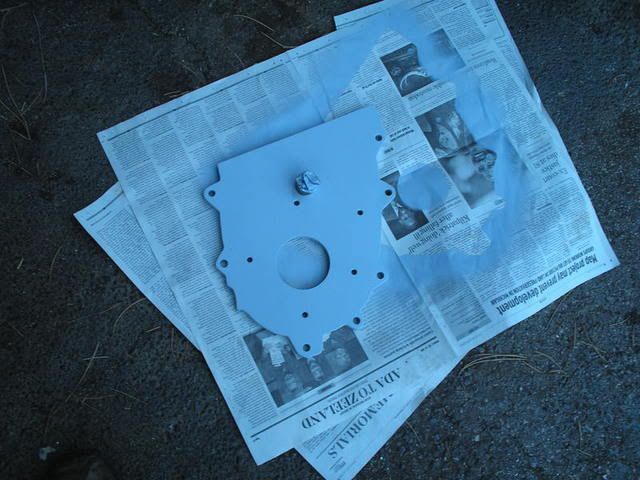
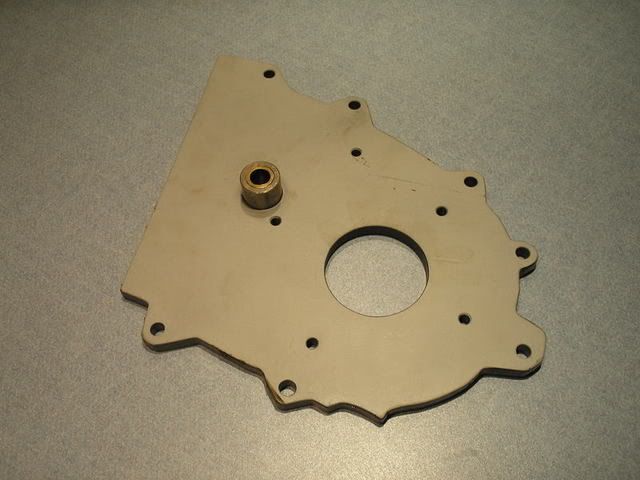
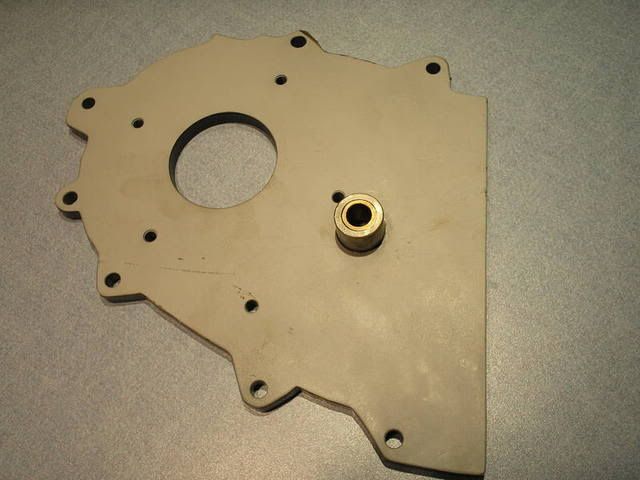
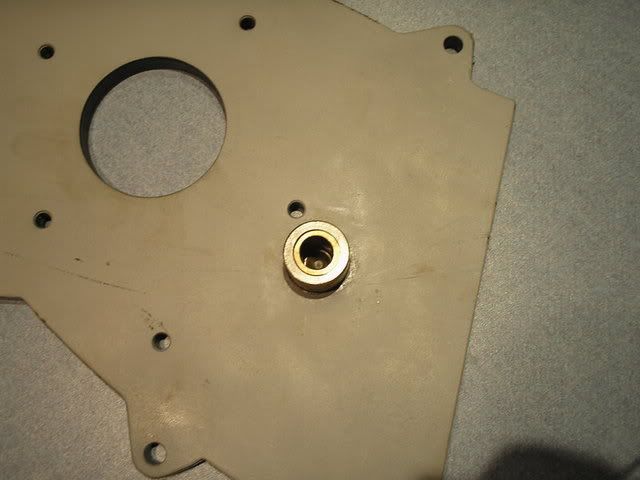
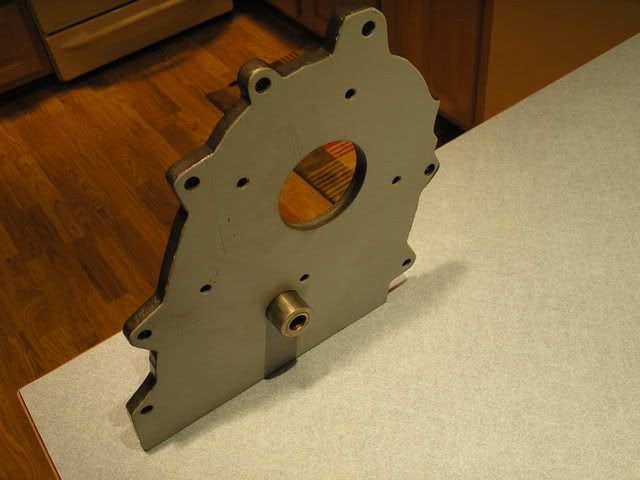
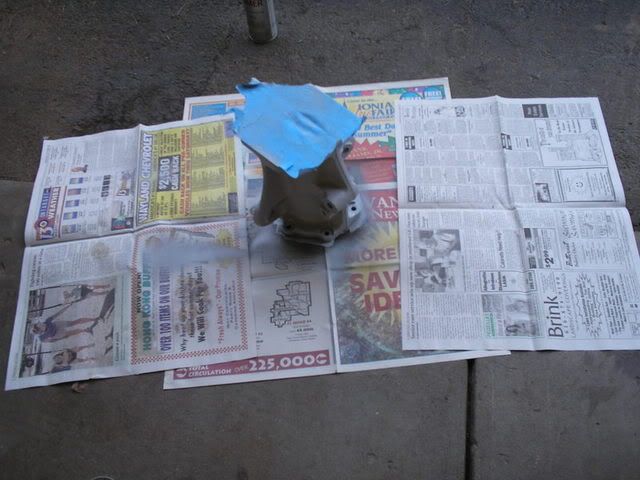
Adapter plate made from 1/2 steel:
Intermediate housing getting paint:
Last edited by EMTimZJ; 10-15-2006 at 04:08 PM.
 09-12-2006, 10:02 PM
what bellhousing did you use?
09-12-2006, 10:06 PM
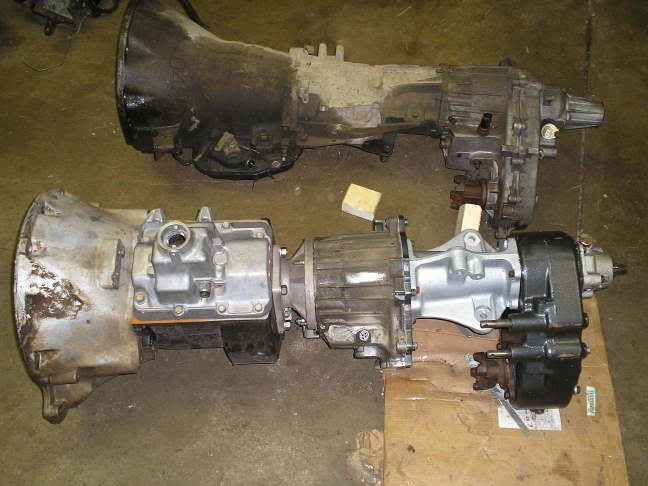
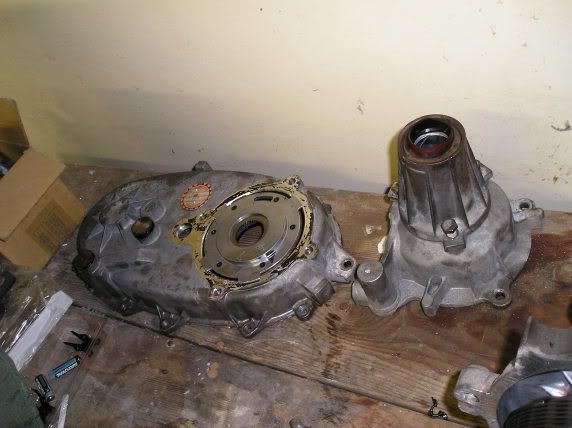
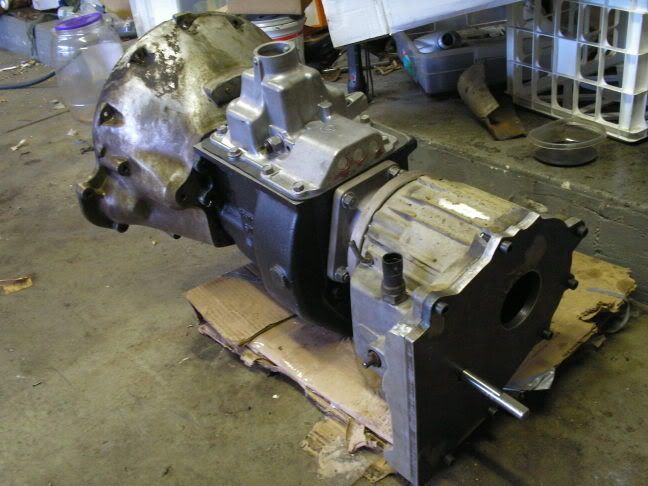
Here is a shot side by side of the old 46RH + NP242 next to the whole NP435 + 249 + D20.
Rear DS is longer by 2" and the front by 1" using the new configuration:
Pretty long, but shorter than stock. Also allows for plent of room for the D20 shift rails. I might not have enough clearance for the front output, worst case scenario is a flip the 249 and redrill my 1/2" adapter plate.
09-12-2006, 10:07 PM
Bellhousing came from an 89 Ram with the 318/360 and NP435. I still need to cut a notch for the CPS. 88-91 Rams were available with the above configuration.
HTH
09-12-2006, 10:31 PM
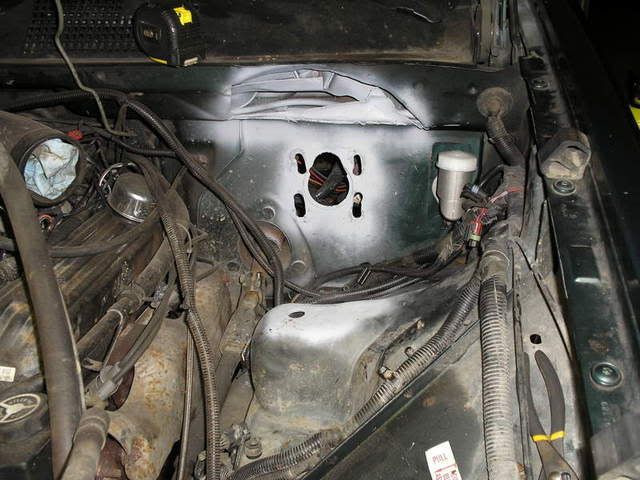
I wanted to upgrade the stock brake system. I searched around and found a couple of suggestions such as XJ booter + '67 corvette master work, or XJ booster + E350 master work, or XJ + Chevy K20/K30 master work. All of these where supposed to "bolt-up" together. Well for some reason or another I could not get them to "bolt-up" with out spending more time that I wanted to. I read Kris's thread on the mid 90's F350 master and booster working very well.
I didn't mind making some modifacations to the firewall and surrounding area.
This is being performed on a full bodied ZJ so keep that in mind.
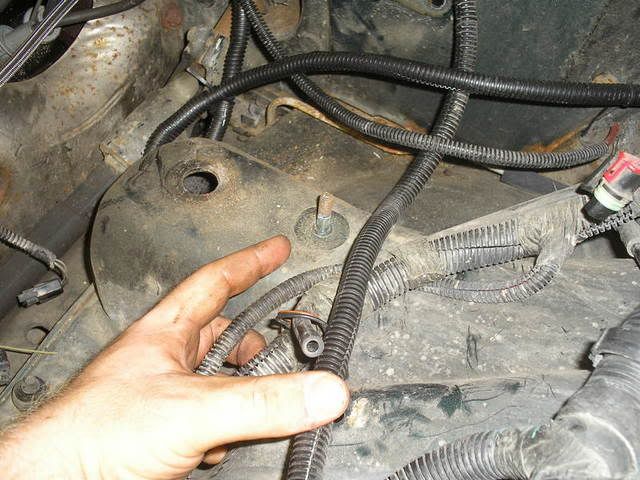
This mounting stud for the ditched ABS bracket had to go:
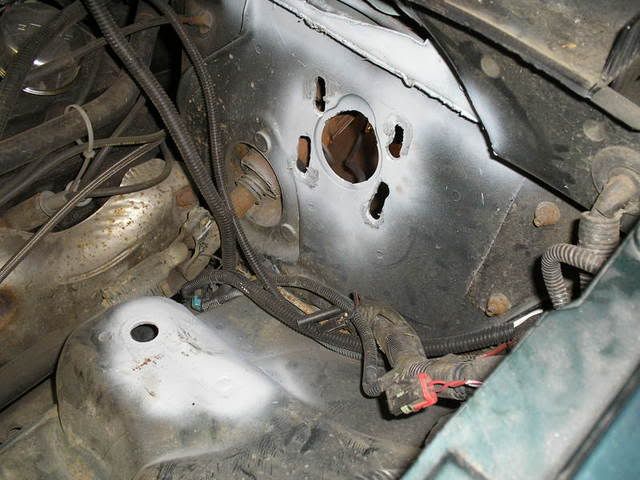
You can see that I had to grind the backside of the shock-mount down so the booster could mount closer and flush to the firewall.
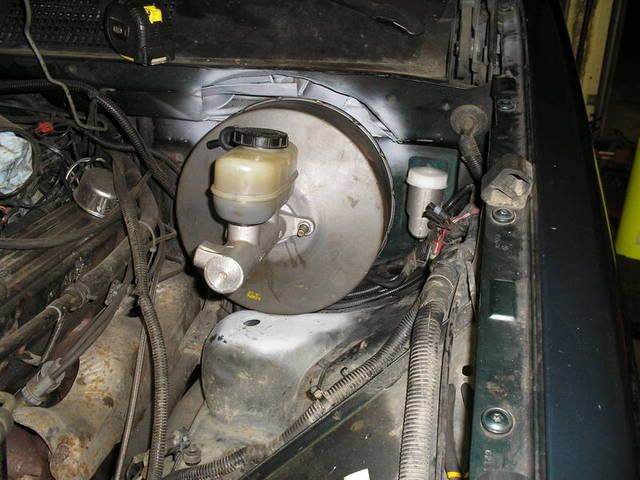
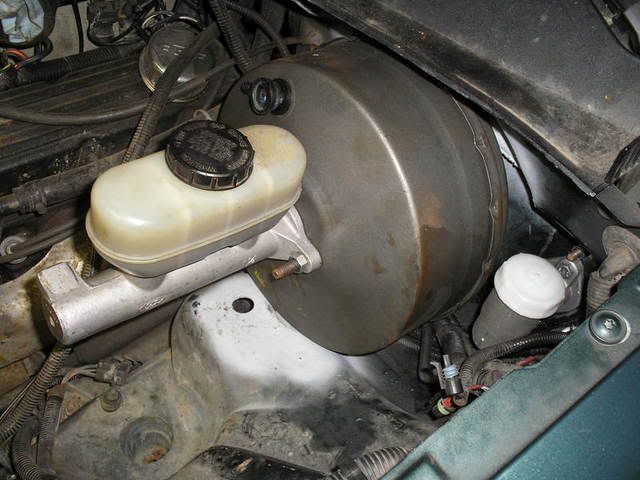
Another shot of the butcherd slots for the 4 mounting studs off the back of the booster to fit. Clutch master is also installed on the right. 93-95 ZJ's already had the knock out for this.
The OD of the stud on the ZJ brake pedal is a little smaller than the ID of the hole in the booter rod. An extra steel shock bushing sleeve from my DT3000's was a good fit.
09-12-2006, 10:53 PM
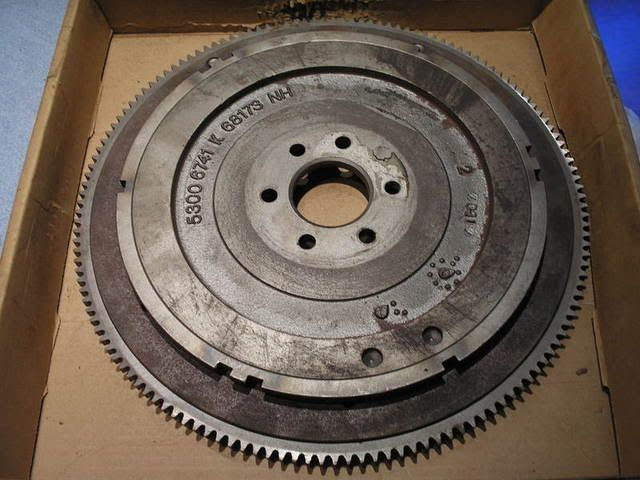
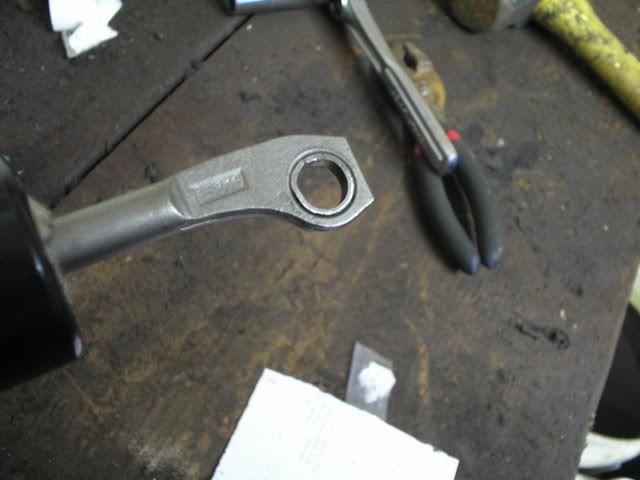
I got the wrong flywheel at first... notice the notches for the CPS...
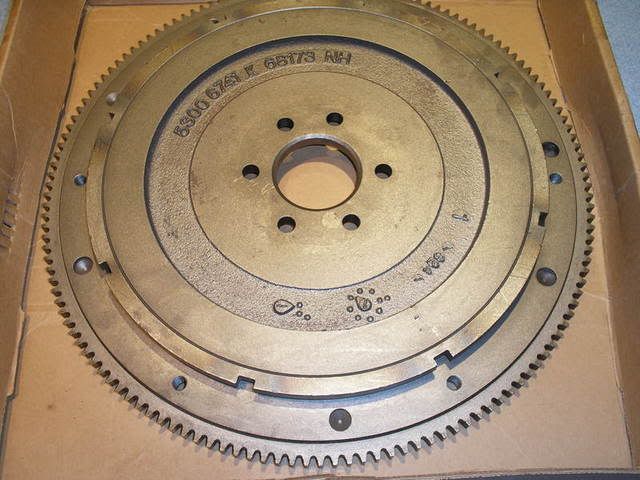
Here is the right one, 8 evenly spaced notches:
Also, the section of the flywheel with the notches that the CPS reads off of is just slightly larger in diameter than the stock flex plate. I forget the exact amount (I have it written down SOMEWHERE) but I had to make a small spacer to go between the CPS mount on the block and the CPS bracket that mounts to it.
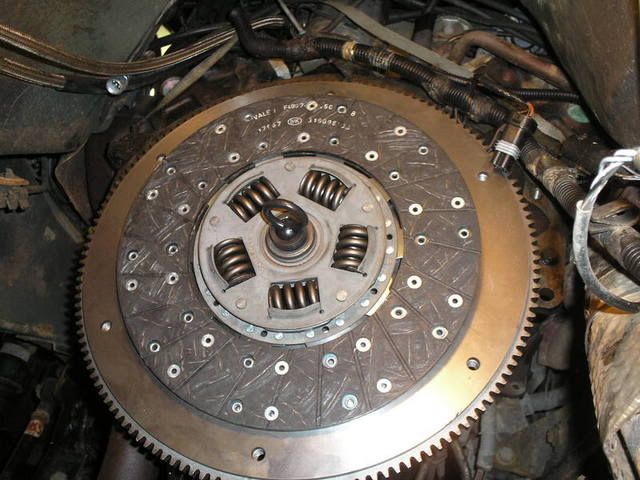
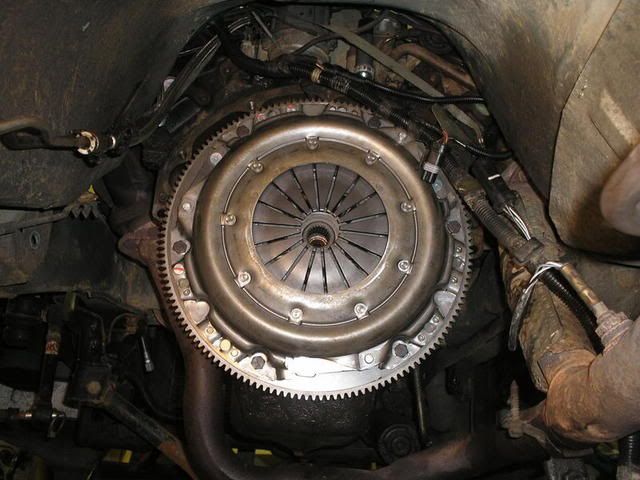
Luk 23 spline 11" (measured 10.8") clutch disc...
Pressure plate installed and torqued to spec...
 09-12-2006, 10:57 PM
How big of a difference did you notice with that brake upgrade.
09-12-2006, 11:03 PM
Well... it is not off the jack stands yet
 09-12-2006, 11:03 PM
So did you swap in the DD Machine mainshaft? Doesn't look like the MadRooster kit. And isn't their a third manufacturer now specializing in converting the chain driven NP cases to crawlboxes now? And did you make the adapter plate yourself?
Everything looks great. Excellent tech here..
09-12-2006, 11:16 PM
Nope, that is a shaft I designed myself. I then sent my designs off to a guy to have it splined. No one makes a kit to join the 249 and D20, or even the 231 and D20. I traced out the shape of the 1/2" plate then had the machine shop cut it when they welded up the side of my 249. Unfortunetly I don't have the mad skillz (or TIG) to weld aluminum (yet!?). Then once home it was drilled and tapped to join the cases.
I wanted a doubler, and I wanted to see if I could do it cheaper than the kits out there. The 249 was free, the D20 was $75, modification for the 249 welding and cutting of the plate was $75, and the shaft was a little expensive at $450. Especially for a one-off production. Compare that to the d.d.machine product at $350 + the cost of a 231 I did not have + a flip kit ($$$) and it quickly exceeded the price I wanted to spend. Plus this was pretty fun!
6.68:1 x 2.72:1 x 2.46:1 x 3.54:1 = 158:1
Also, I'll be running around 2300 RPM's @ 70 mph on the highway in 4th.
-Tim
09-13-2006, 01:00 AM
nice thanks what else do you need for the swap to a 435??? i want to do this to i have searched but came up with nuthin any help will be awsome
09-13-2006, 01:39 AM
So did you swap in the DD Machine mainshaft? Doesn't look like the MadRooster kit. And isn't their a third manufacturer now specializing in converting the chain driven NP cases to crawlboxes now? And did you make the adapter plate yourself?
Everything looks great. Excellent tech here..
 09-13-2006, 09:54 AM
Damn, quite the project.
I love the crawl box.
09-13-2006, 11:19 AM
maybe I missed it but are you gonna keep the 3.55 axle gears? if not then that crawl ratio could be CRAZY LOW on second thought standards usually have lower (numerically) gears... Anyways bad ass project! now I want a doubler too! I need to find a money tree
 09-13-2006, 12:21 PM
Very nice project
| « Previous Thread | Next Thread » |
| Thread Information |
Users Browsing this ThreadThere are currently 1 users browsing this thread. (0 members and 1 guests) |