|
|


 03-23-2006, 04:21 PM
ThnxOriginally Posted by jsteves
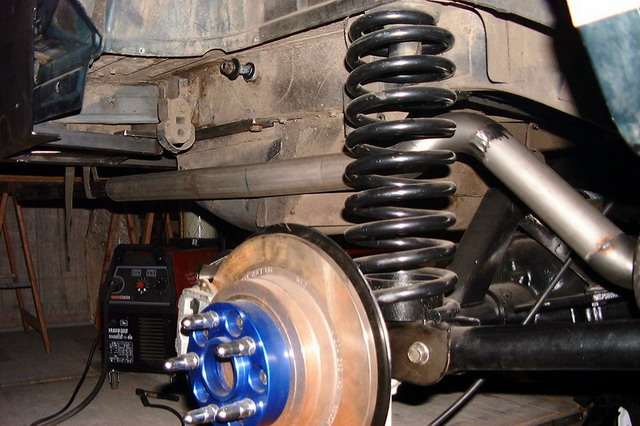
I'm using WJ rotor's which I redrilled to 5 on 4,5"
 03-29-2006, 04:50 PM
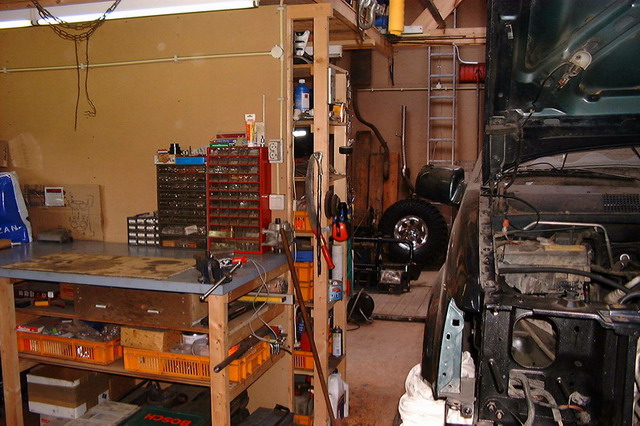
So almost life, early March 2006.
Kept in mind wat was said last year.
Time to box it.
Obvious needs some further attention and paint.
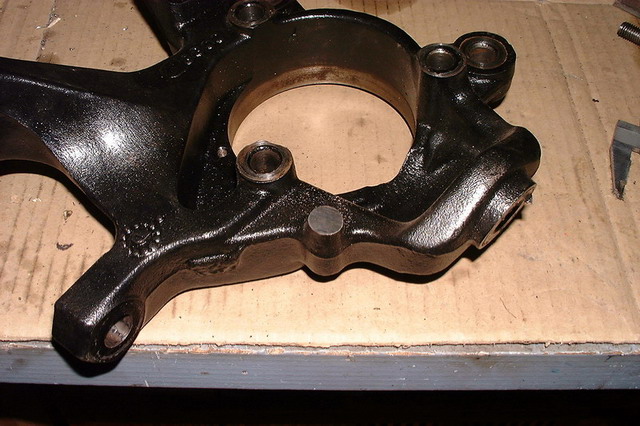
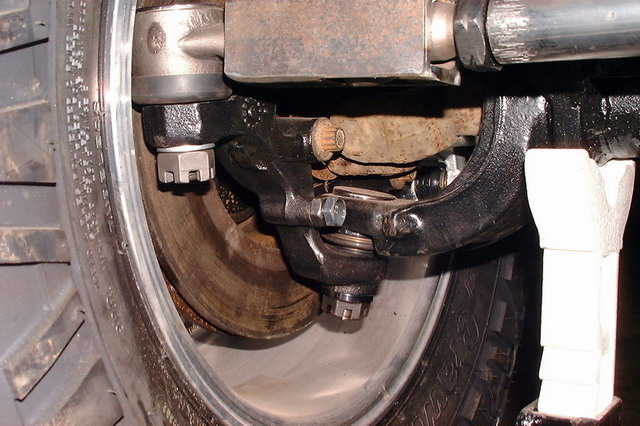
Time to fab an adjuster on the WJ knuckle for max steering.
Why? Cause I do not want to rub my tires on the fresh painted LCA's.
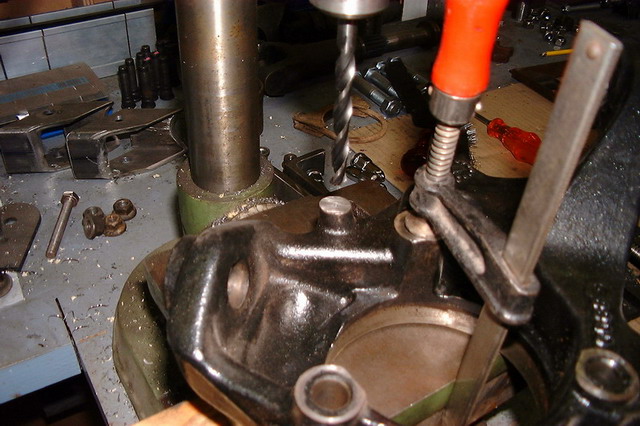
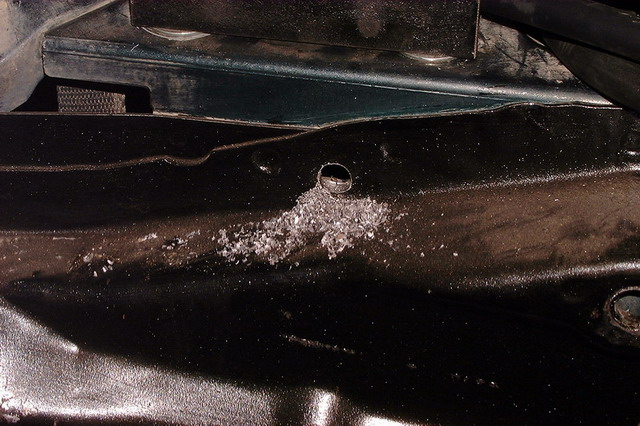
First to create a flat surface
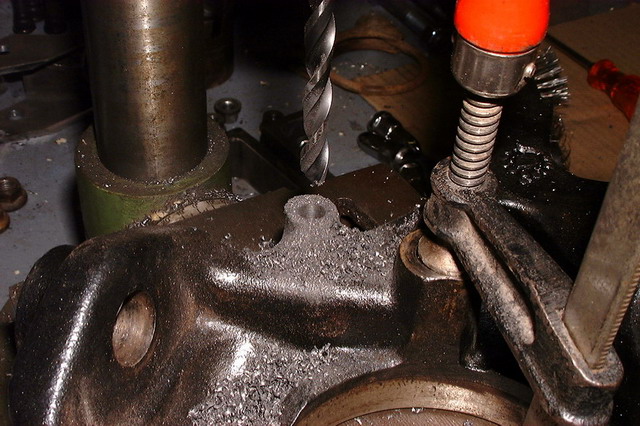
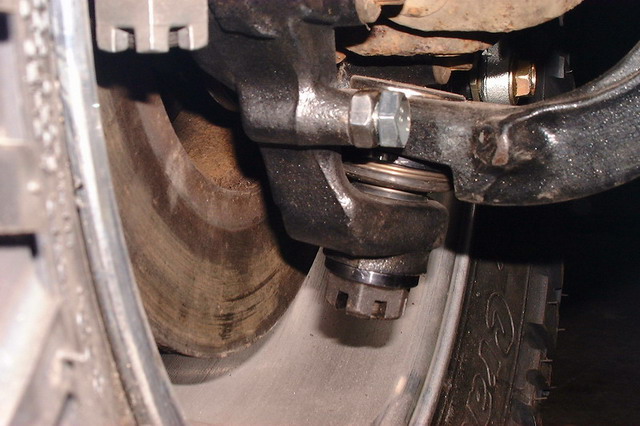
Drill a 8 mm hole in it.
It is working.
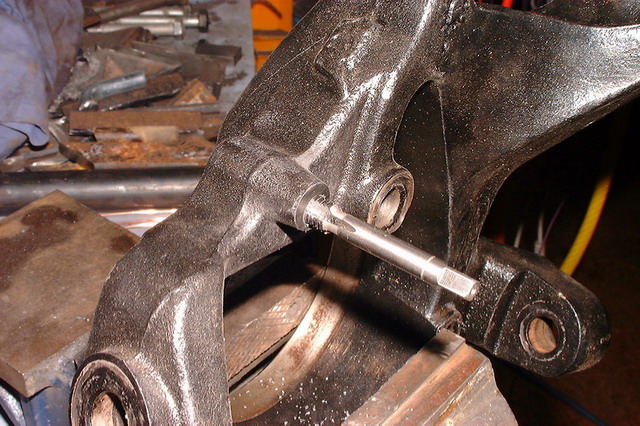
Tap M10 in.
Install and adjust.
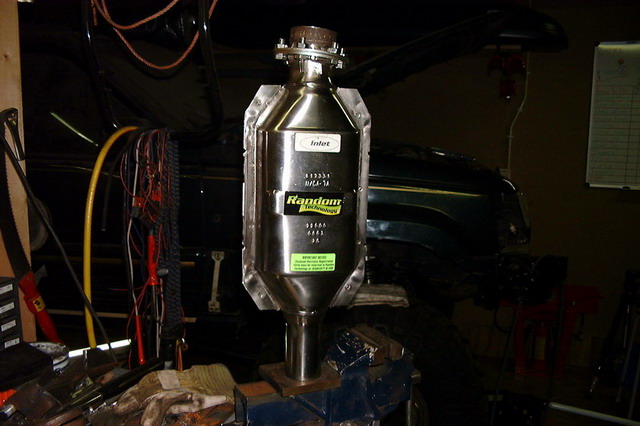
After a lot off thinking to get this ZJ street legal or haul it on a trailer, decided to put a catalytic converter in.
I need it to pass an annual check which is mandatory for cars which are 3 years and older.
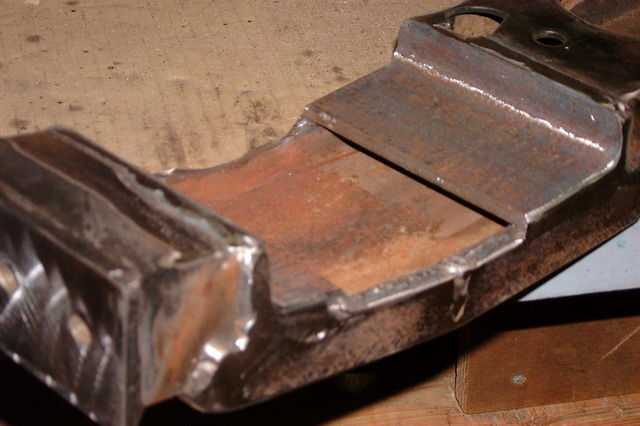
Started with this!
And finally came up with this.
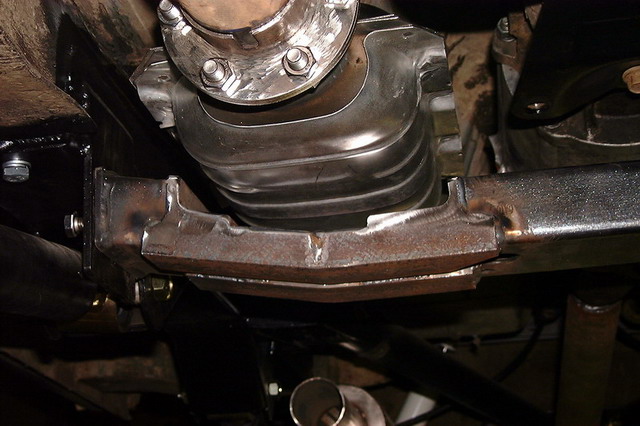
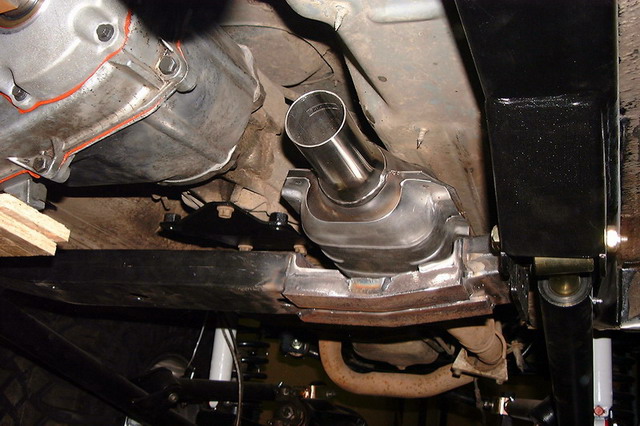
So I can put the cat over the traverse and still have room in the rear for a muffler.
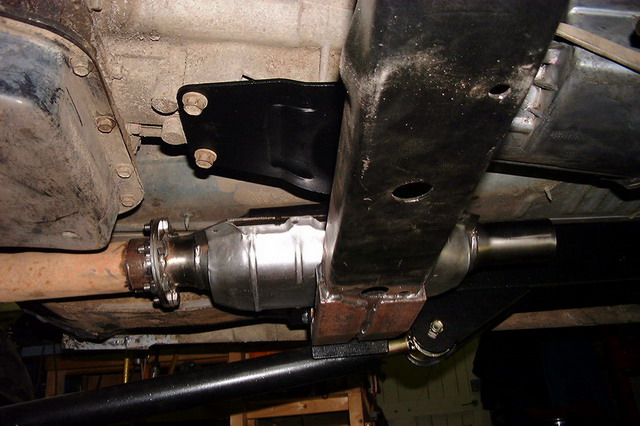
Nice spot even the stock heat shield will fit again.
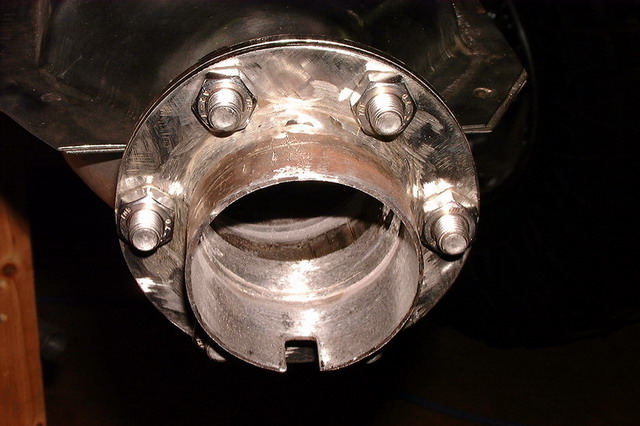
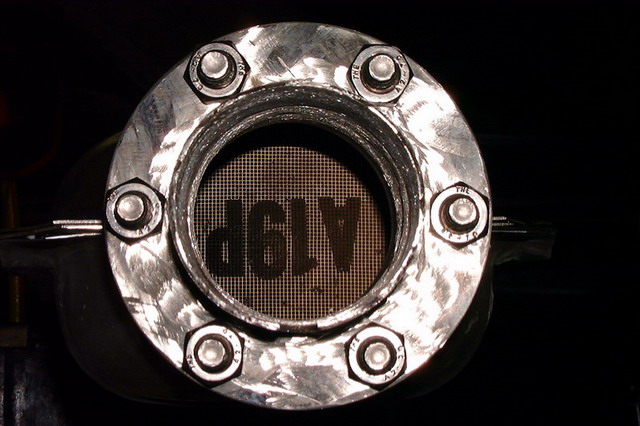
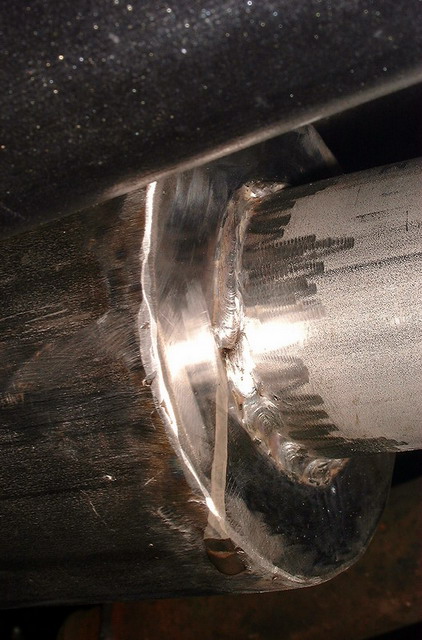
It is a highflow cat from random technology.
Shortened the front pipe to about 2" behind the lambda
So, next time the rest off the catback.
Last edited by ogdak; 12-13-2006 at 04:37 PM.
04-10-2006, 03:44 PM
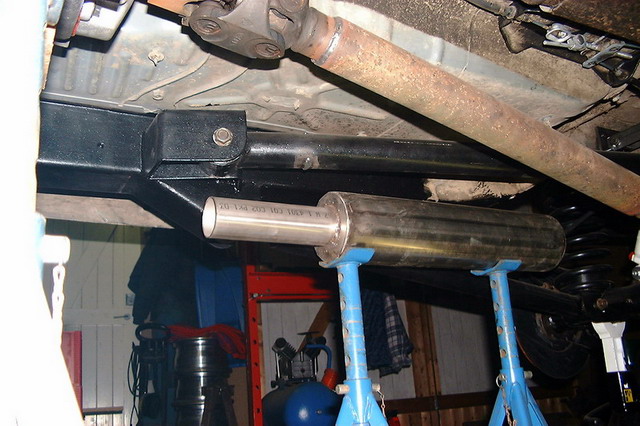
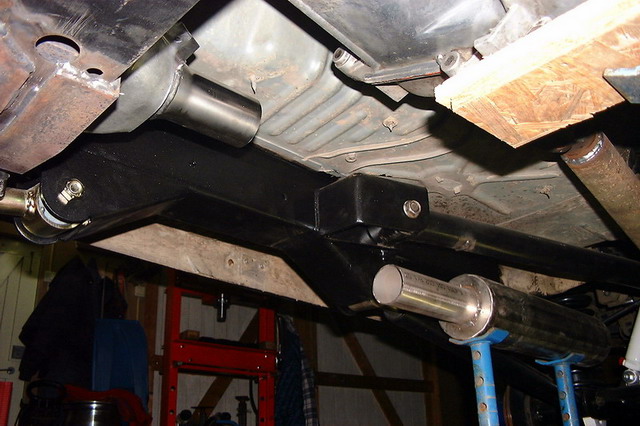
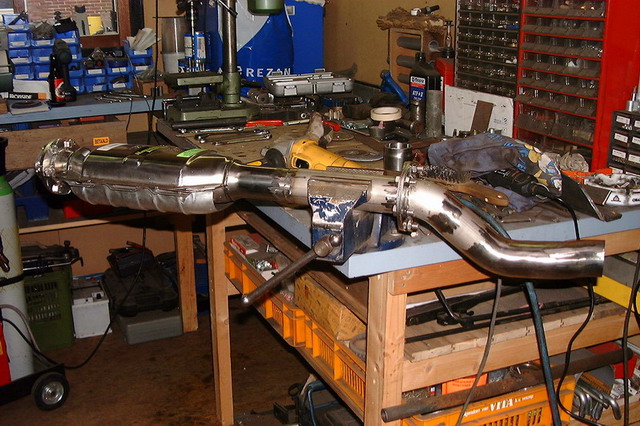
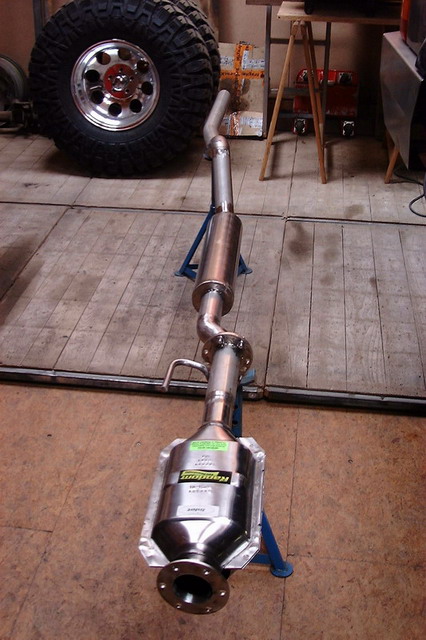
like said, the rest off the exhaust.
Nothing more then a big puzzle with pieces off pipe.
The custom muffler,made by Mav © which was a surplus leftover off an other project
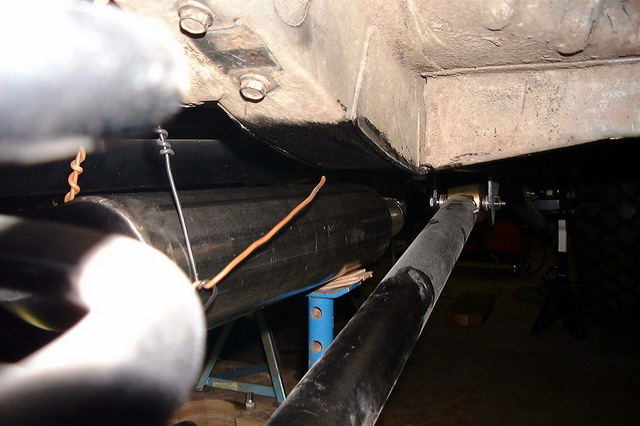
Roughly in place, need something to aim for, right.
It is sort off between the r. upper and r.lower.
On the left, the end off the cat. converter.
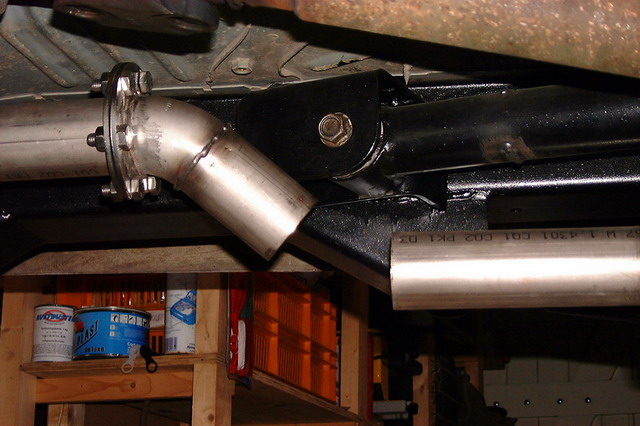
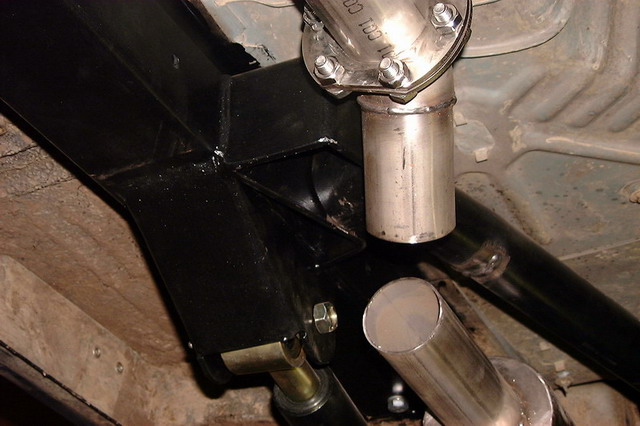
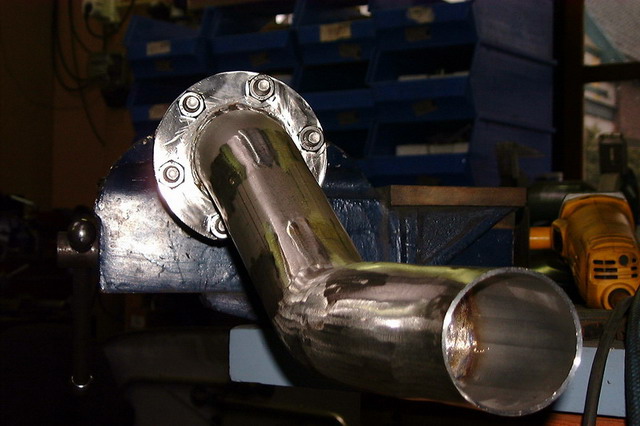
The first pieces, straight pipe, flange, flange 45 degree turn down and straight again.
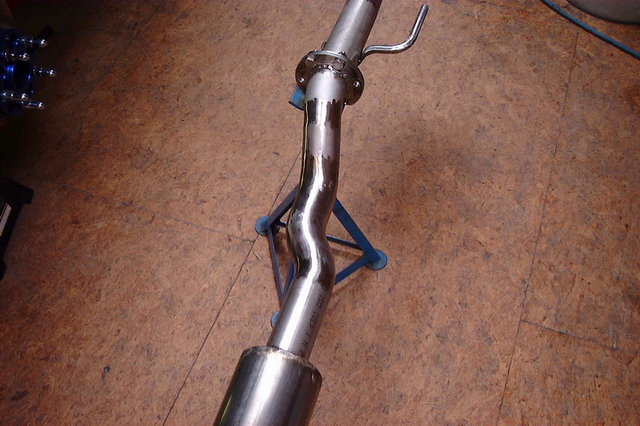
On with 45 degree up, straight pipe, 22,5 degree turn out, 22,5 degree turn in, and a muffler.
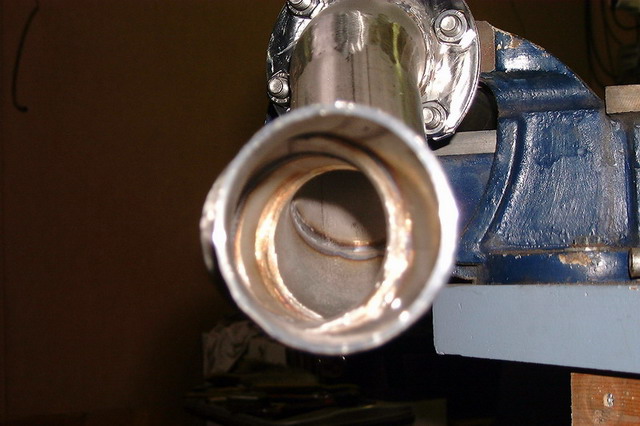
Grinding on the welds
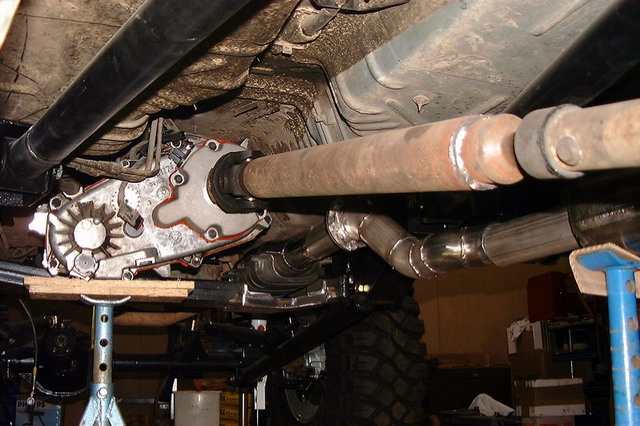
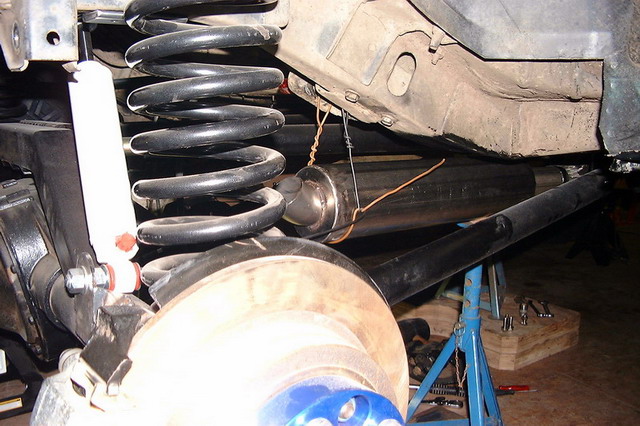
Muffler followed by a 45 degree turn up, held in place with installation wire.
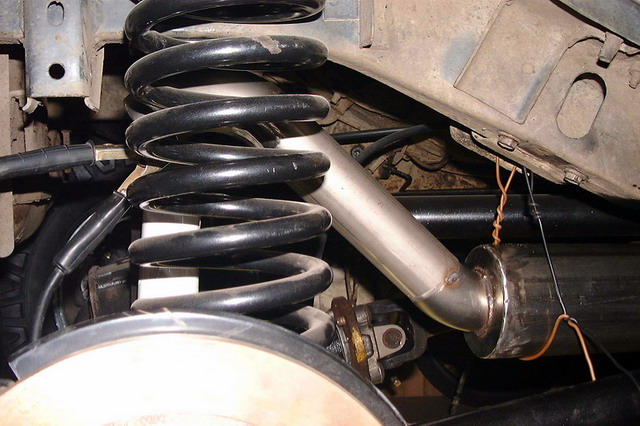
Again piece off straight pipe and down with a 90 degree turn
Between coil and shock
Followed by a 45 degree turn up and a slightly bend piece off pipe all the way to the back.
The full lenght
Roughly done.
In place.
After the first soundcheck "rightclick" - "save as" - etc.(it is 24 Mb), found a little leak.
SU.
Last edited by ogdak; 12-13-2006 at 04:43 PM.

it amazes me how much time and precision you put into your jeep. BTW what are your impressions of the maxxis creepy crawlers? know anybody who has used them yet? Im thinking of getting some.
04-10-2006, 05:23 PM
I have heard a few and seen 2 guys, both running 35" on their CJ's.
They were happy with the performence off the crawlers.
Have not seen them on ZJ's though. Time will tell.
04-23-2006, 03:55 PM
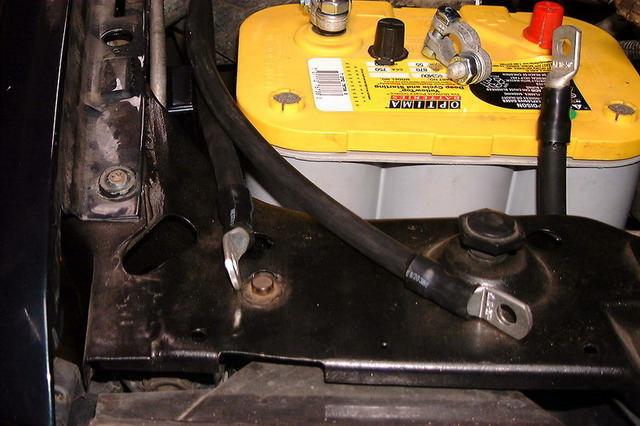
Time to start doing some electric's
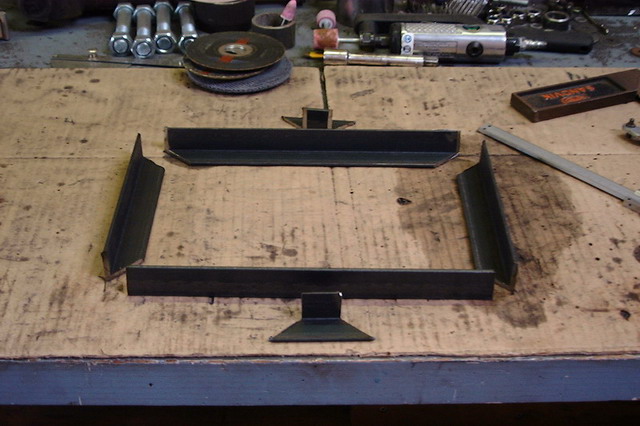
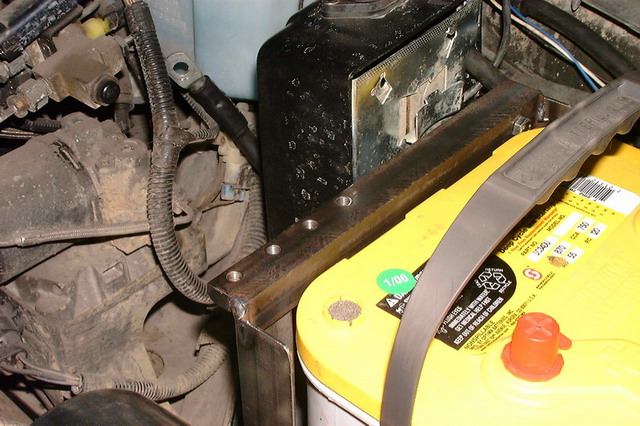
For starters an extra battery tray.
Some part's fot the bottom part.
Did not take a lot off pic's in this stage.
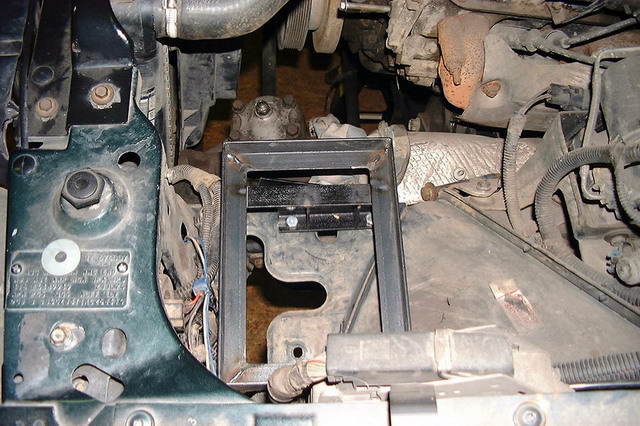
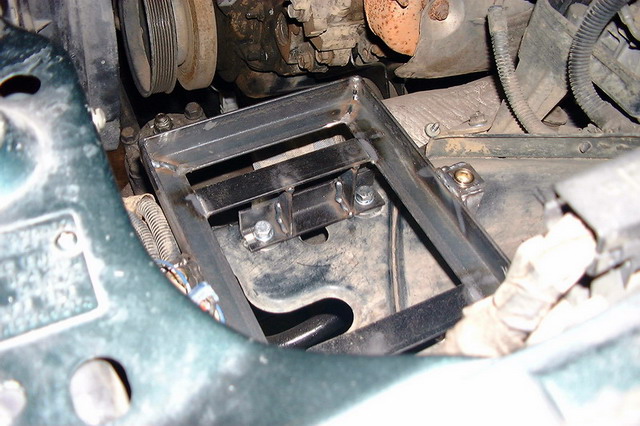
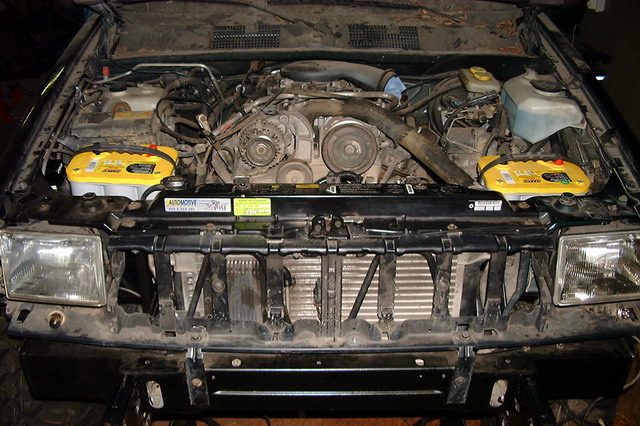
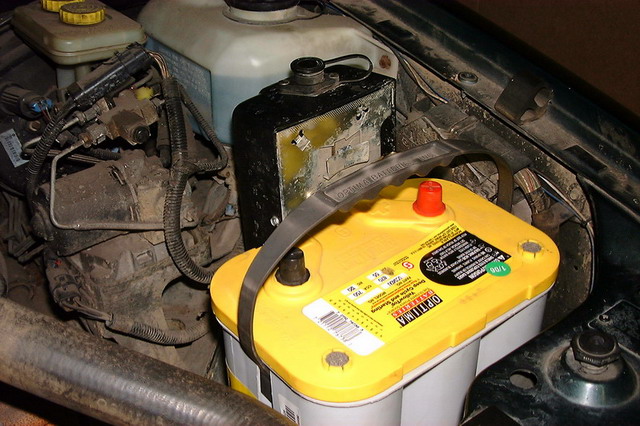
So here it is in place.
From below.
With the optima yellow top's
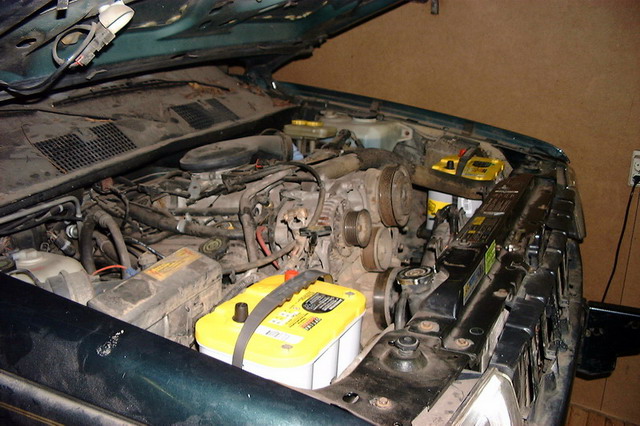
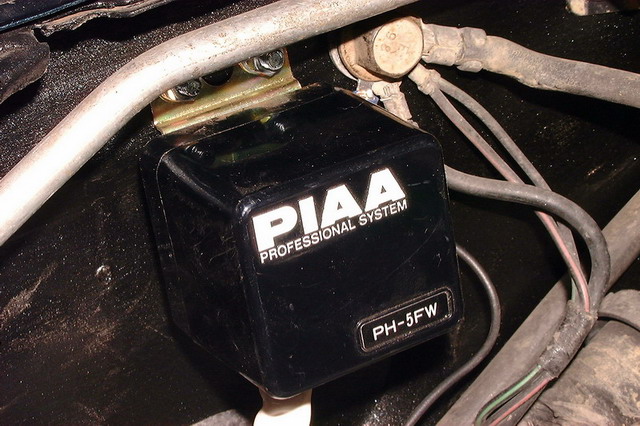
On the second batt.tray also a place to put the control box.
I do not like it to sit on the bull-bar.
So like this, I like it better.
To memorize how it was original mounted.
Will be "wired" pretty soon
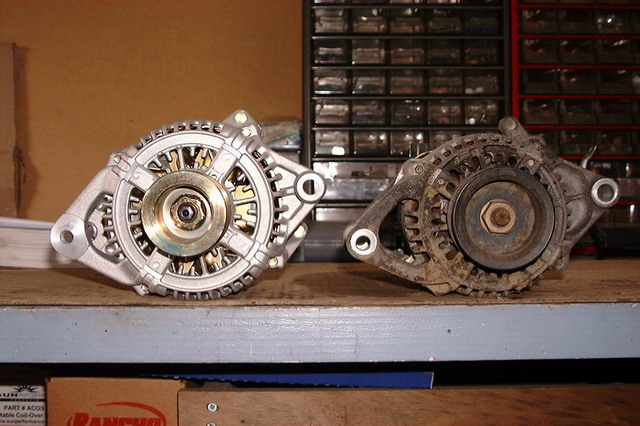
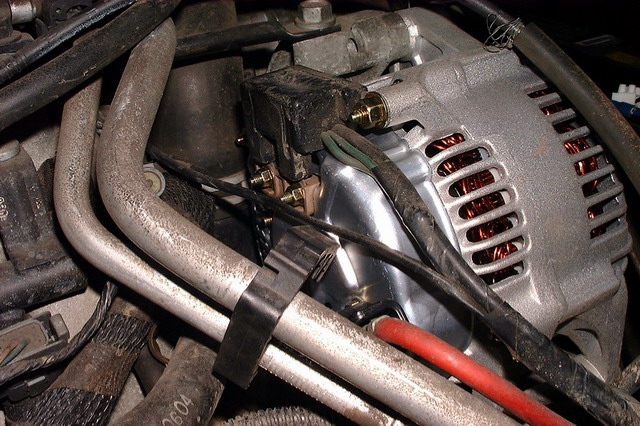
Other issue is the stock alternator, which is only good for 90 Amp's
With a dual batt. setup, winch and e-fan probably not sufficiant.
picked up a MG "high output alternator"
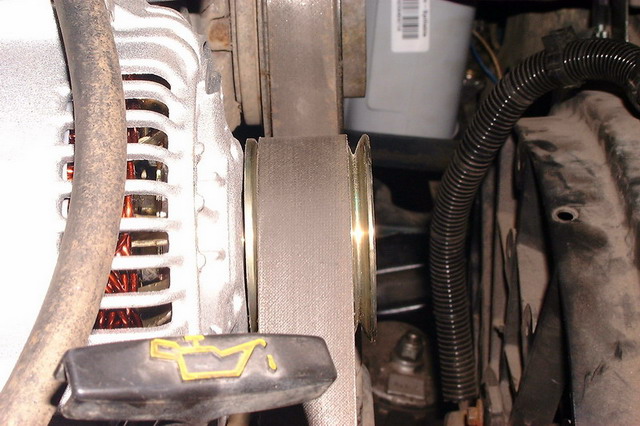
Side by side, overall the MG alt. is bigger.
Little trick from MG to produce more power on idle, is the smaller poulie diameter wise.
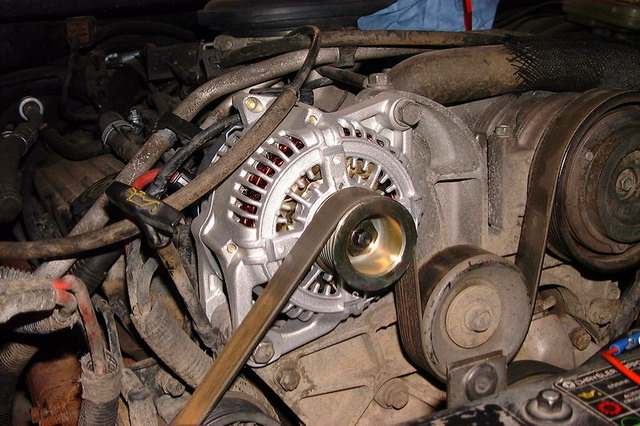
Like stated on there website "Easy 5 Minute Installation", no suprises fit's nicely.
The poulie has an extra "groove", multi functional?
Has put this one also in place.
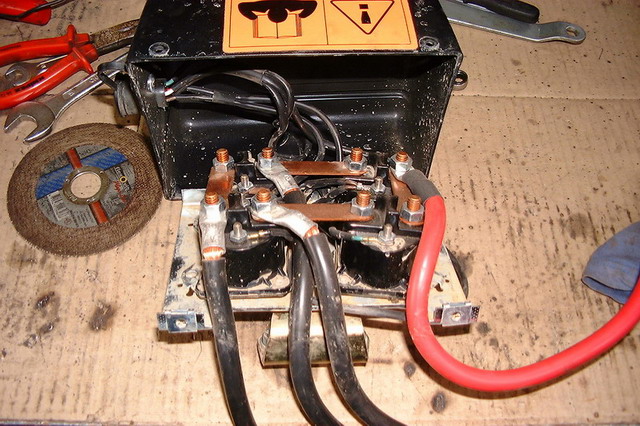
Time to start on the wireing, by somebody who know's what he is taking about. www.jeepie.nl aka Rene and Willem
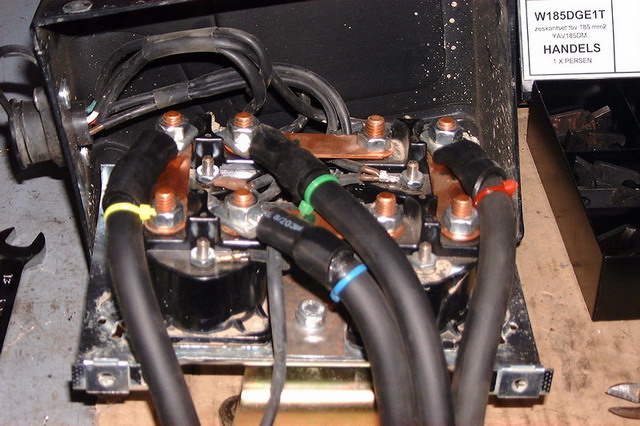
Here a detailed view on the profi cable work, 35MM² litze kabel, solid cable shoe's and shrinking stocking, lol.?
(feel free to help me on my english guy's, don't have a clue how you call it. translate site's suck.)
Extra negative.
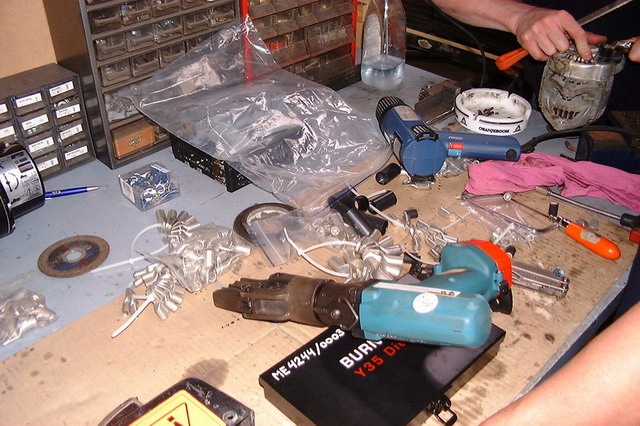
Tools and parts
Control box rewired.
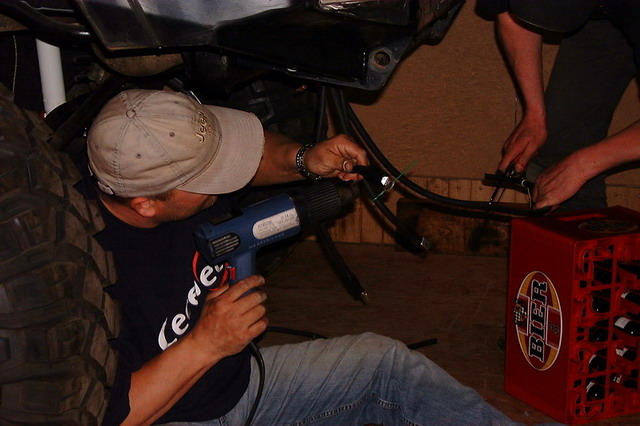
In action, thnx guy's
And the other side.
To be continued.
Last edited by ogdak; 12-13-2006 at 04:47 PM.

 04-23-2006, 04:24 PM
bling bling
 04-23-2006, 06:51 PM
Looking purdy. I take it you're going to add an in-cab winch control? I know I wouldn't want to be pulling cable with my hood open and not be able to see where I was going..
04-24-2006, 11:11 AM
that's right.
 04-24-2006, 03:25 PM
Damn, looks awesome man.
The quality of work you do is simply awesome.
 04-24-2006, 03:30 PM
That's exactly where I put my 2nd yellow top.
Looks great!!!
04-24-2006, 04:17 PM
Ha ha, make sure it's a roundtrip
THNX
Only place available after ditching the airbox.
04-27-2006, 02:16 PM
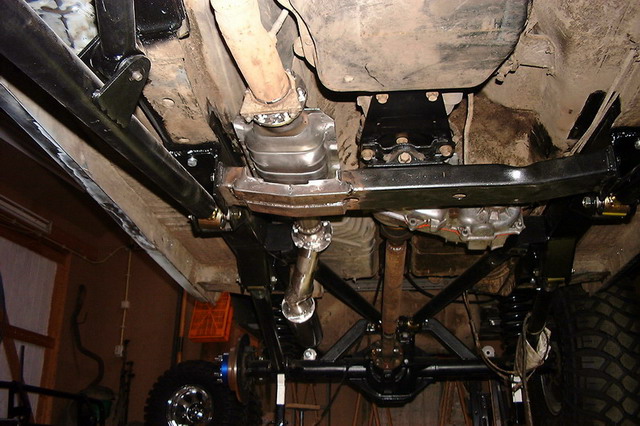
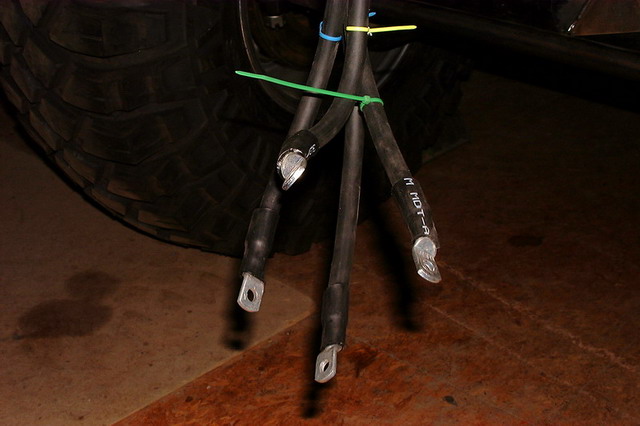
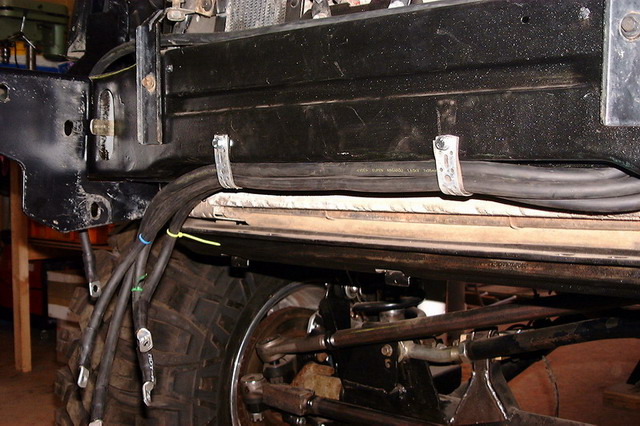
Zoomed in on where I left off.
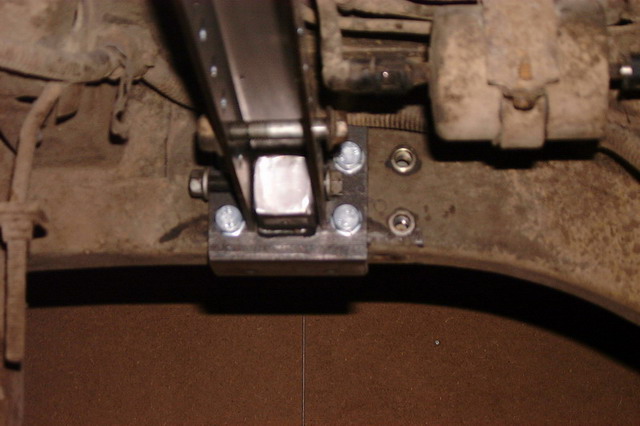
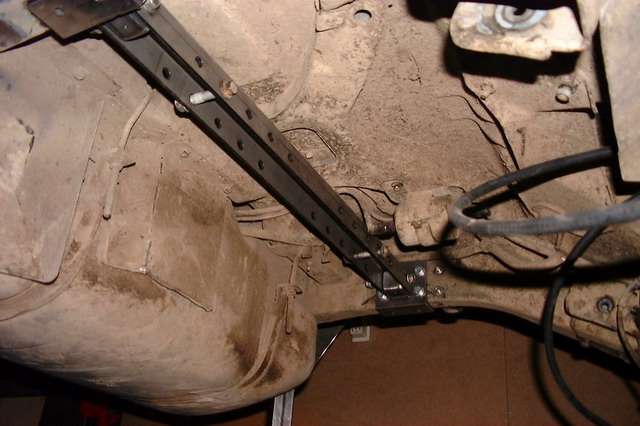
Mounted up underneath the front crossmember.
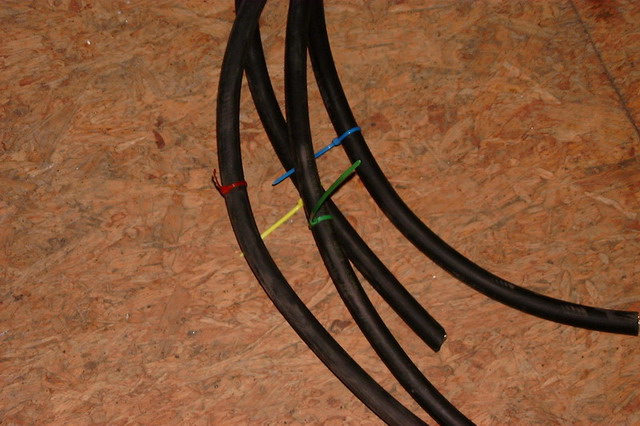
cable spaghetti, love those coloured tie rap's
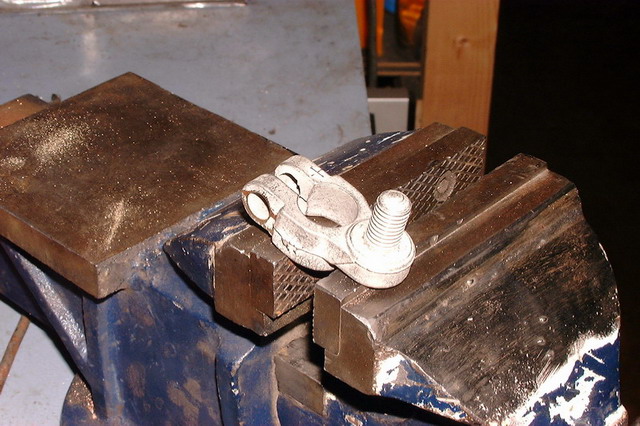
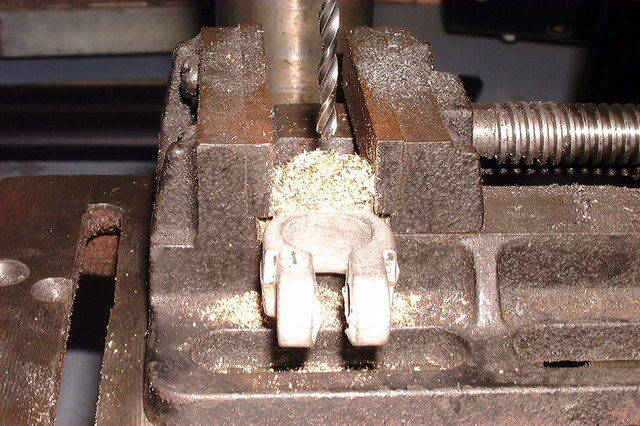
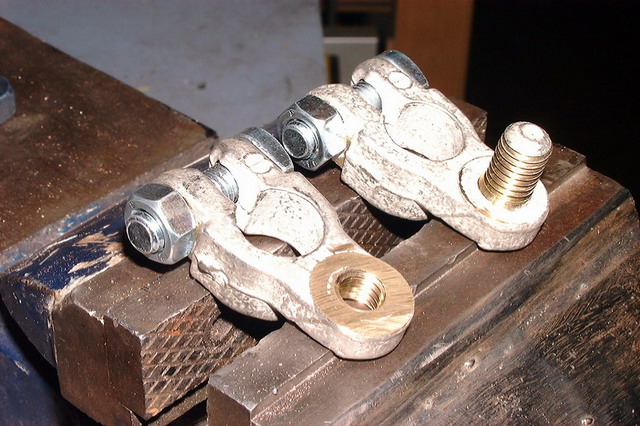
I thought to have some nice battery-terminal's, turned out that the threaded end is to short
to fit 3 cable shoe's, washer and nut.
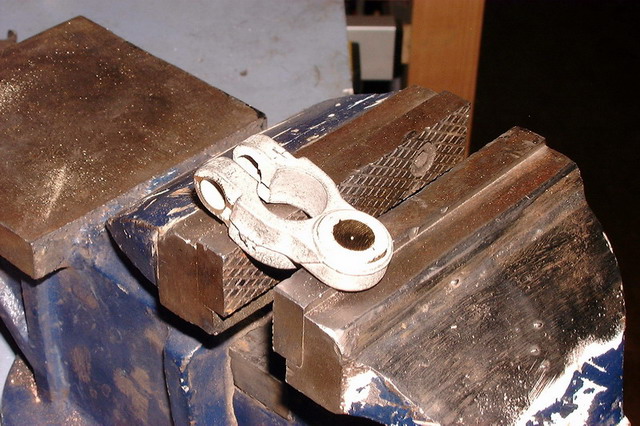
Cut off
Drilled and tapped M10 thread
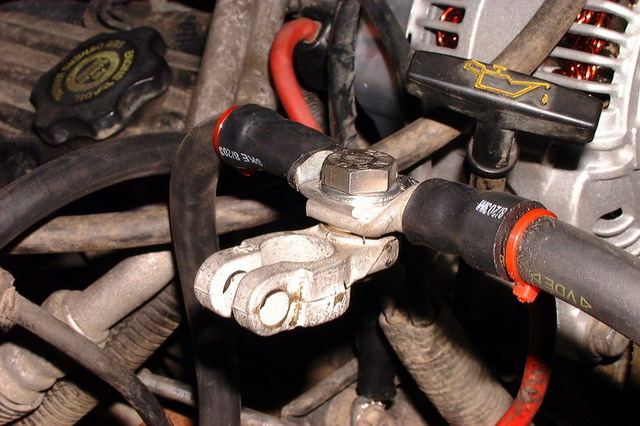
Before end after.
With RVS bolt looks much better.
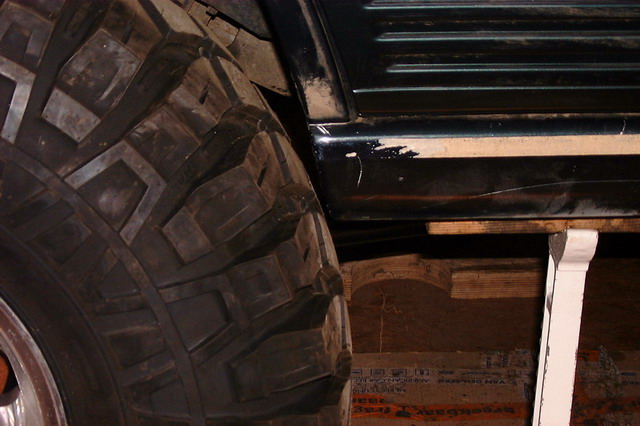
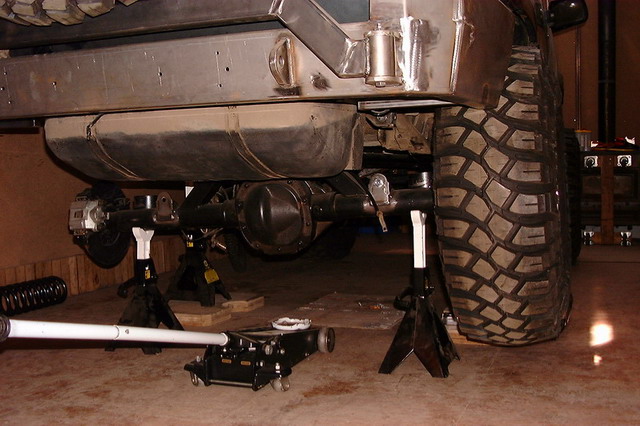
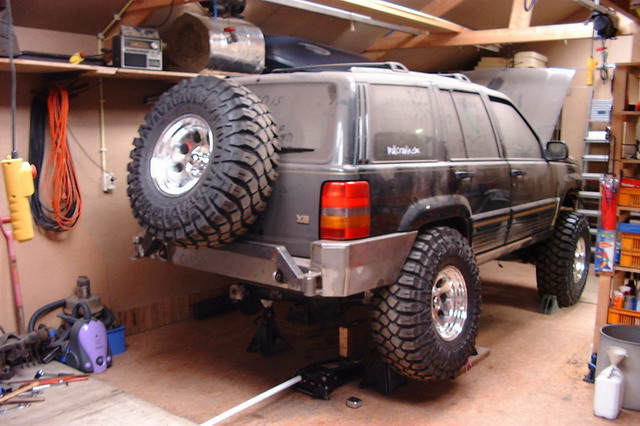
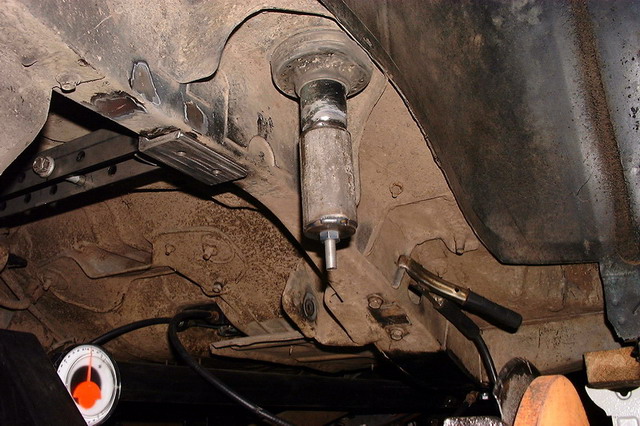
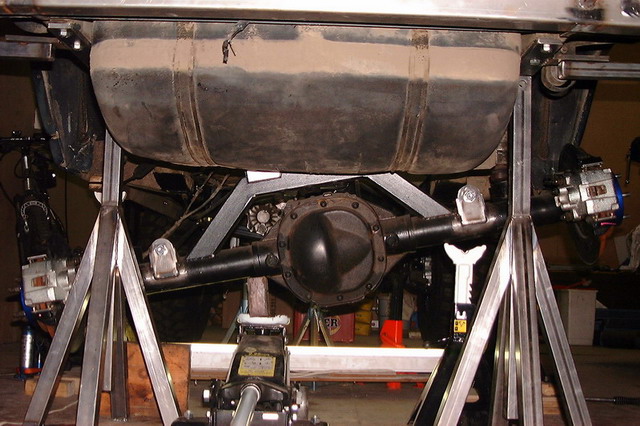
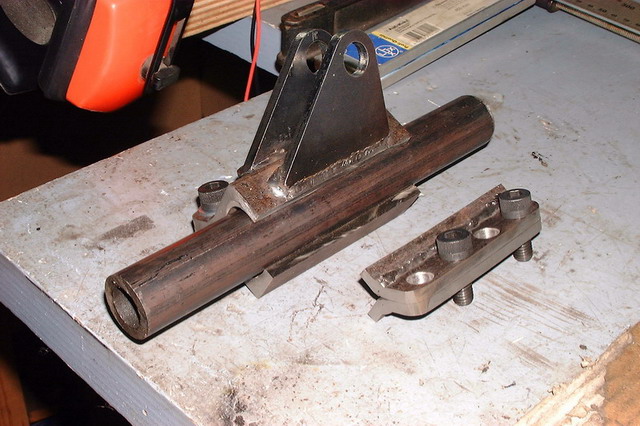
Time for something else, to set up the rear axle.
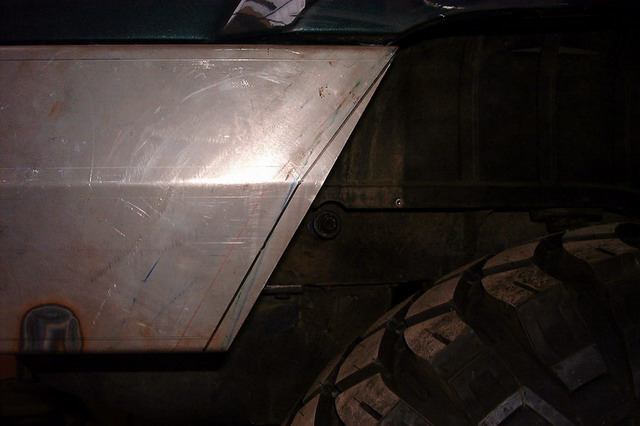
Jacked up the rear on one side and ran into the rear off the rocker panel, with still enough
space on the rear and top off the wheel.
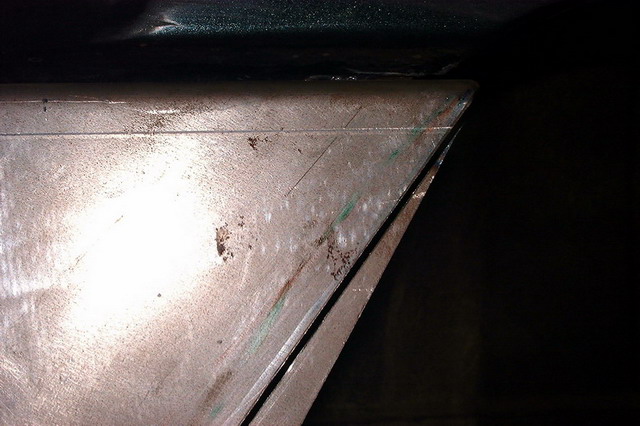
Set the adj. CA's longer, now clear on the rocker, but need to trim the rear bumper.
For now this will do.
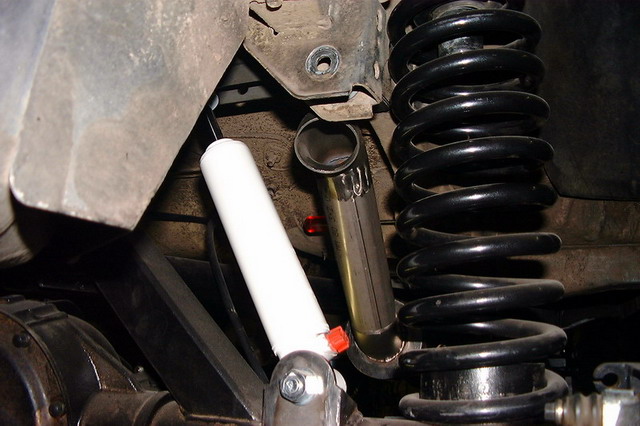
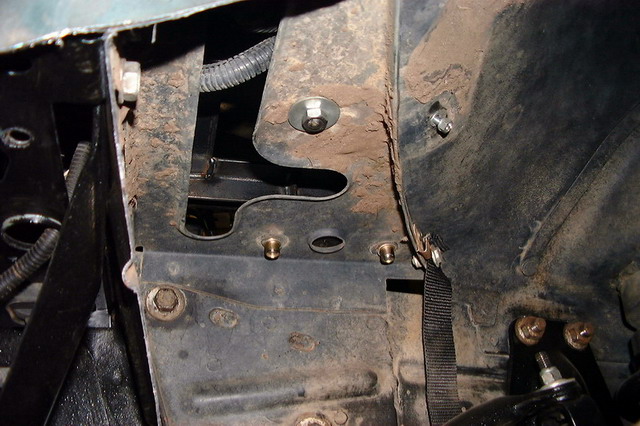
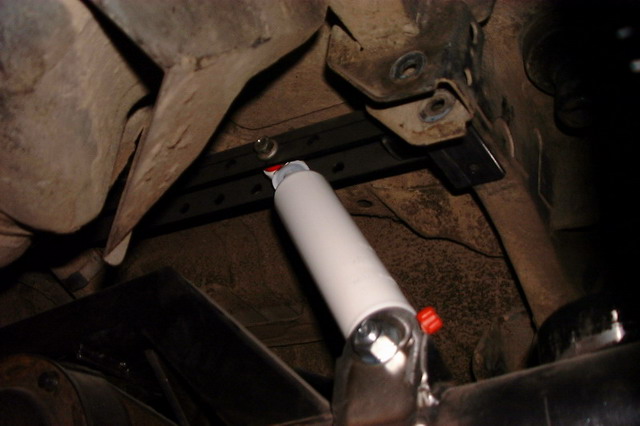
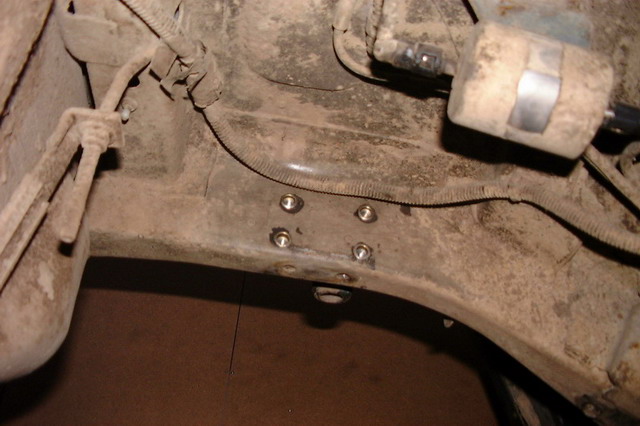
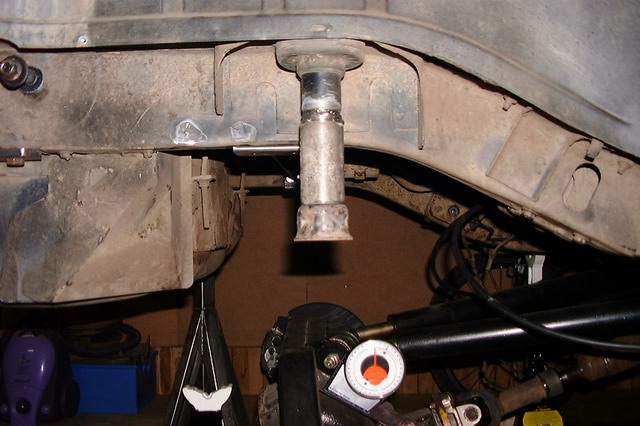
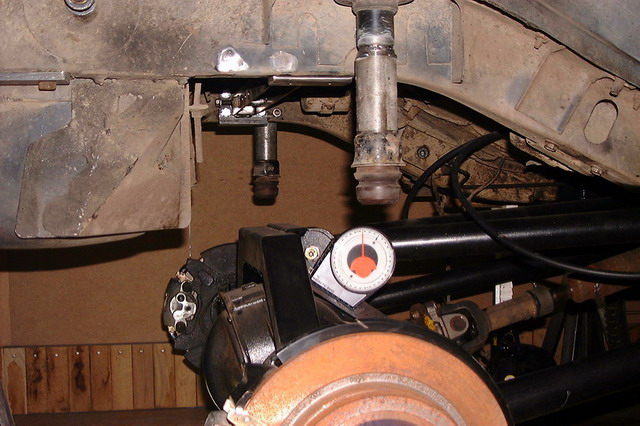
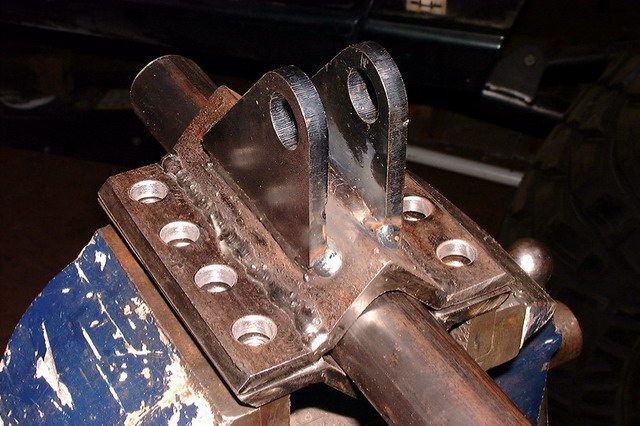
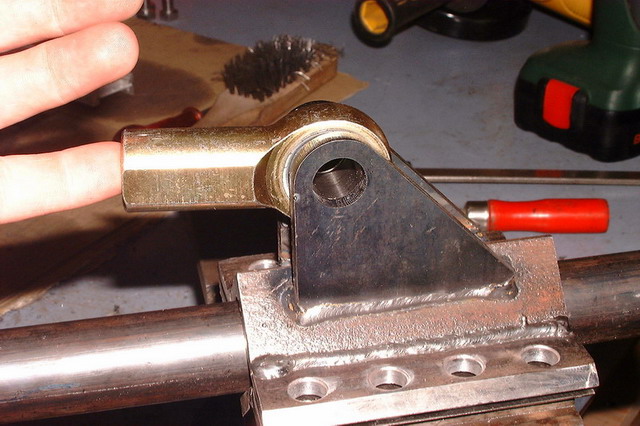
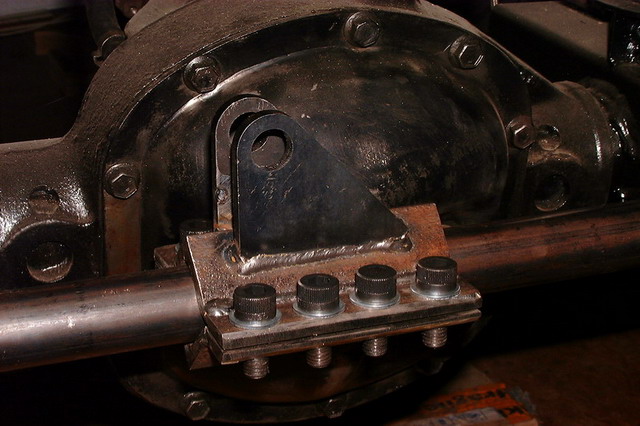
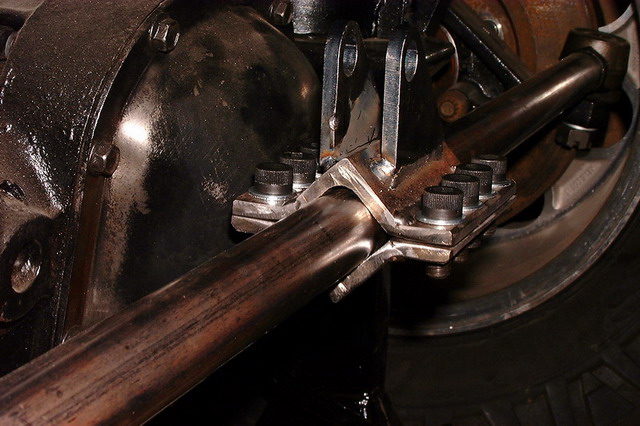
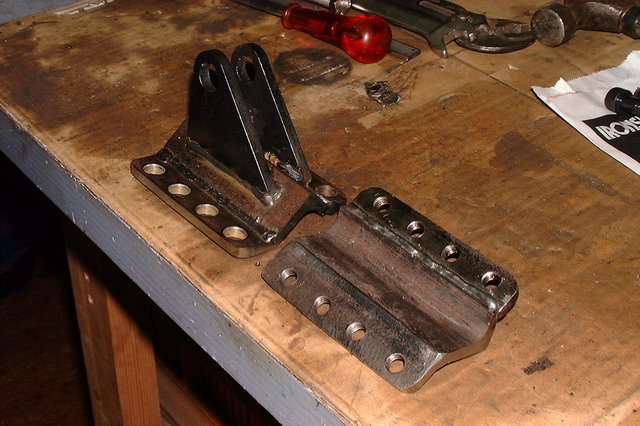
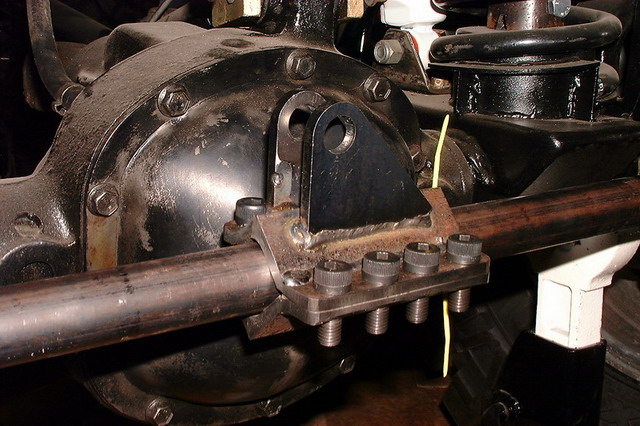
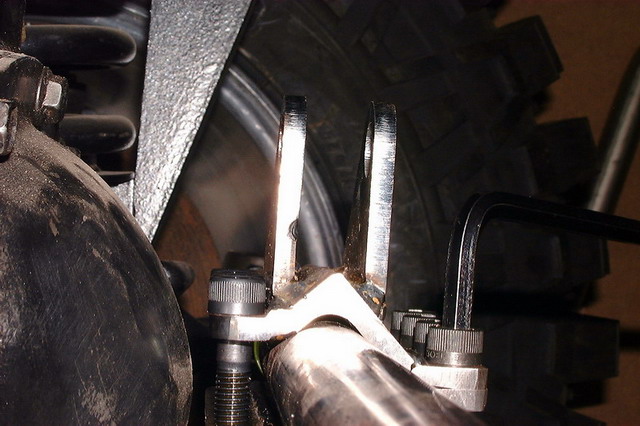
Because the axle get pushed towards the rear, my upper shock mount's are off-line.
The "old" but never used mounting points
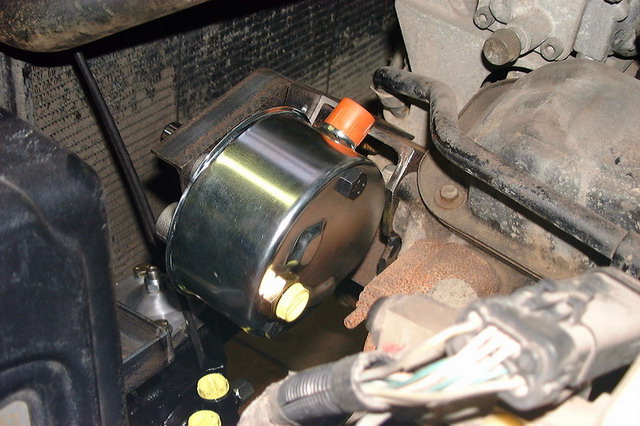
The new location, advantage is I can use the stock location/bracket for the fuel filter
All for April. SU
Last edited by ogdak; 12-13-2006 at 04:52 PM.
04-27-2006, 07:03 PM
ultra slick rear shock bar!!! not that i would expect anything else! are those nut-zerts in the frame?
Mike
04-27-2006, 08:10 PM
Dude, you're like the European Kraqa! Nice buildup!!
04-28-2006, 02:39 AM
jep, M10 threaded
 04-28-2006, 10:02 AM
haha, Riv nuts are freekin awsome.
keep up the progress looks great.
05-09-2006, 03:21 PM
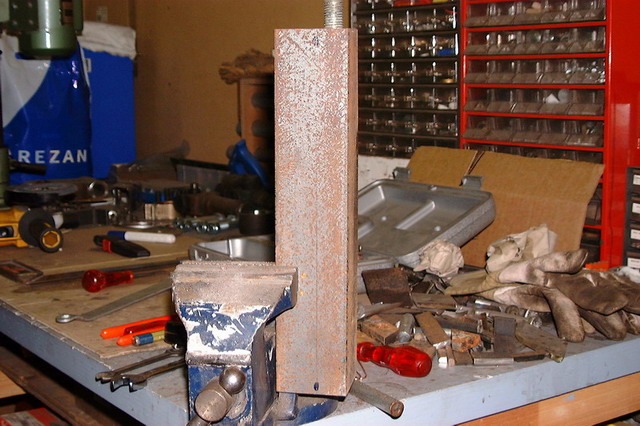
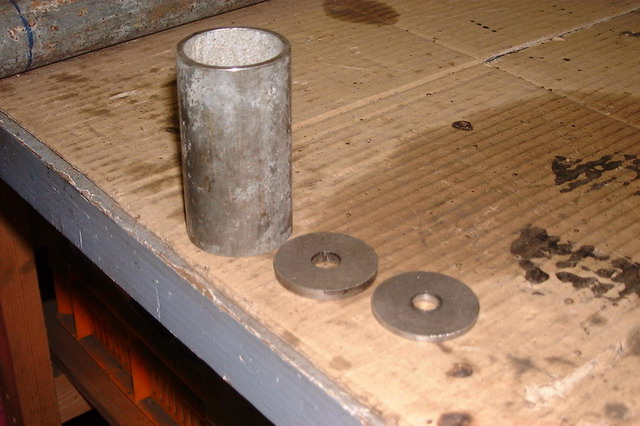
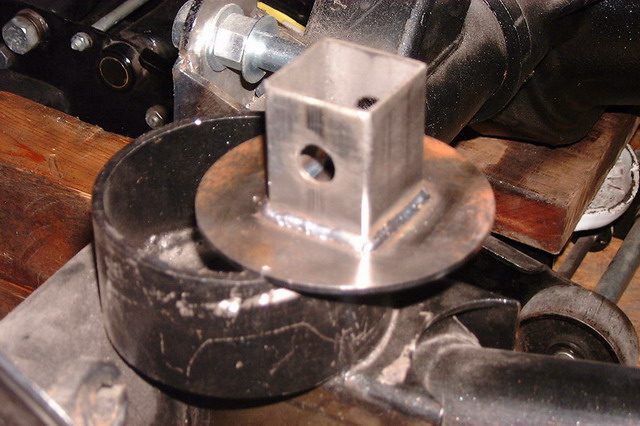
On with the rear, still need to make some Bump-stops.
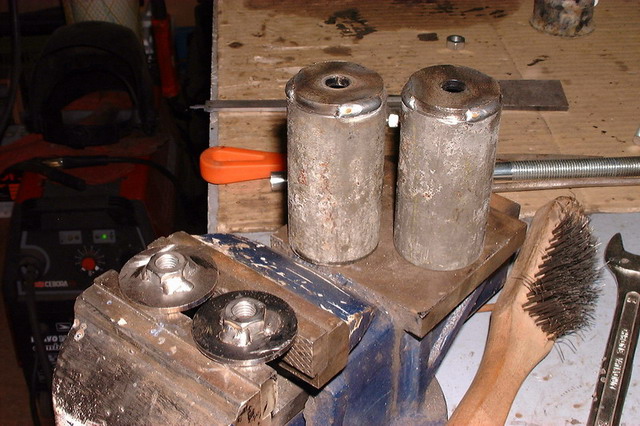
Some off the materials I used.
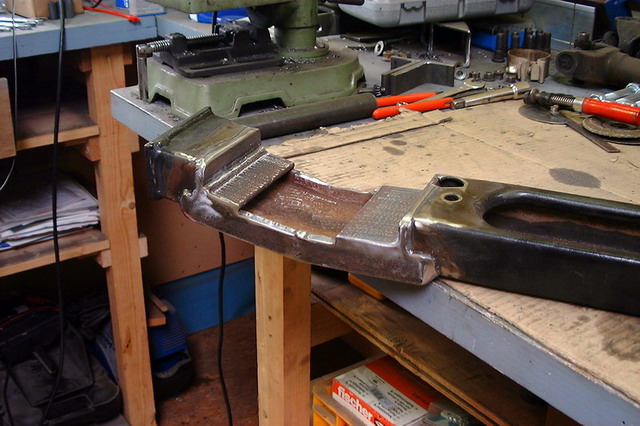
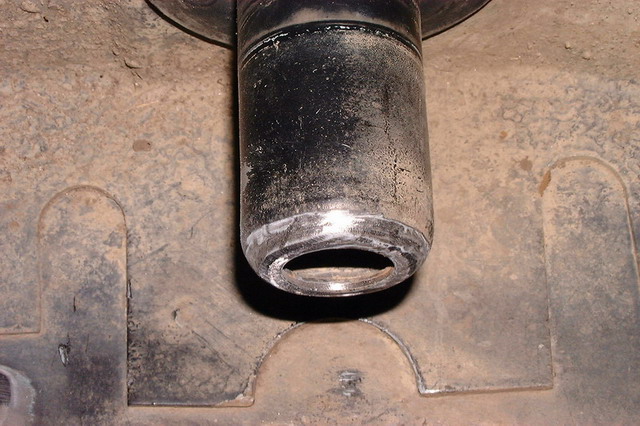
Got the rear upper spring post cleared from paint and dirt.
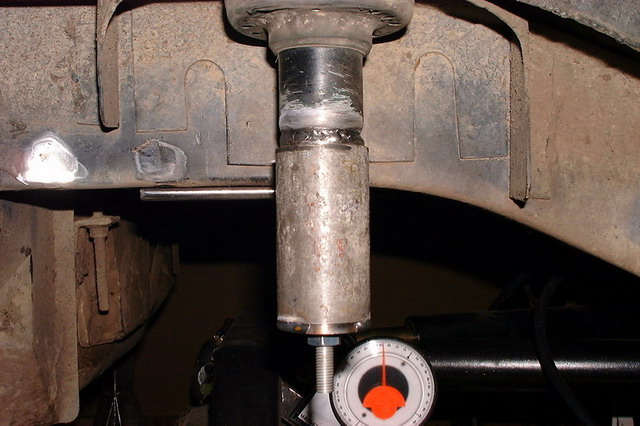
Welded the piece with the nut on.
Pipe is on.
Using oem stops from the front off Beest's ZJ, leftovers after his ACOS install, thnx.
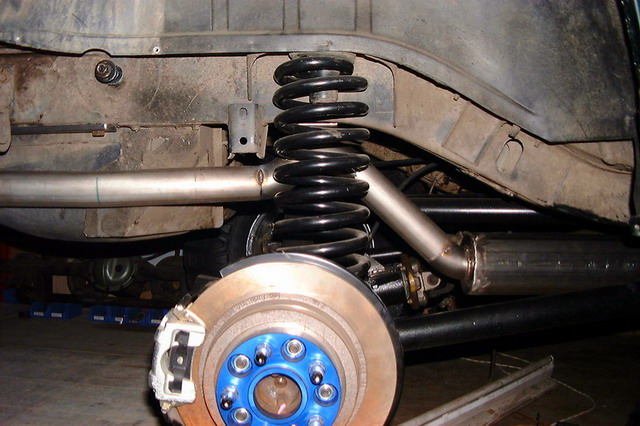
Fabbing a plate on the lower spring perch, otherwise I'll still damage my shocks
All followed by a "flextest"
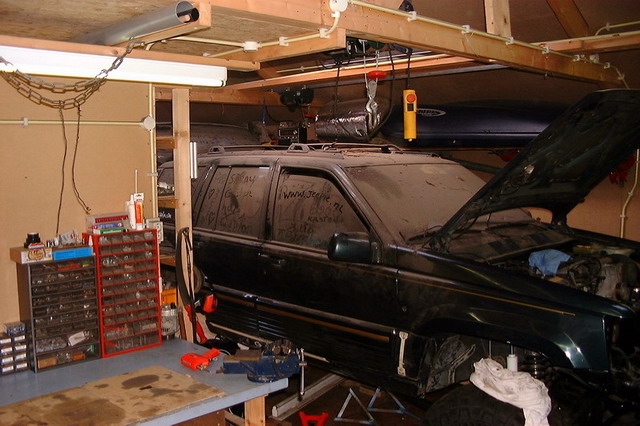
Started to clean up a bit.
Left a little dust here and there
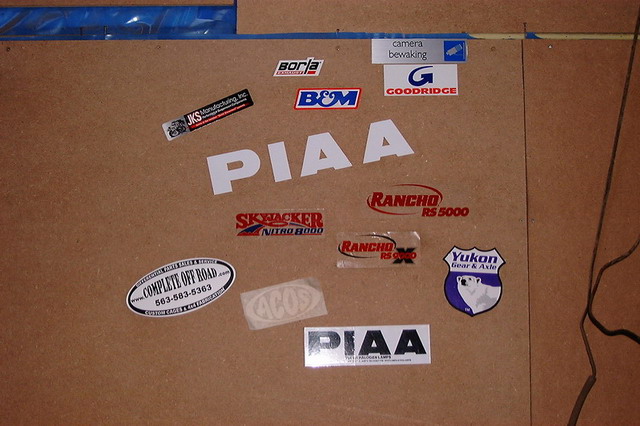
Also found a sticker spot.
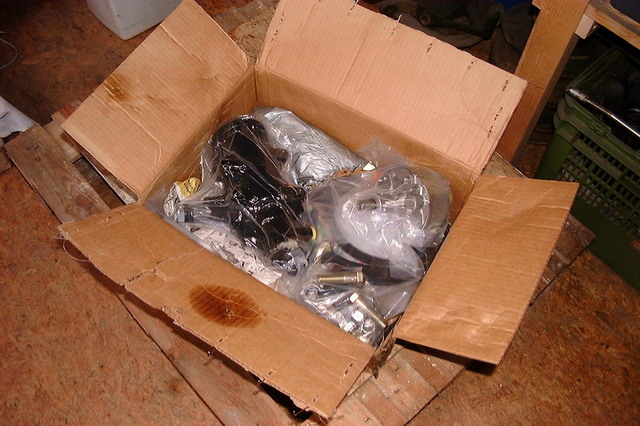
And then finally last week a parcel arrived from Charlotte(NC).
Through this thread http://www.mallcrawlin.com/forum/sho...5427#post75427
I came in contact with Andy from http://www.carolinarockshop.com
It took some time but he had to sort out some stuff to make this work, thanks Andy.
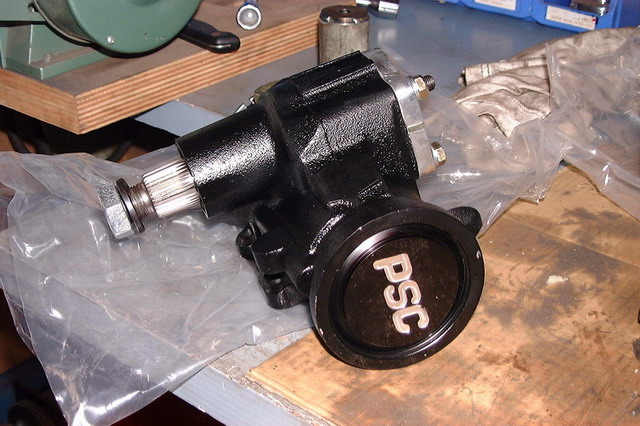
What's in the box.
First off all, a SG-621MR steering gear.
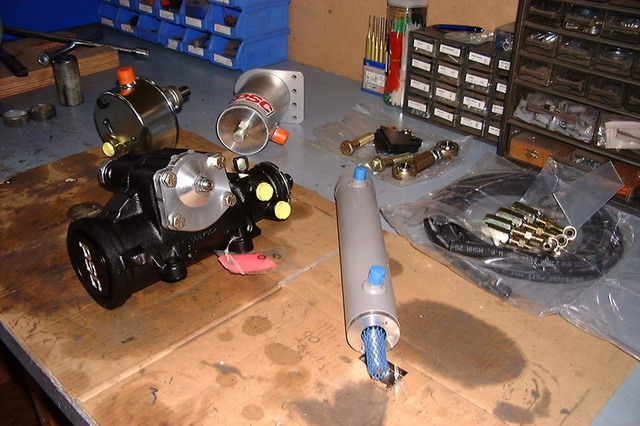
Combined with this,
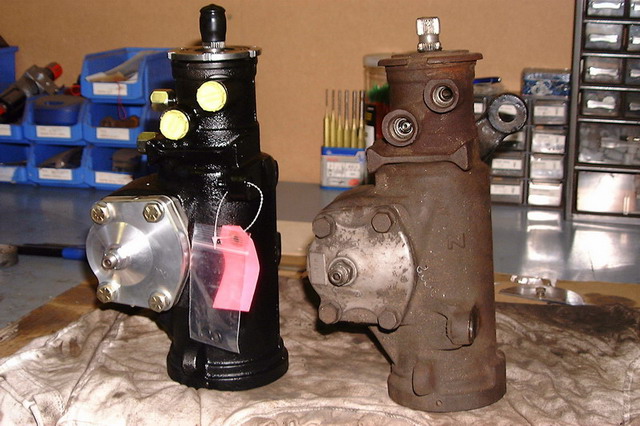
SP-1405 Hi-Displacement P-Series PS Pump w/Reservoir Can
and this.
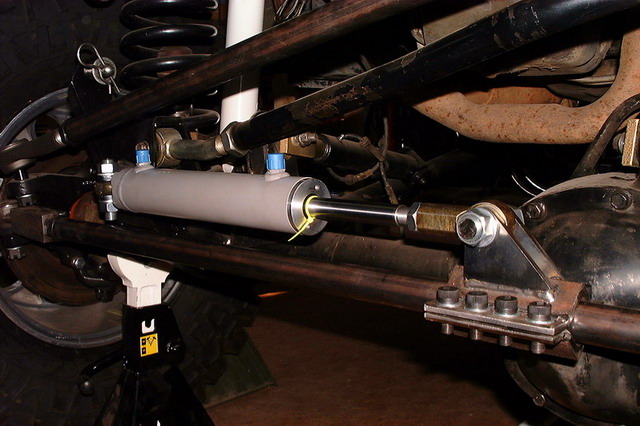
SC-2201K 1.75"Bore x 8"Stroke Cylinder Assist Steering Cylinder
makes this pile off parts.
Unfortunatly the package was damaged during transport, and some parts are now missing.
Got in contact with Andy, I'm sure things will be taken care off.
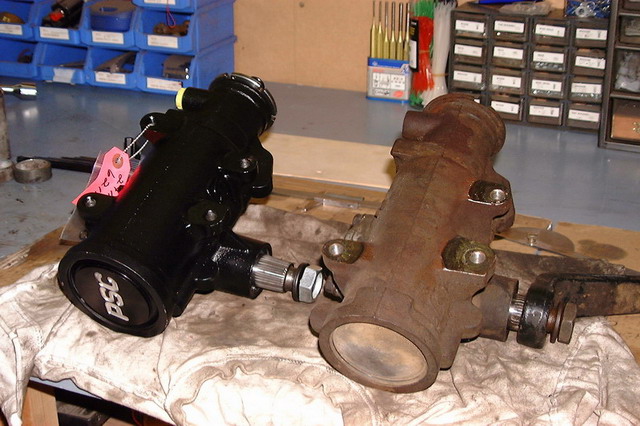
Finally old vs. new.
Last edited by ogdak; 12-13-2006 at 04:55 PM.
05-09-2006, 10:35 PM
I can't wait to see the finished product.
05-19-2006, 03:33 PM
x 2
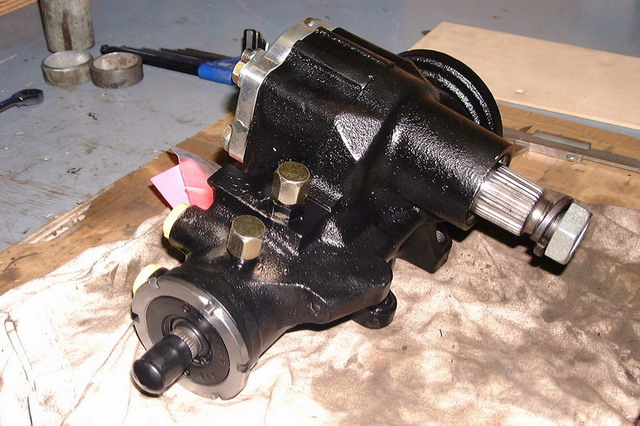
On with the steering.
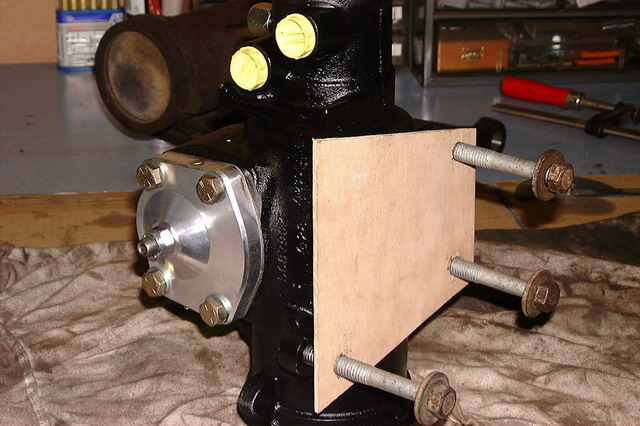
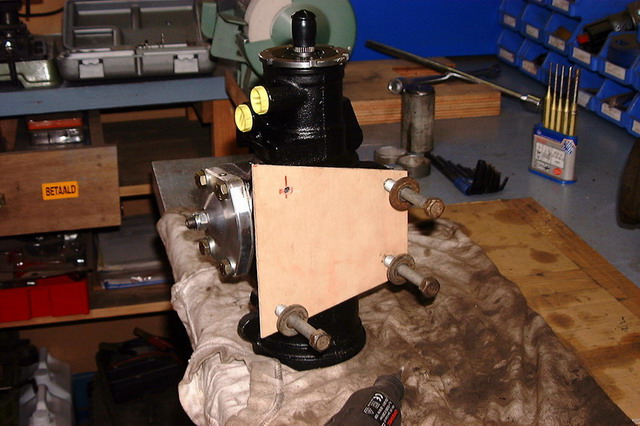
Steering gear "PSC SG621MR" install.
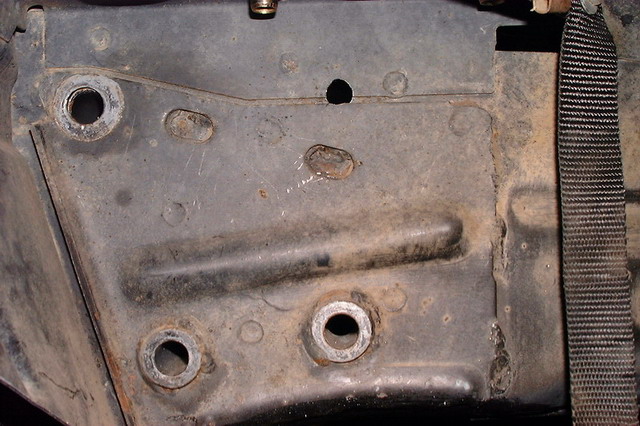
Difference with the stock gear are the 2 ports for the hydro assist.
Other difference is the 3 vs 4 bolts for mounting the gear.
So first step is to make a mal to make sure the 4th hole is in the right place at the first attempt.
Mal in place.
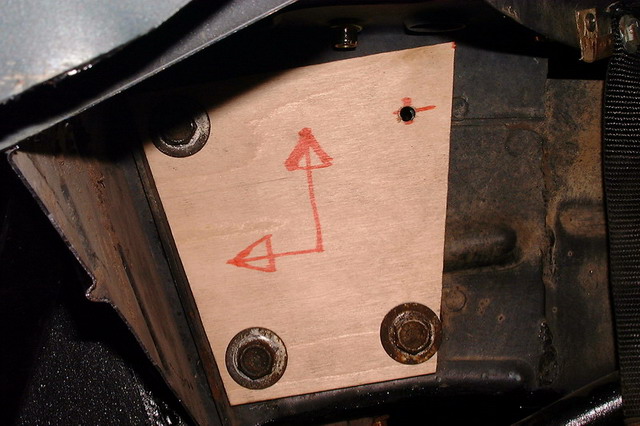
Drilled with 6mm.
With a 11mm drill from the inside to the outside.
Reason to do so is because the 4th hole is right on an edge off plate.
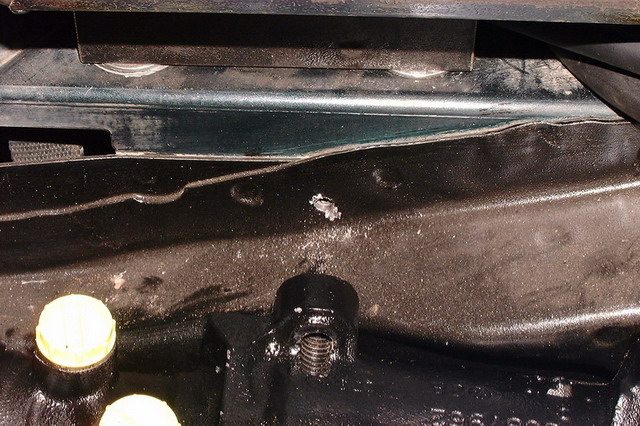
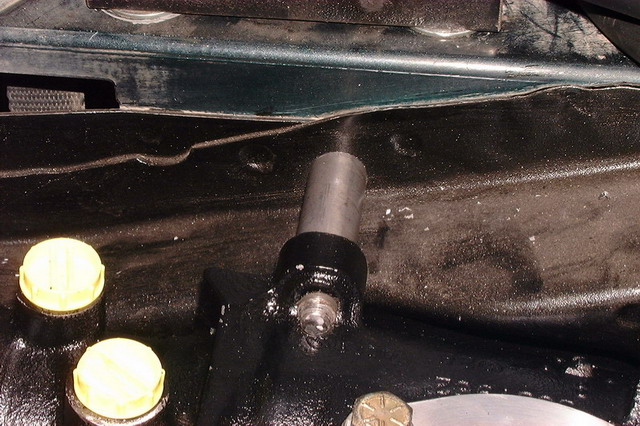
Cut a big 45mm * M15 washer in half, to level the height difference.
On the inside cut a shock adapter to the right lenght.
e voila, steering gear in place.
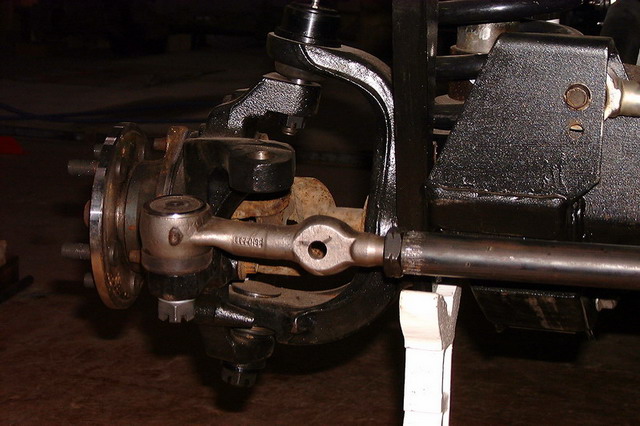
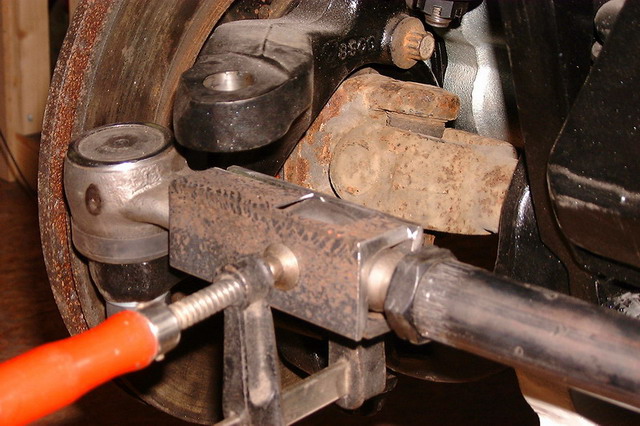
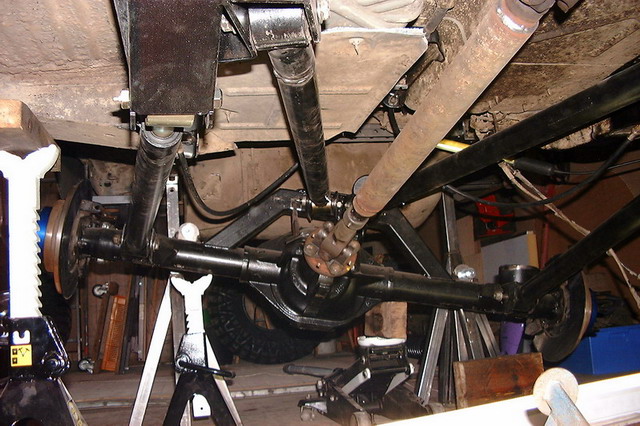
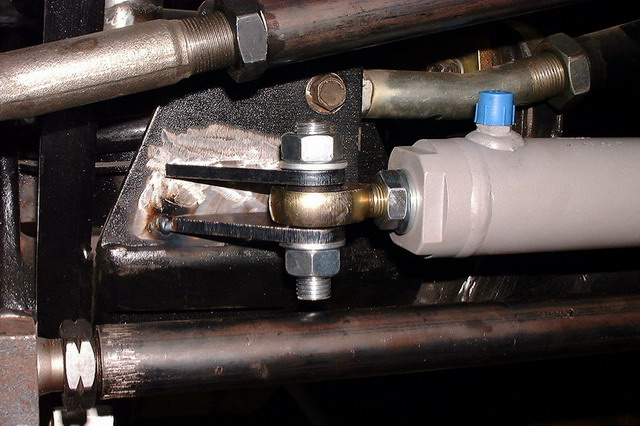
Started experimenting to fab a bracket where the hydro hooks up to the tie-rod.
something like this.
The other side goes on the OA TB B ha ha
Cylinder in place.
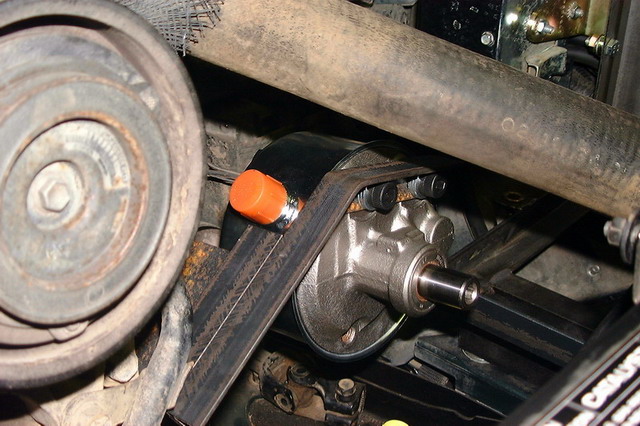
Also started on a bracket for the Hi-Displacement pump, but without the proper pouley kind of useless.
Just to get an idea.
Till next time.
Last edited by ogdak; 12-13-2006 at 04:58 PM.
05-19-2006, 04:16 PM
I'll hook up the lines when the hardware fits.
 05-20-2006, 01:58 PM
Looking good. I've never seen a buildup with so many detailed large scale pics. I love it!
05-20-2006, 03:58 PM
I know, I get carried away every now and then.
06-09-2006, 03:32 PM
So time to get back at it.
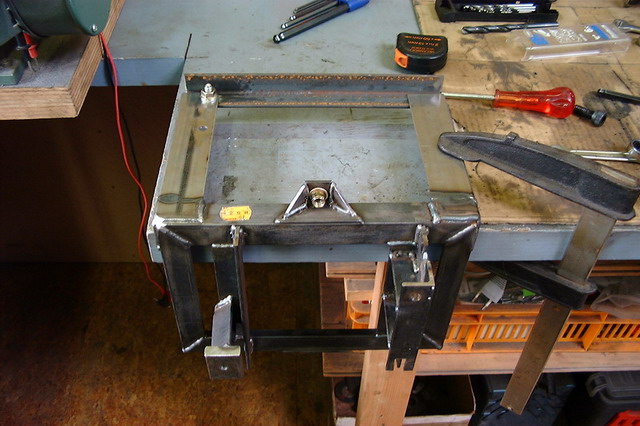
Because off the new high-displacement steering pump I need to find a spot to mount the remote reservoir.
Well it is gonna sit next to the winch relay box on the 2ND battery tray
Drilled and tapped 4 M10 holes.
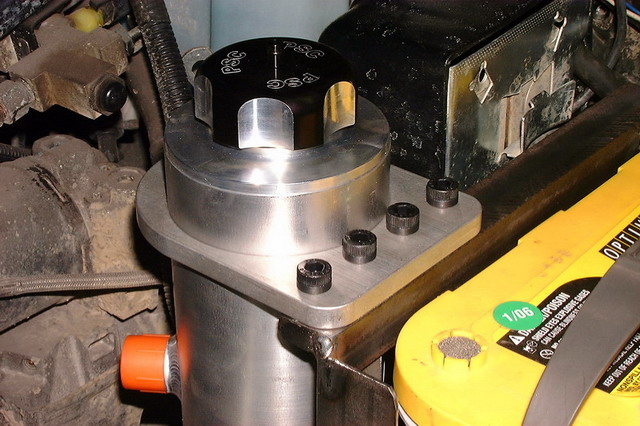
And mounted the reservoir
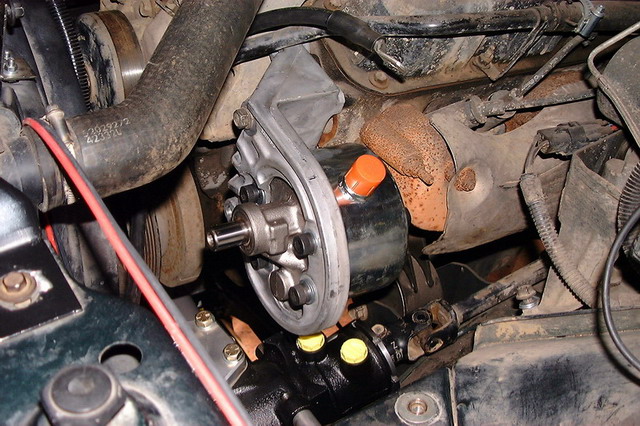
Another part on the new steering setup, the bracket for the hydro assist.
DAMN it doesn't fit, when turning left it rums into the diff. cover.
So back at it with a cut-off wheel
And reweld it again
Result, not much play,
but it should be enough!!
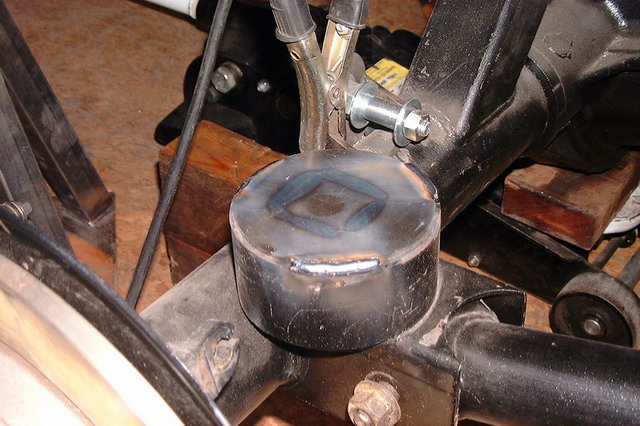
Something totally different.
Cooling.
A loooooooooooooong time ago I took out the stock fan and installed the famous Tau.us E-fan.
But an E-fan needs to be controled by something, I don't want it to run at 50% or full power
everytime I switch on the ignition.
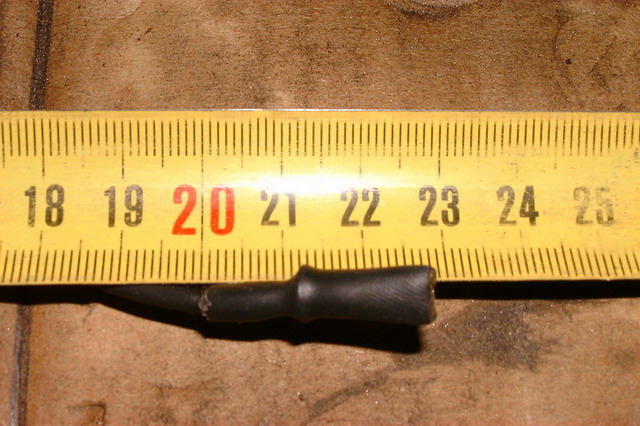
So this little probe will turn it on/off.
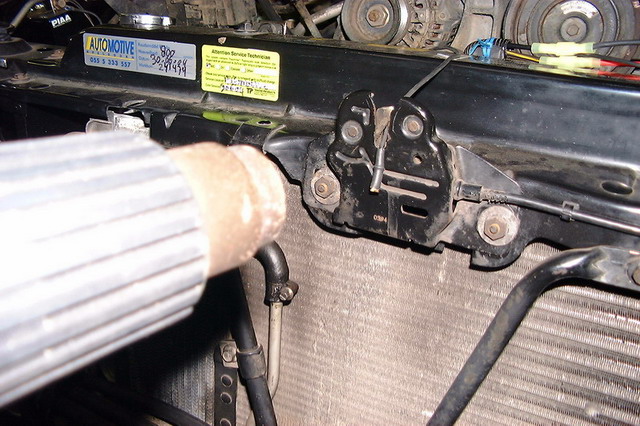
So this probe needs to be inserted between the radiator fins.
Either on the bottom or the right side depending on the type off radiator(crossflow or downflow)
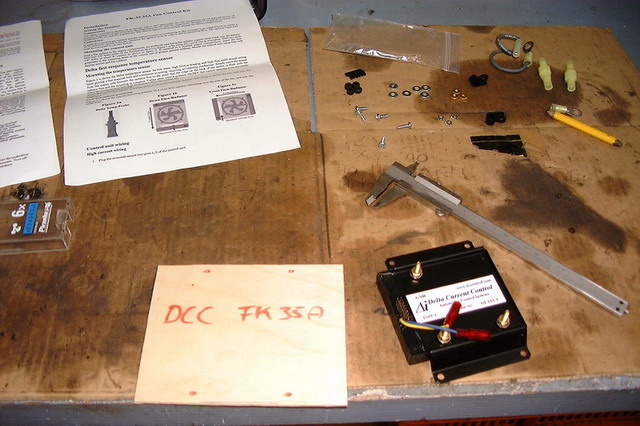
And connected to the control unit which will turn the fan on/off at variable speeds.
it is factory set at 180 but can be adjusted with jumpers to the following values
148, 158, 166, 173, 180(default), 187, 194, 202 and 212.
It can be installed with/without continued cooling after engine shut-off(yellow wire)
Also equiped with an A/C input option(blue wire).
On that piece off paper the difference between(crossflow or downflow).
Obvious my Zj is crossflow
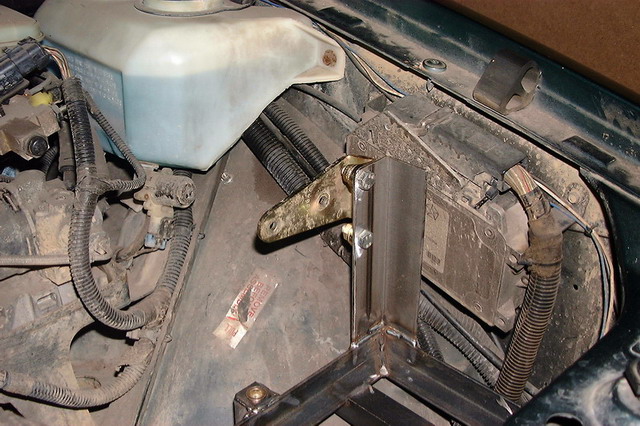
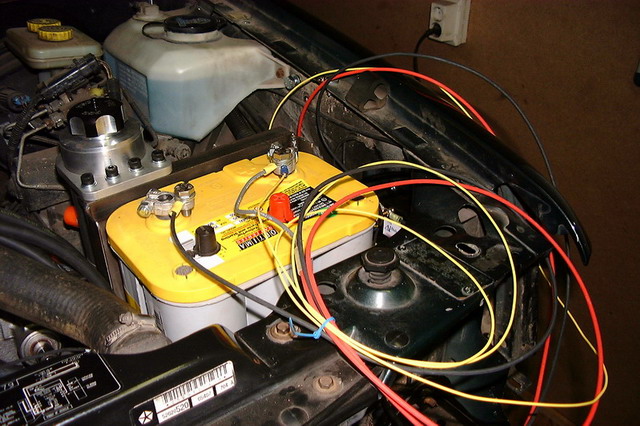
Mounted on the left inner fender, where the ABS controller was installed
Main wiring installed
To test the whole thing.
Used a paintstripper to get some heat, and yes it turns on nice and smooth.
And finally
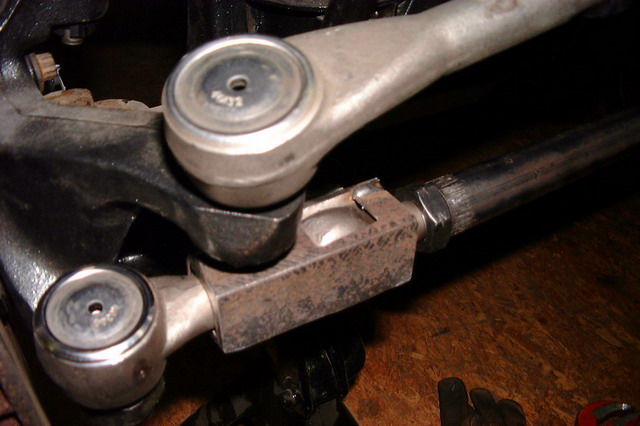
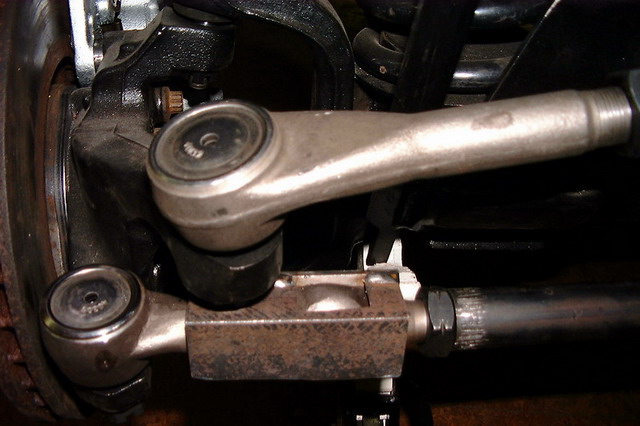
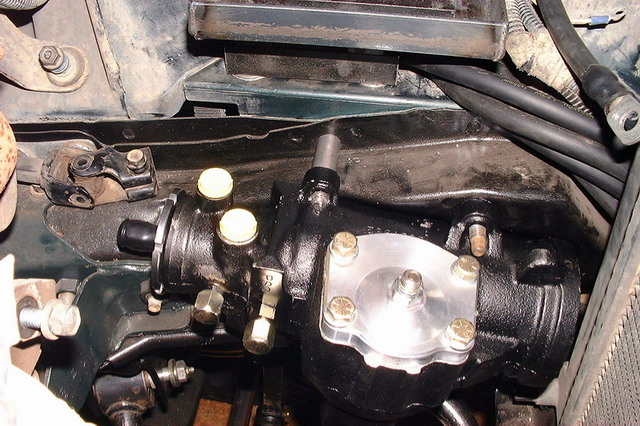
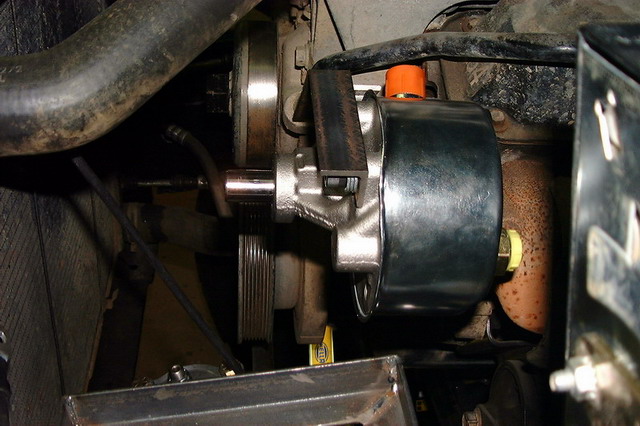
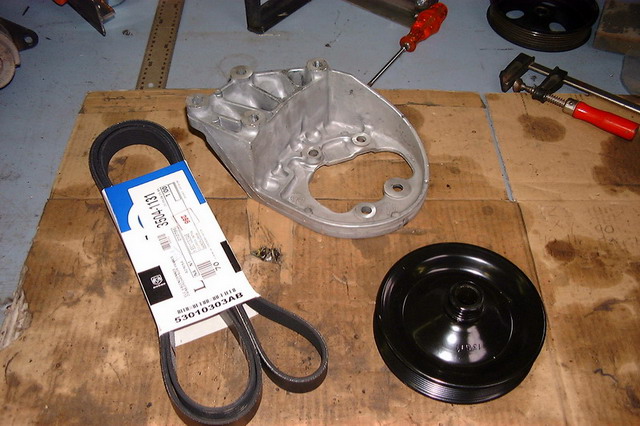
Do.ge Dur.ngo parts to make the steering work.
"Thanks to OverkillZJ's project thread" for finding out that this might work, well it is a nice but tight fit
Need to fab up something to get the pressure line connected to the steering box, not much space left.
Anyone know wether there are 90 degree connector's for this purpose?
Let me know.
Well that is about it for now.
Last edited by ogdak; 12-13-2006 at 05:02 PM.
06-09-2006, 03:38 PM
Well Damn you are either going to need to bring that thing to the states when it is done or I am going to need to take the wife on a little vacation to the Netherlands to see it.
You might not move as fast as Matt does, but it sure looks great and the attention to detail is nothing less than spectacular.
| « Previous Thread | Next Thread » |
| Thread Information |
Users Browsing this ThreadThere are currently 27 users browsing this thread. (0 members and 27 guests) |