|
|


 11-20-2007, 03:55 PM
Just read this entire thread in the past couple days. All I have to say is AWESOME! Can't wait to see the HP44 and 9 under the rig (and hopefully the 'mogs sometime in the near future).

 11-21-2007, 03:53 PM
Thanks, may take a while to completeOriginally Posted by ZJ Pappy


12-05-2007, 03:39 PM
I just read this entire thread> It took a bit but was worth the read. I cannot believe the amount in detail and work you put into this ZJ. You have pretty much completely disassembled your ZJ twice in this thread.
 12-05-2007, 05:19 PM
nice build !!!!, i like that attention to detail, keep up the good work
 It was a jeep thing, but that shit broke
12-06-2007, 02:16 PM
It was a jeep thing, but that shit broke
12-06-2007, 02:16 PM
Thanks guys, things will continue as soon as I have a decent steel cut off saw.
12-06-2007, 03:44 PM
Well you better get one soon, because I want to see some updates.
12-13-2007, 04:17 PM
So on with this build, somebody got to do it.
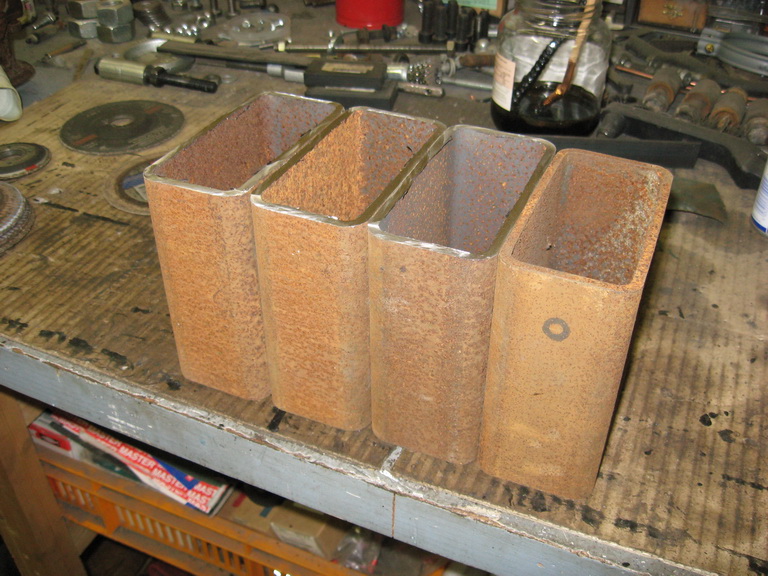
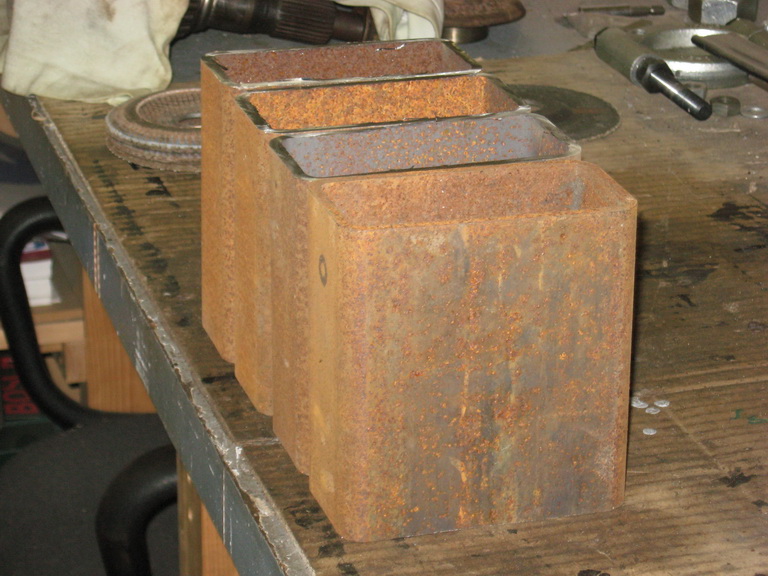
Some raw material I'll try to make my 9" brackets out off.
Box steel 120*60*6
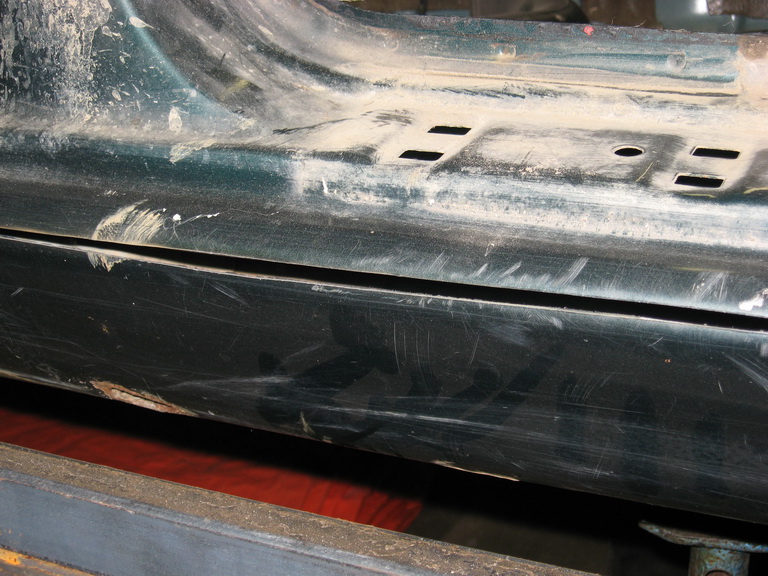
Also started on the rockers.
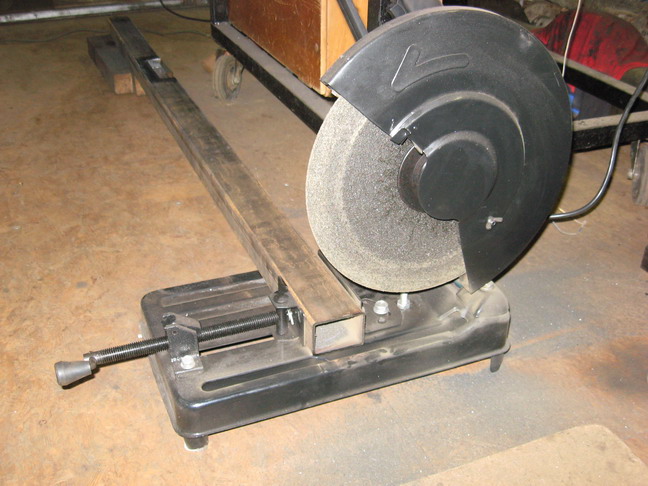
Made some kind off rail, to get a somehow straight cut.
Straight enough.
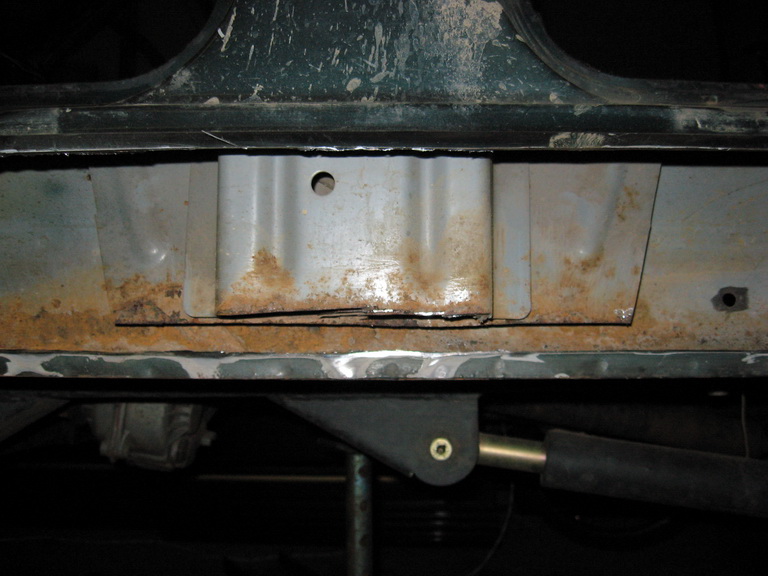
Part below the rear door is out.
Up front
Still a challenge to work around these to maintain/improve some uni-body strenght.
So finally made a start with cutting up the Zj, whats to come?
12-13-2007, 04:26 PM
I love when sheet metal comes off.Can't wait to see where this goes.

12-31-2007, 01:25 PM
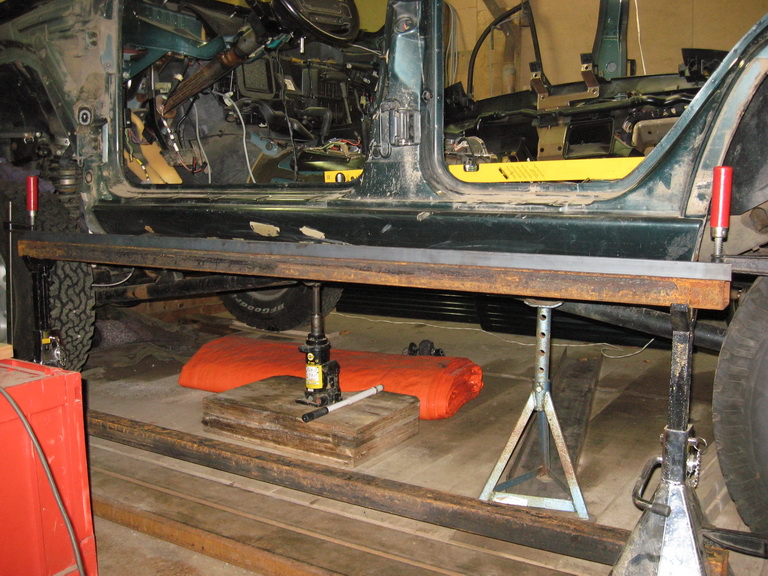
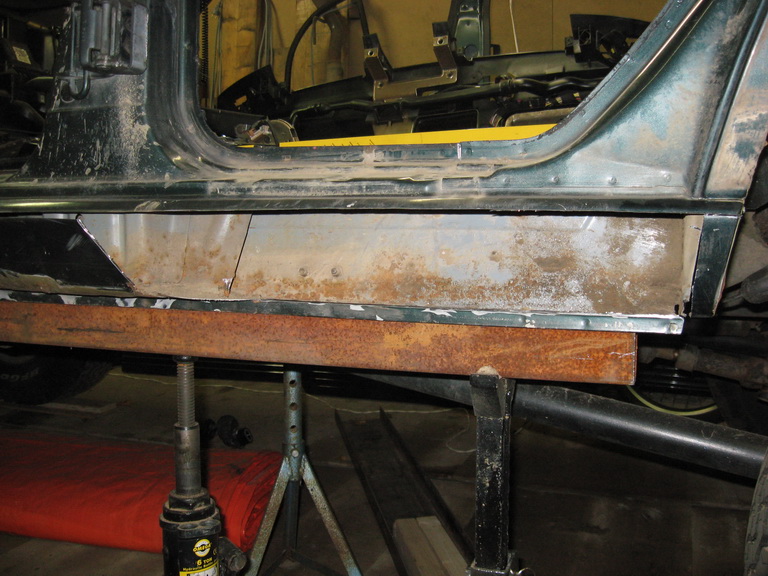
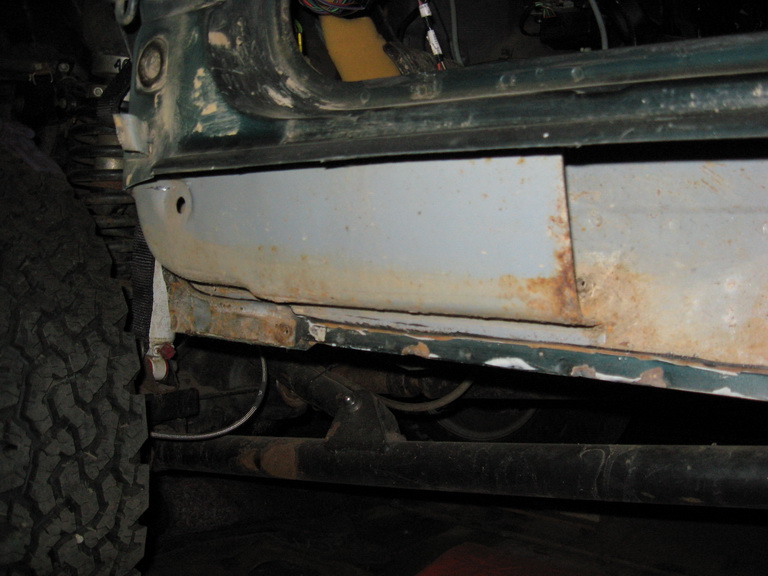
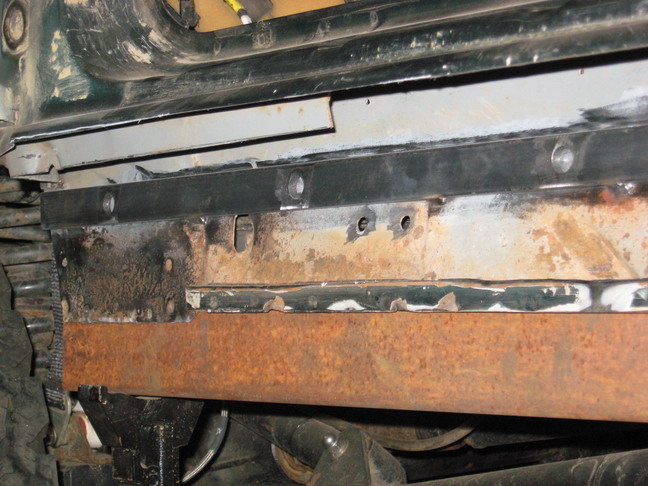
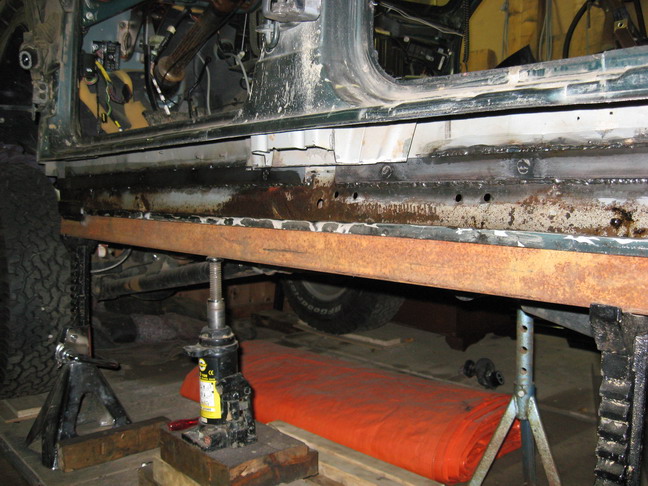
On with the side bars.
The B-pillar goes on to the bottm off the original rocker panel.
Need to cut off a piece cause I want to run a piece of boxsteel underneath.
Also on the front a piece needs to be trimmed.
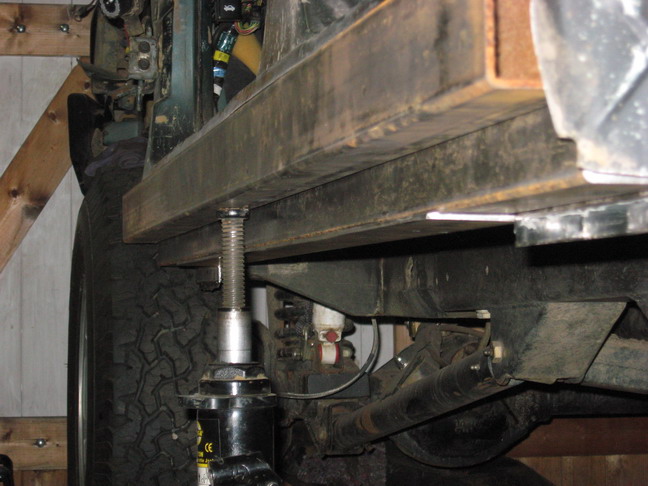
Enough clearance on the bottom
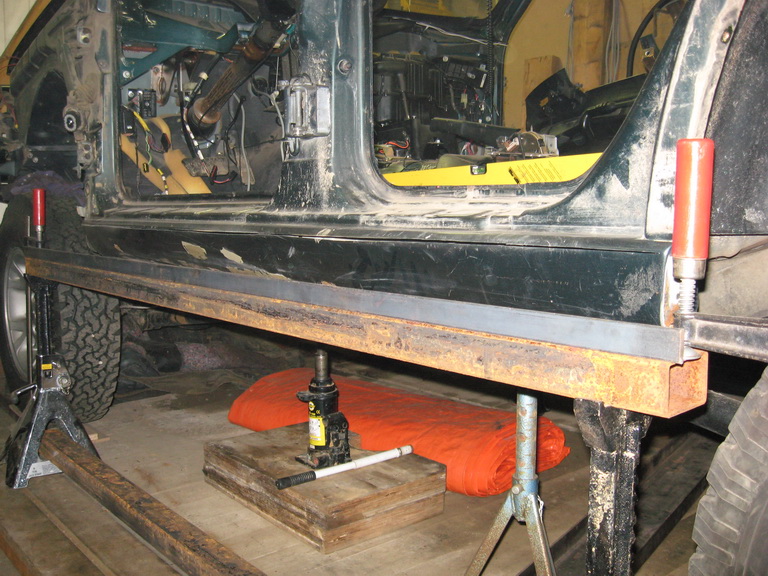
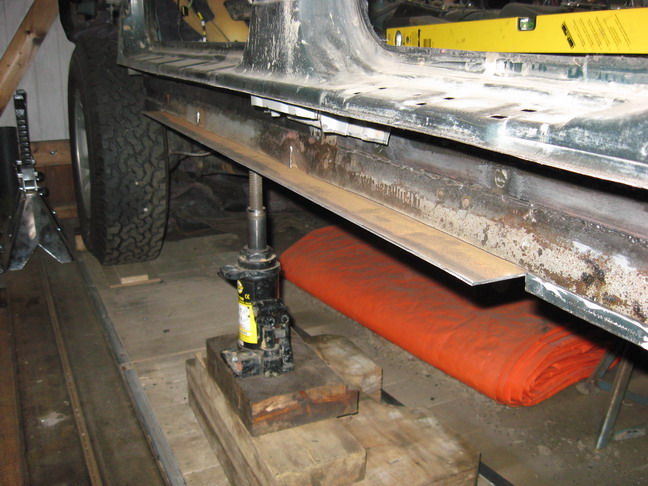
Piece af flat bar to create a nice 90 degree base and a good welding undergound for the boxsteel.
This is how I want it to be.
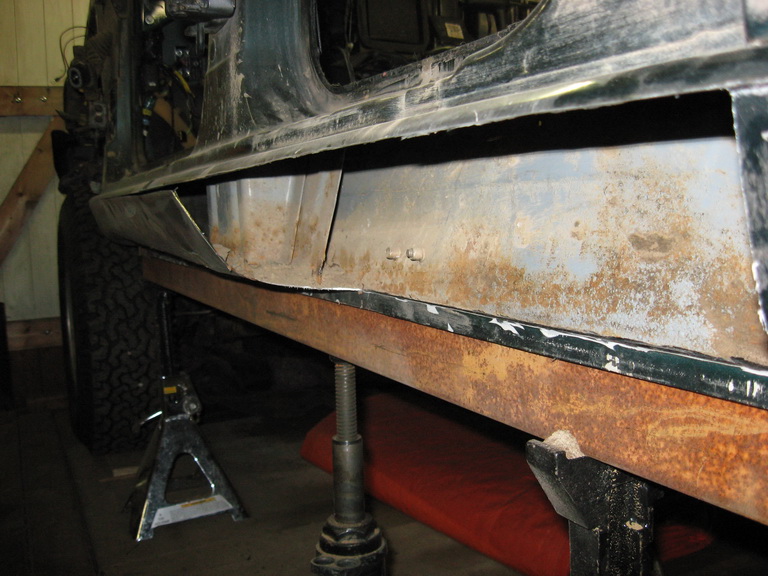
Another trimline at the top to make some more room.
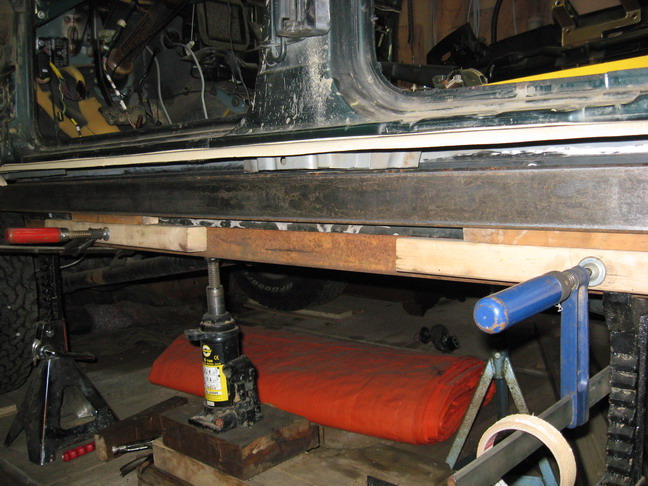
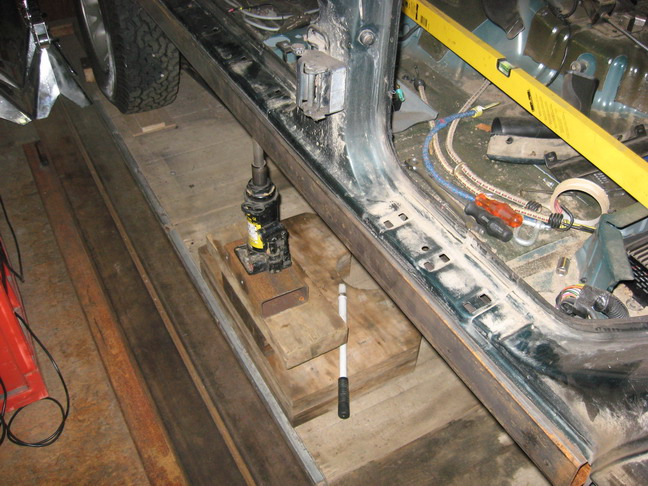
Support bar on the front.
and fixed.
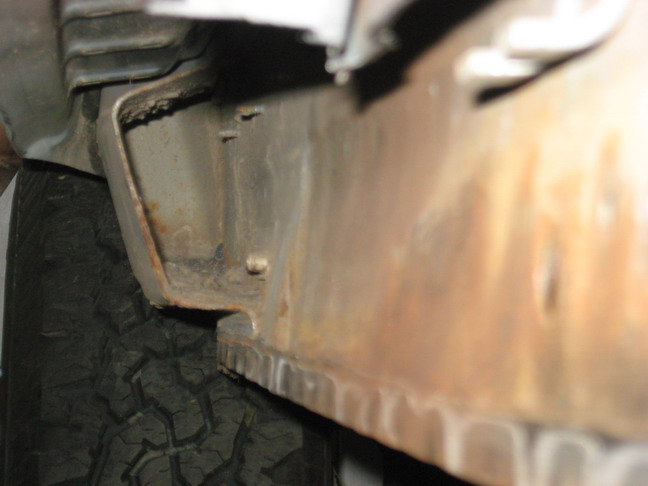
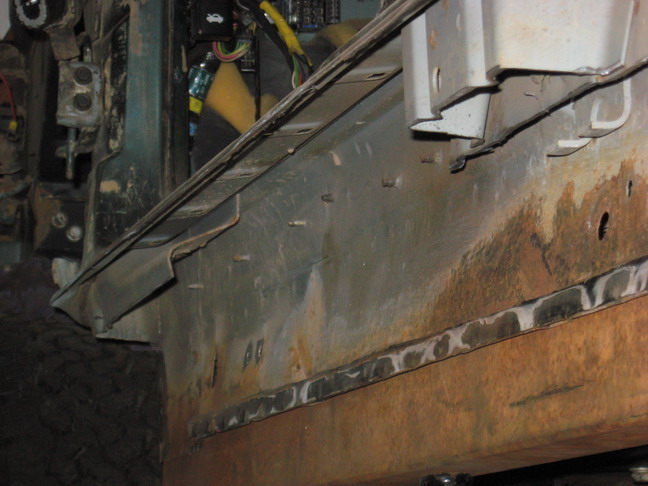
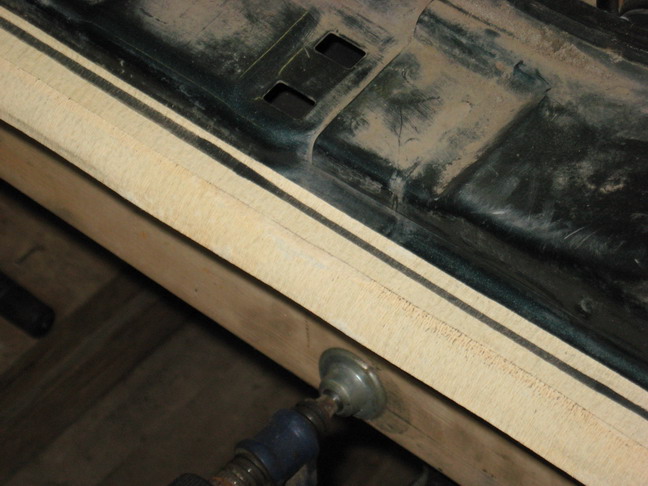
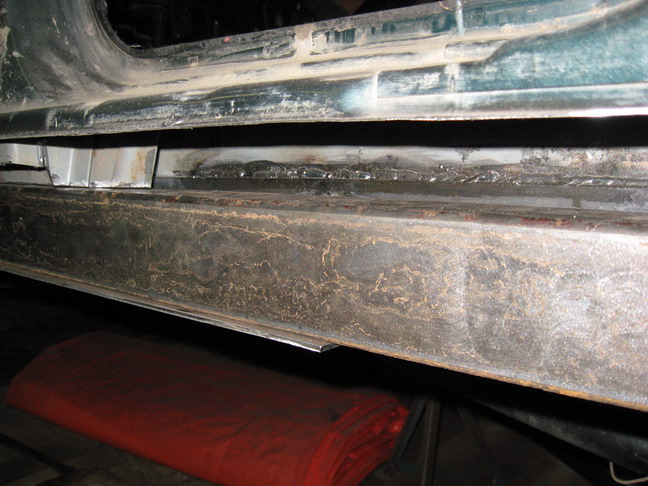
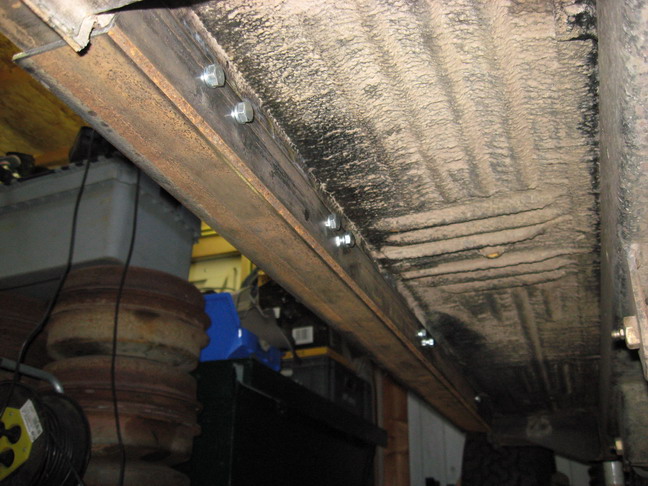
On the bottom cuf off most off the pinch seem to run a corner piece from the inside
to sandwich the original side panel.
Got myself a 14" cutoff saw, excellent tool for this job. Earplugs are a must though.
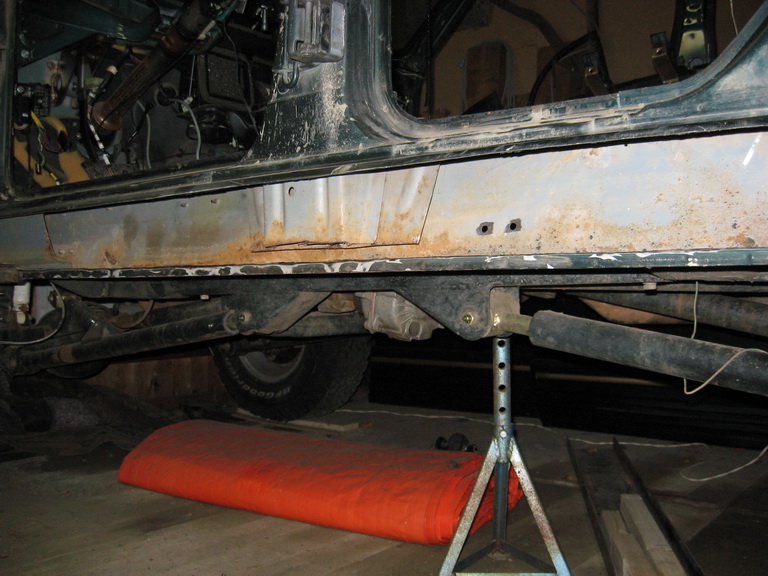
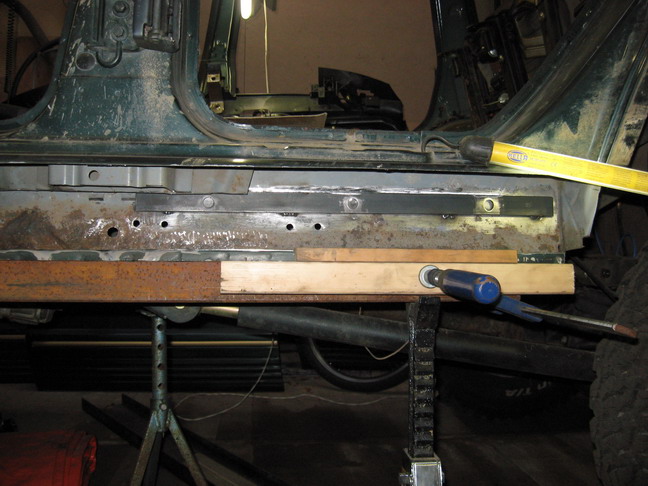
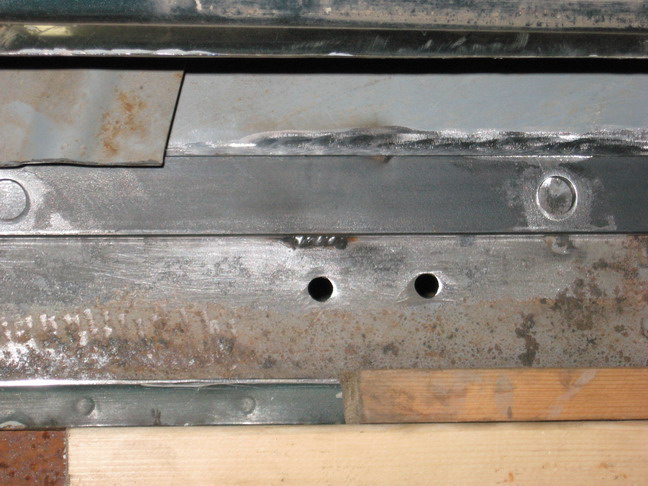
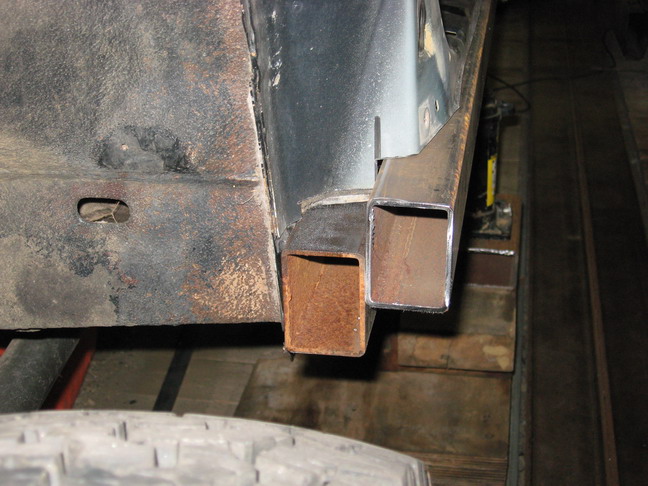
The outer box will attach like this.
I'll be runing a piece off flat from the leftlowercorner on the inner box
to the leftlowercorner on the outer box.
from the top
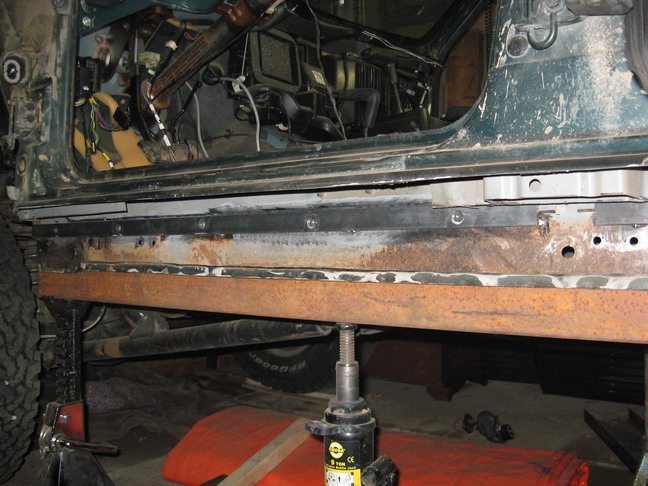
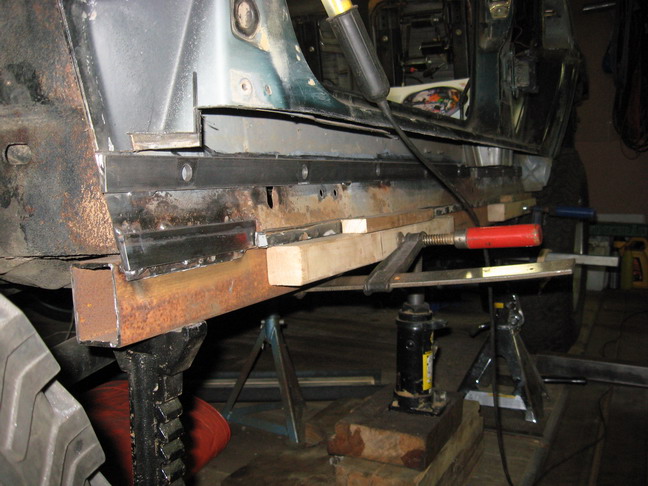
finally from up front.
SU next year.
 12-31-2007, 01:44 PM
Looking good man.

 12-31-2007, 02:23 PM
Sweet man! Did you make any decisions about beefing up the unibody at all, like sleeving the b-pillar?
12-31-2007, 06:48 PM
Nice setup! Great detail too...it helps me get an idea of what I want to do when I finally do mine!
12-31-2007, 07:58 PM
So your going to box those two together? sounds like a bad idea, at lease leave a few points for a hi-lift.
01-01-2008, 08:05 AM
Thanks,
@suicidetirezj, don't have a fixed plan yet to deal with unibody strenght.
@derekl, the two boxes together are 4" so I still can stick a hi-lift underneath.
Boxing them together will give a lot off extra strenght.
09-06-2008, 07:25 AM
I know it has been a while, but not forgotten.
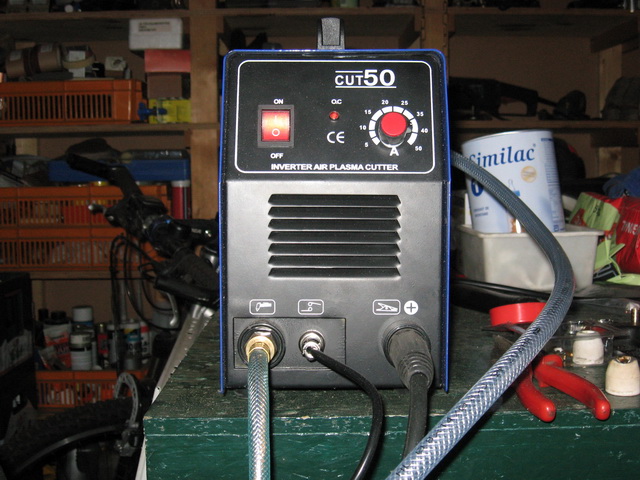
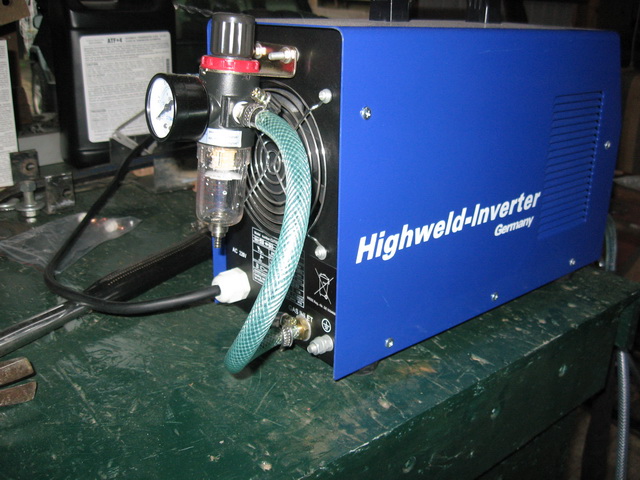
Got my latest toy this week, about time to start on the family car again.
specs:
Eingangsspannung: 230V 1PHASE Schneide-Strom regelbar: 20-50A
Sicherung bei MAX 50 A: 25A Zündung: HF Zündung
Stromverbrauch bei MAX 50 A: 5,5 KVA Druckluft-Anschlusskompressor: 4,5 Bar 200 Ltr./minute
Netz Frequenz: 50/60 HZ Max. Schneideleistung: 14 mm
Einschaltdauer bei 50A: 60%
Netto Gewicht:11 kg
Leerlauf-Spannung: 210V Abmessungen: 327X250X155 mm
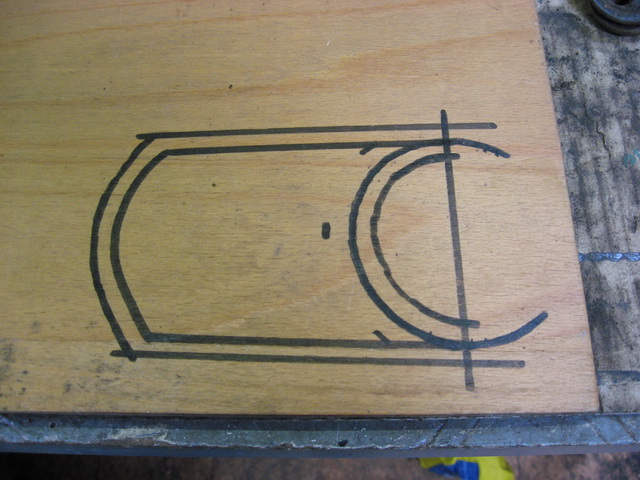
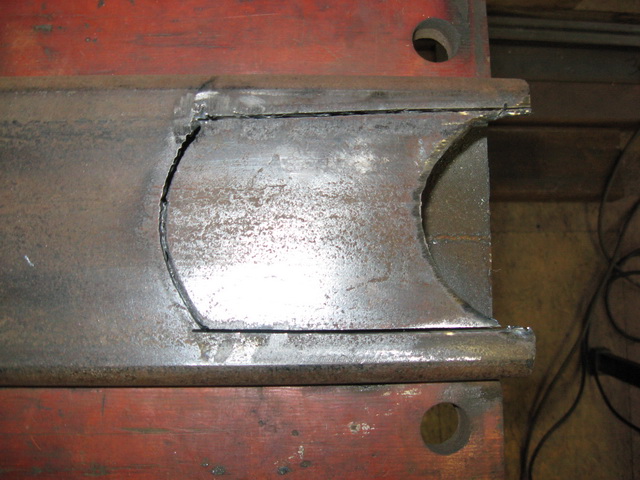
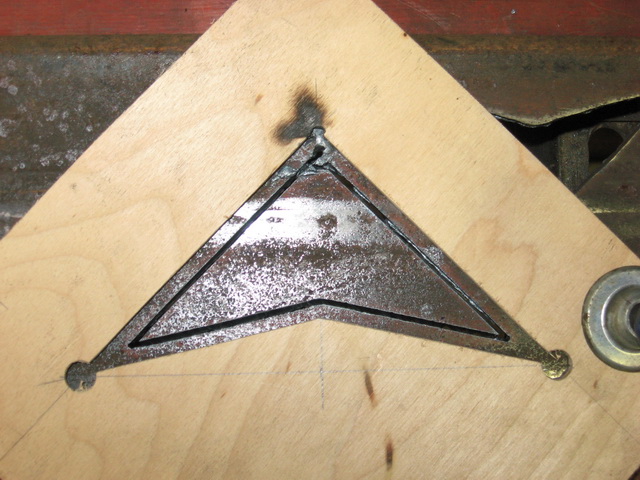
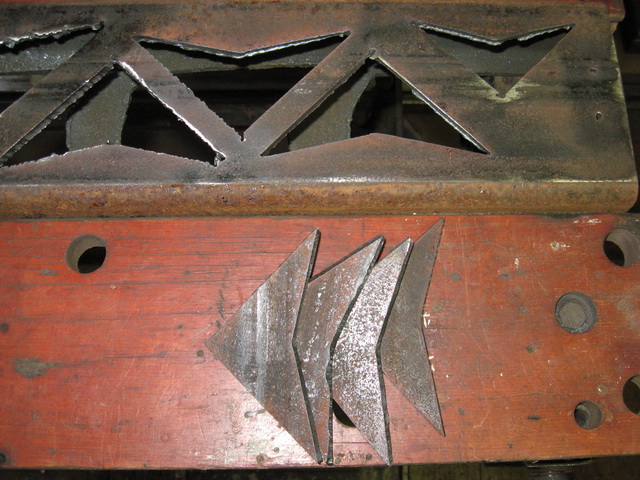
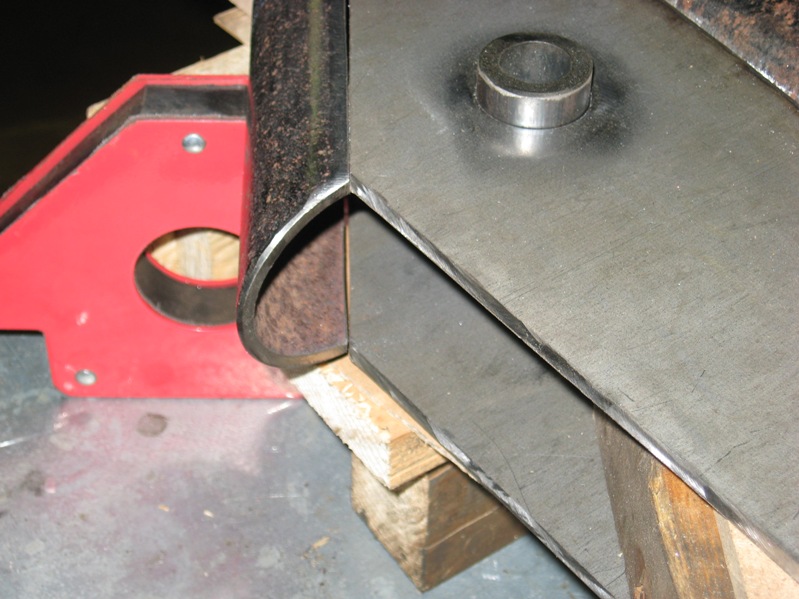
Need to practice with this, so I'll start to try to fab up some brackets for the 9"
Made a template out off 6mm(1/4") plyboard
6mm is to thick, tip doesn't thouch the plate, new template out off 3mm(1/8").
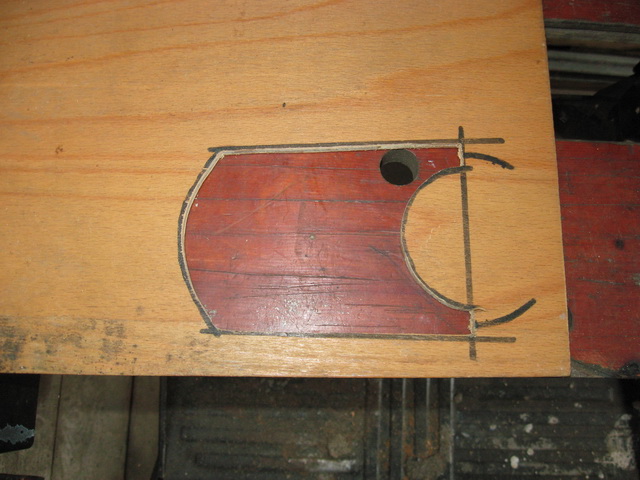
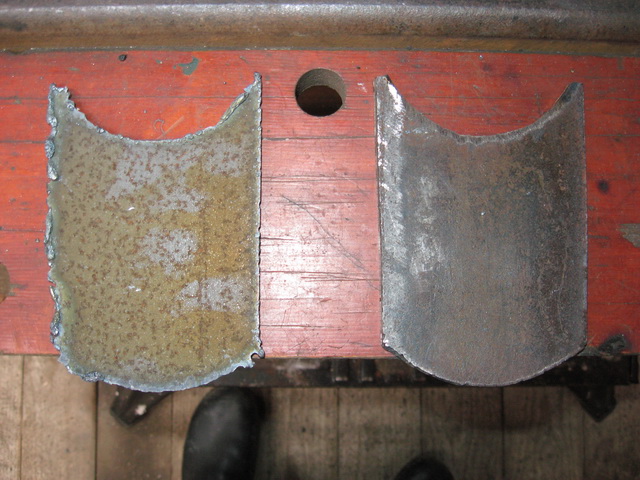
First result.
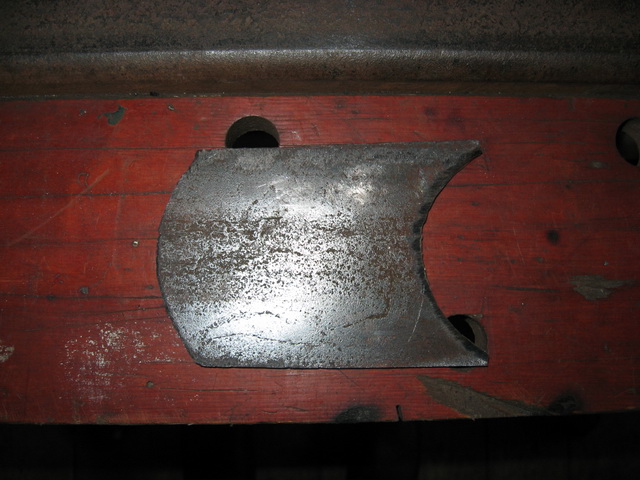
So after some mild grinding and sanding, not to bad.
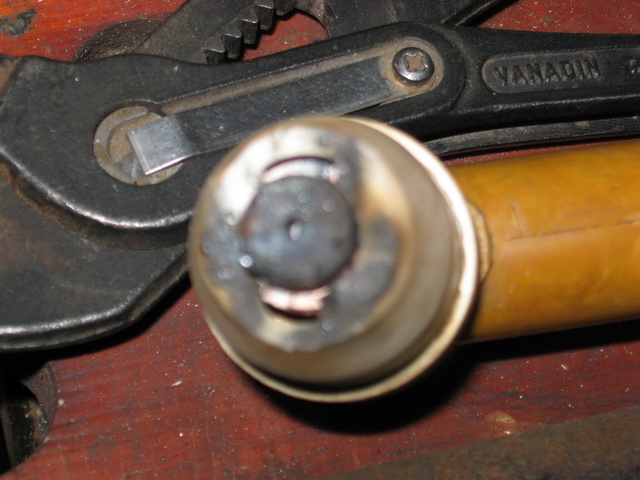
On to the next one, but things go bad here.
Bad picture, I know. Looks like the ceramic cap broke, so air is going averywhere except where I want it.
Don't know why it broke, but w'll keep trying.
09-08-2008, 05:19 PM
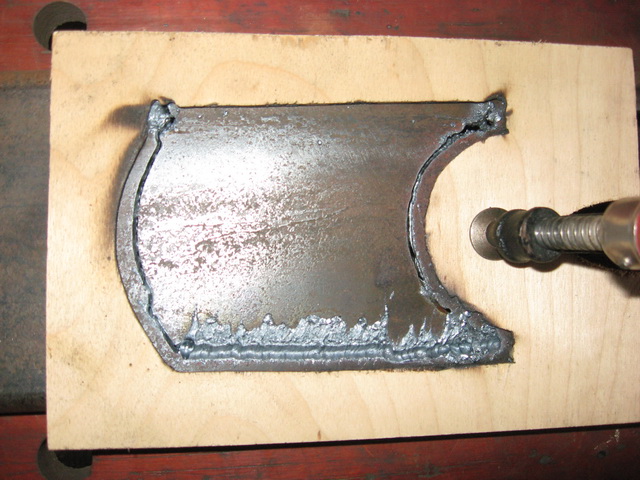
On with the cutting practise, complete failure
Made a new template, and put a new ceramic nozzle on the torch.
That made a difference
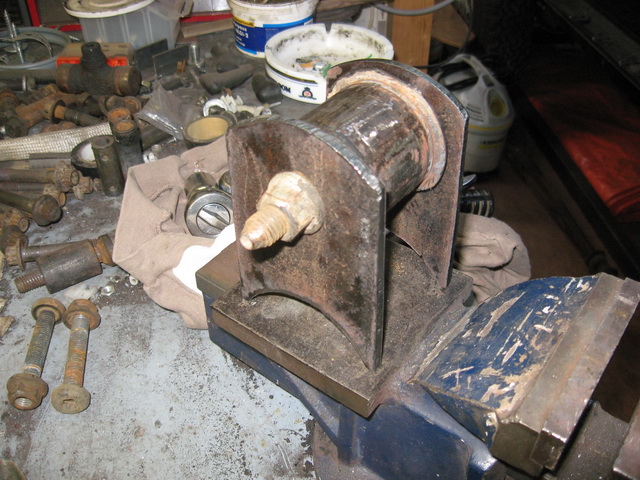
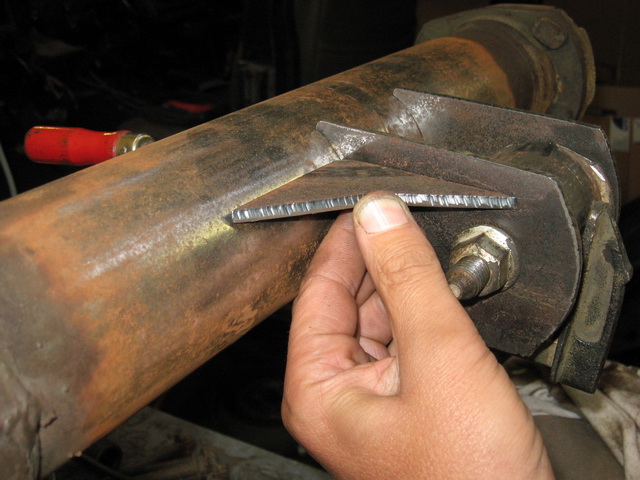
After some grinding and drilling
Took a standard bushing from an oem lca for fitment.
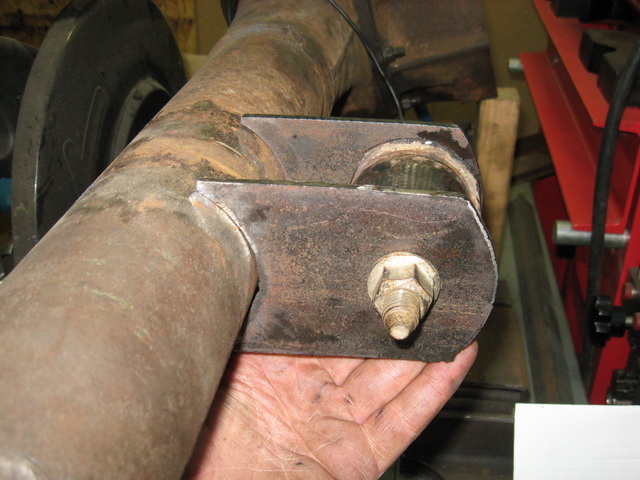
Should be come somthing like this on the 9".
reinforcements
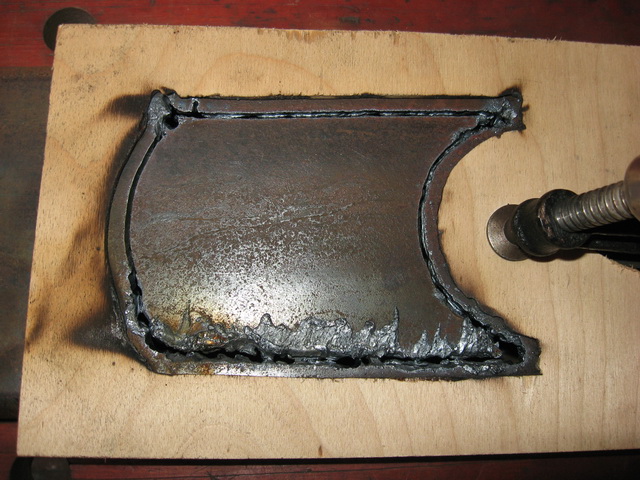
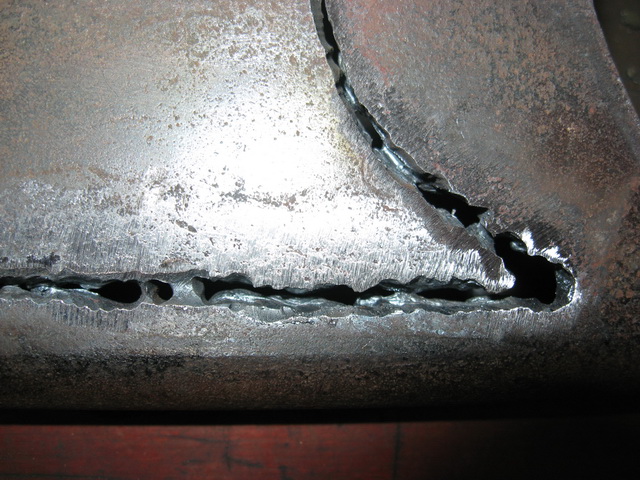
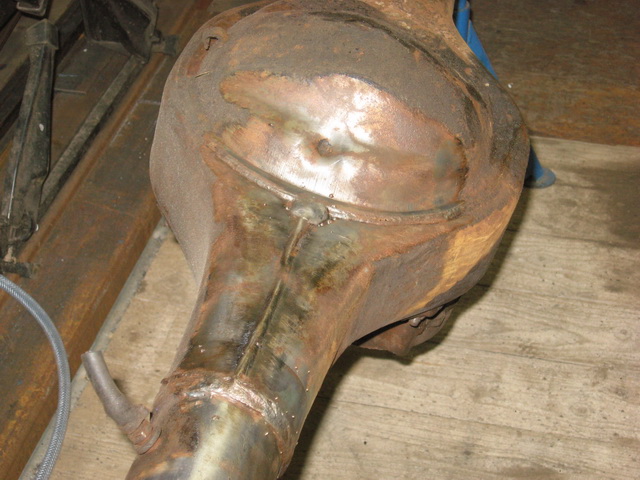
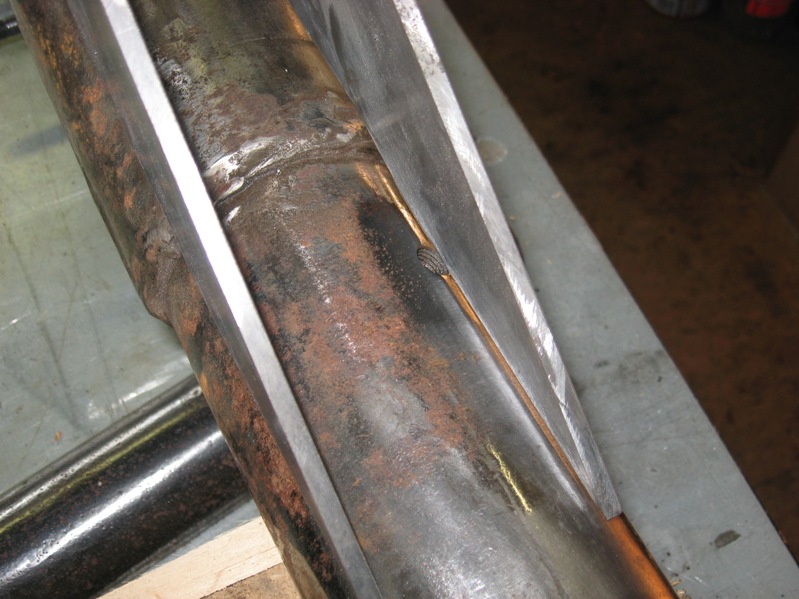
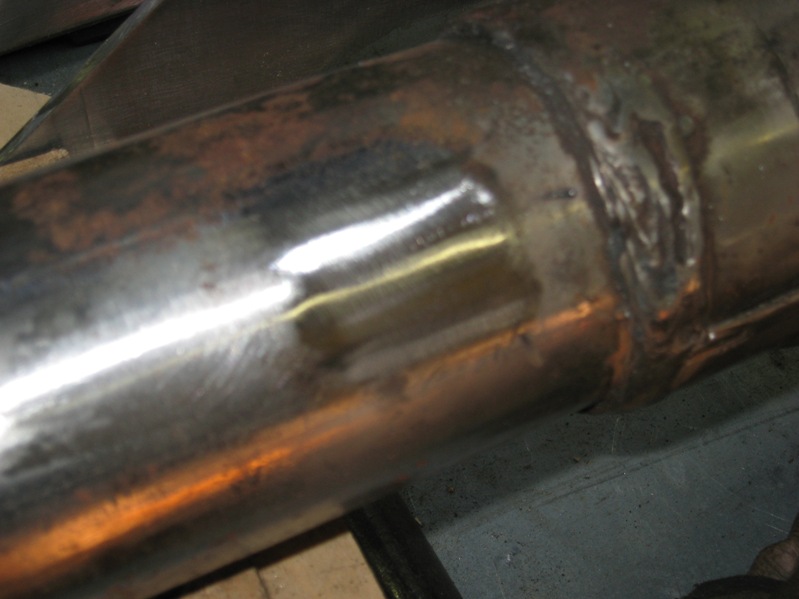
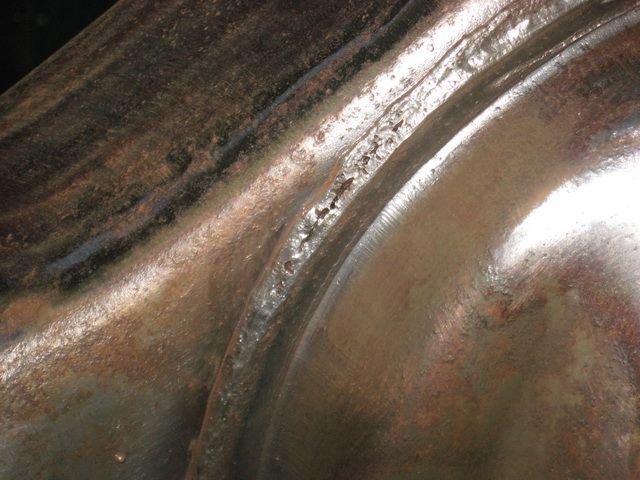
Time to start cleaning up on the 9"
Found this weld, need to look into how bad this one is.
09-12-2008, 04:39 PM
looks good
welding up the back of that 9" should be no problem
09-18-2008, 12:10 PM
Thanks,
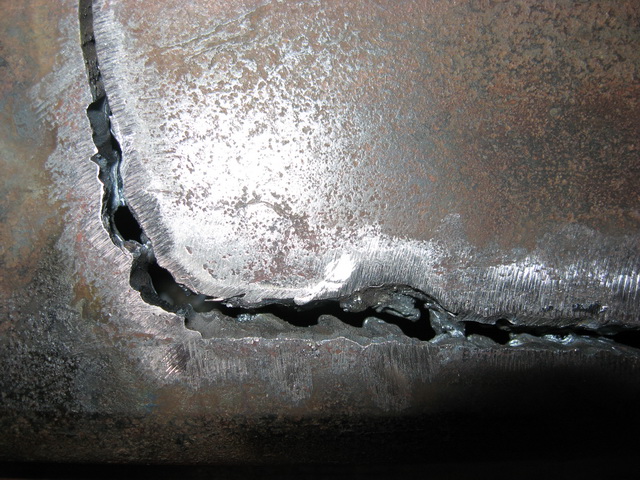
Started grinding out the bad piece off the weld, isn't that bad afterall.
12-31-2008, 10:40 AM
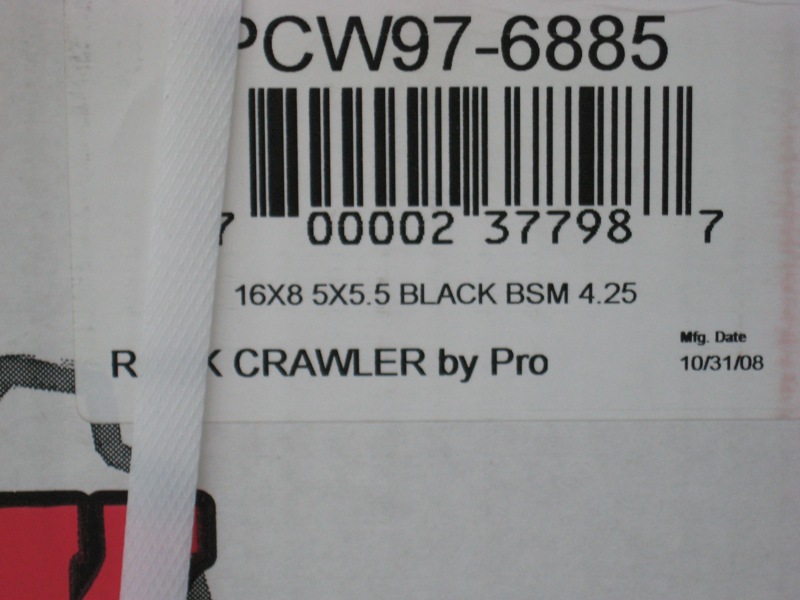
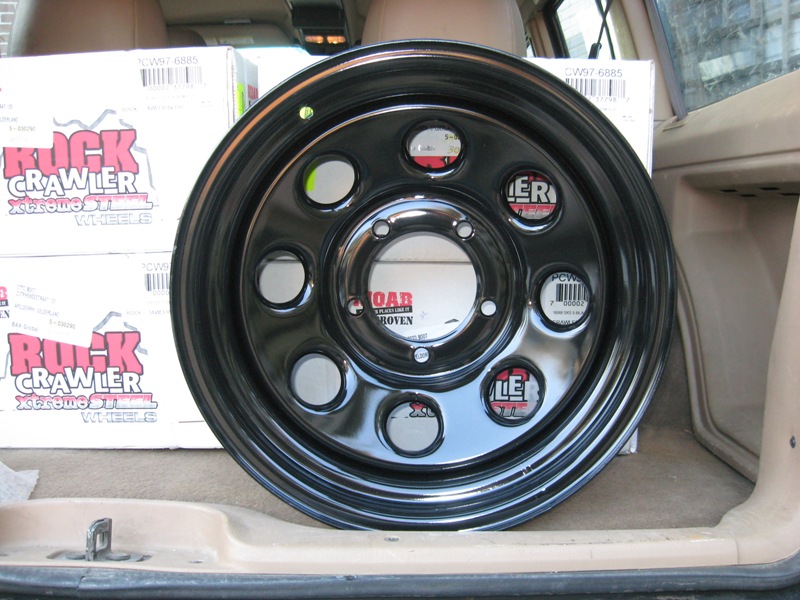
Got the new wheels today at Schiphol airport(Amsterdam)
Next step is to design some beadlocks
SU next year.
 12-31-2008, 11:17 AM
You always seem motivated at the end of the year. Did you finish the slidders? I would like to see how they turned out.
12-31-2008, 11:26 AM
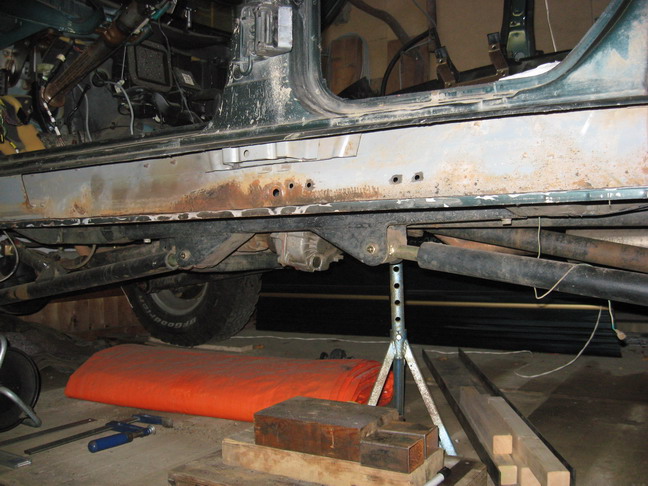
Need to be welded in, that will be one off the first things to be done next year.
Need them for the jackstands so I can pull some axles.
01-25-2009, 08:34 AM
So finally started to clean out the shop to create workspace.
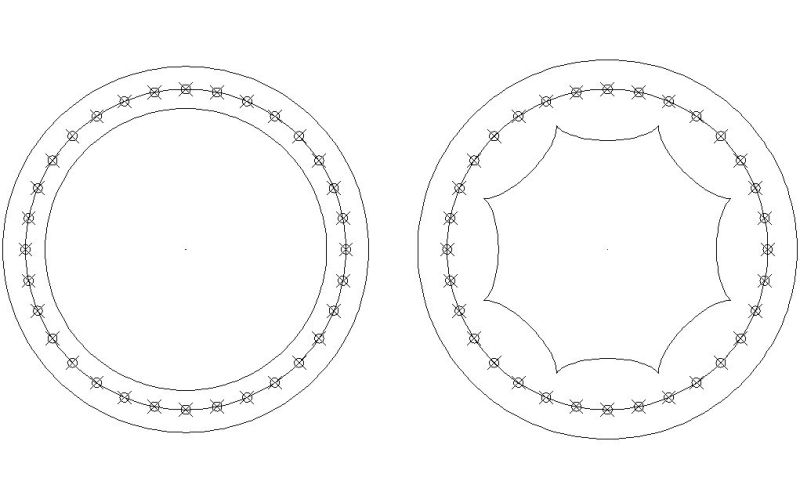
Finished with my bead-lock design
5 off each are ordered
to be continued.
02-01-2009, 04:48 PM
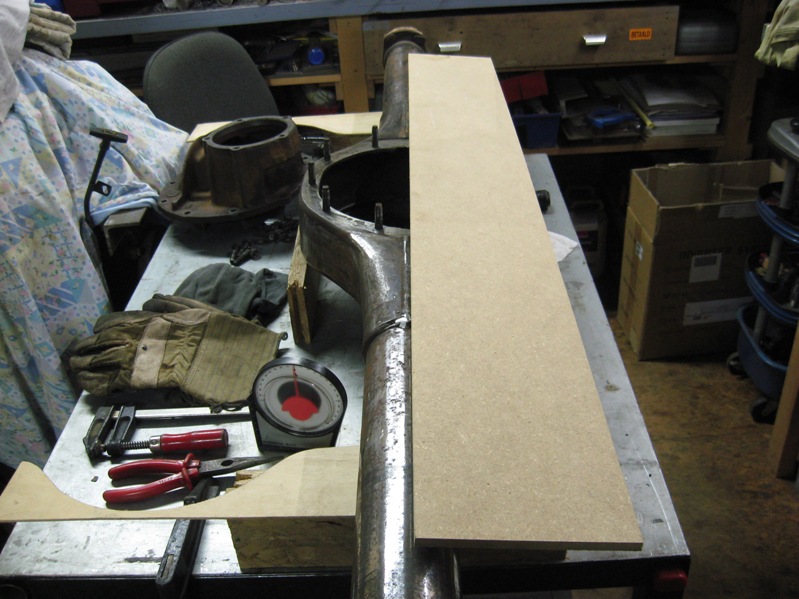
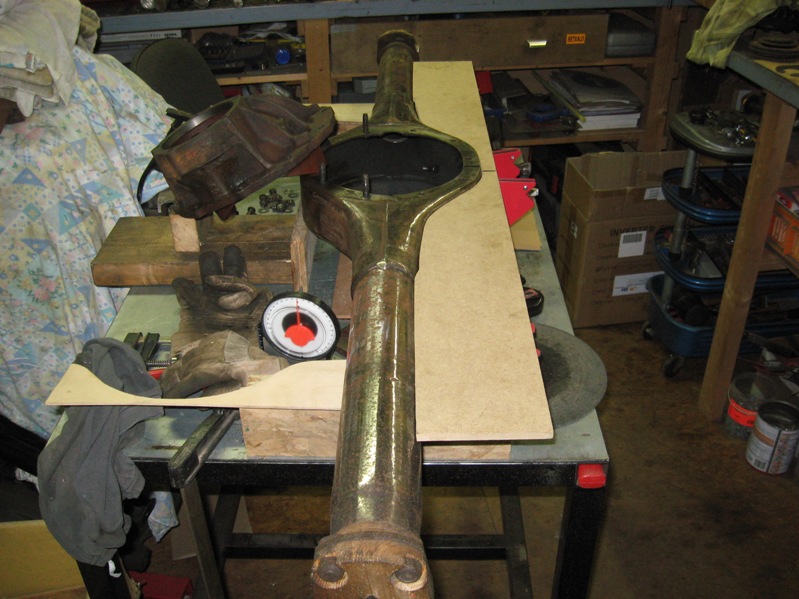
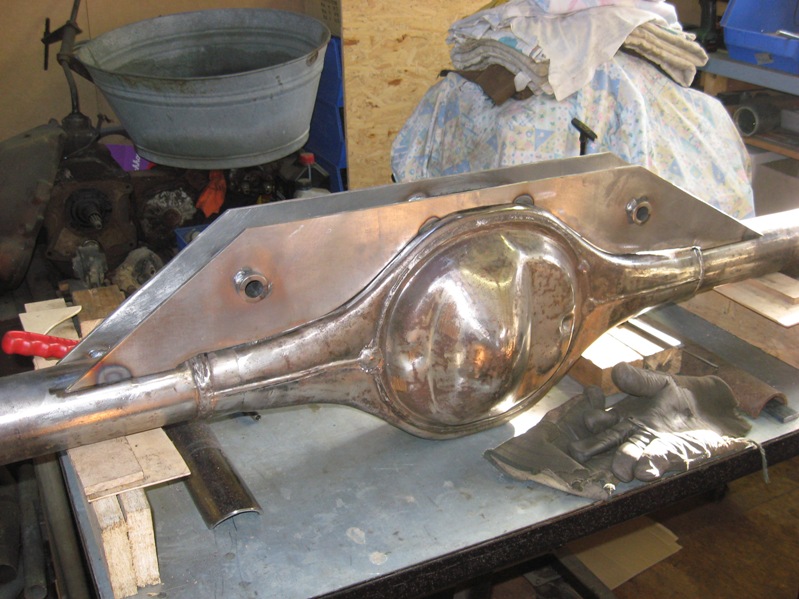
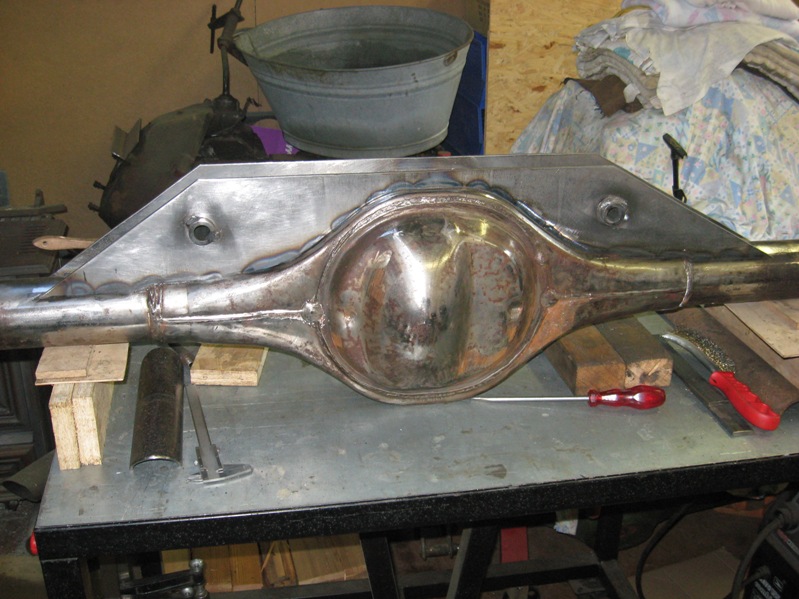
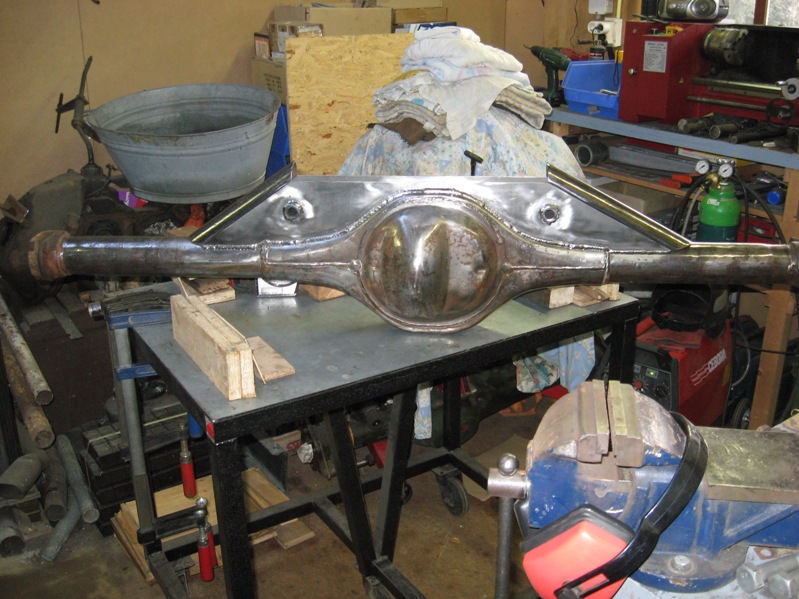
This weekends progress, still needed to make a truss for the 9".
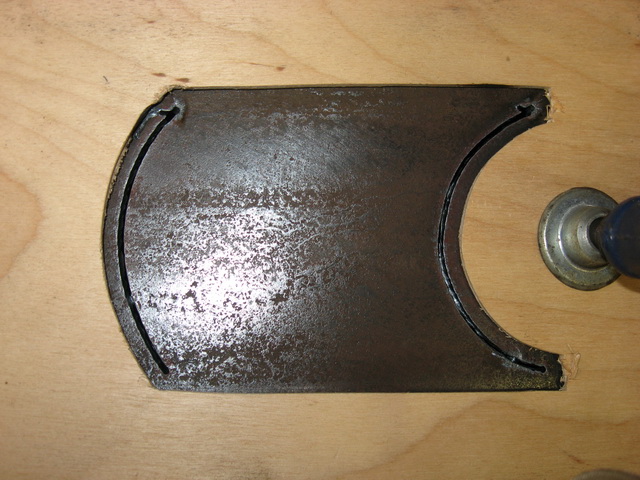
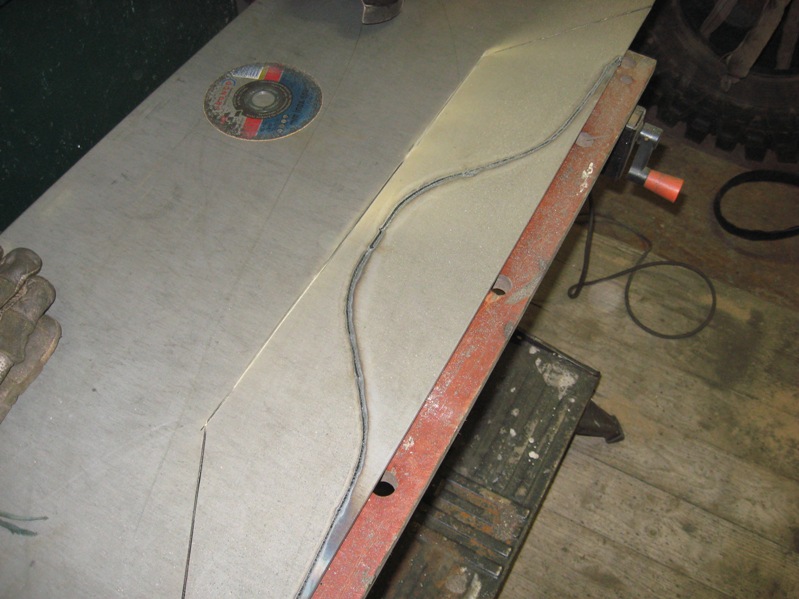
Started with a 9mm(0.36") piece off MDF to make a template.
Then take over on a 5mm(0.20") thick steel plate.
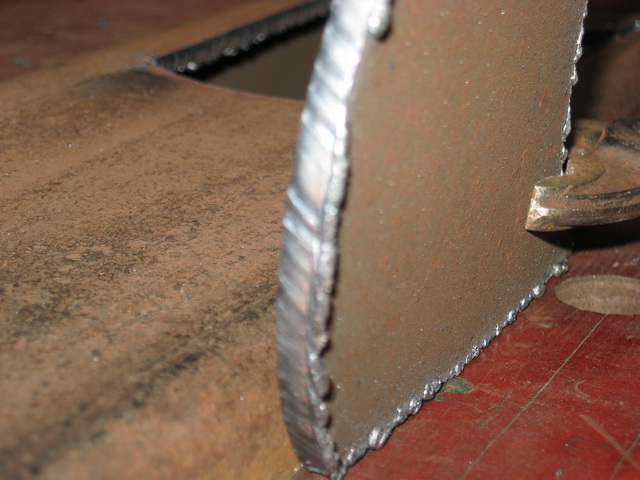
With the plasma cutter the sinuous part,
with a 1mm(0.038") cutoffwheel the straight pieces.
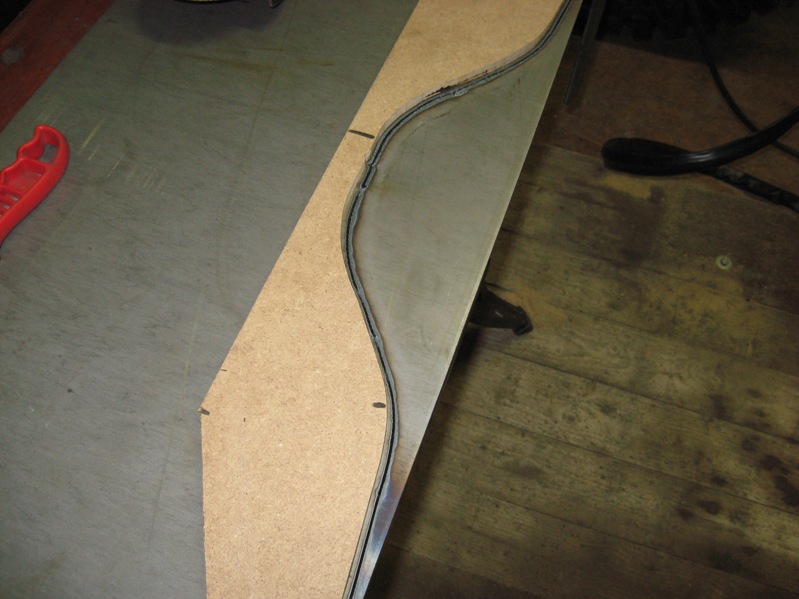
Finished part 1
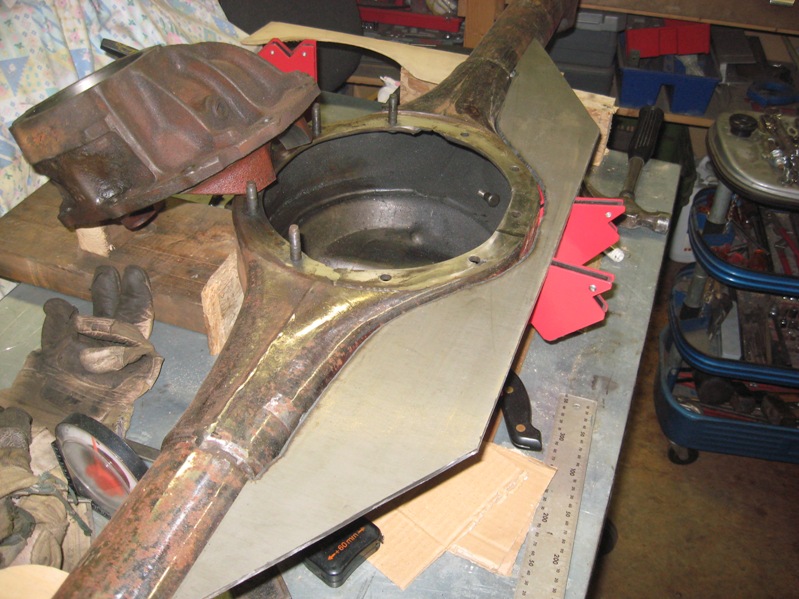
Made a second, nice fit
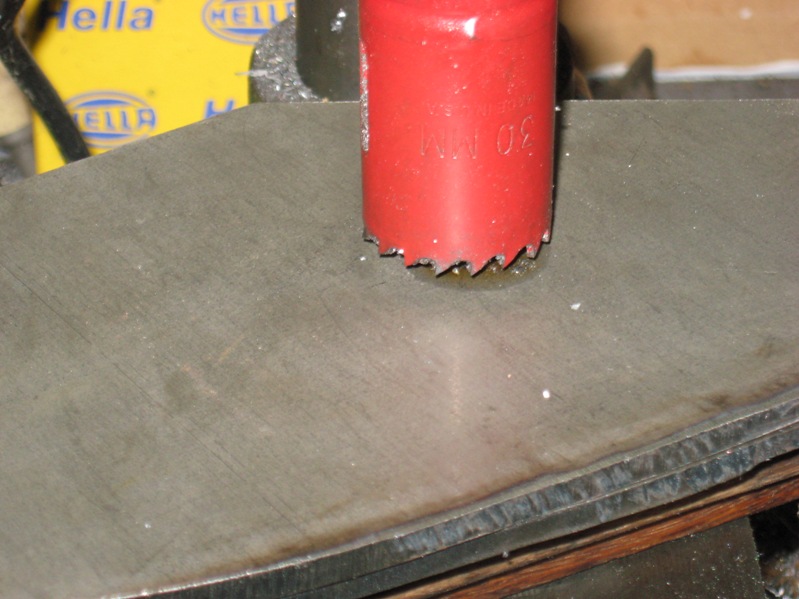
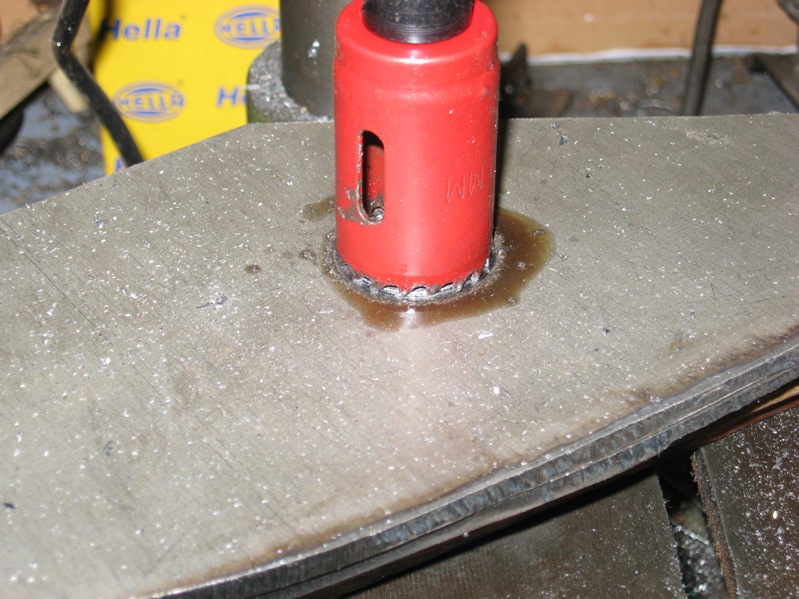
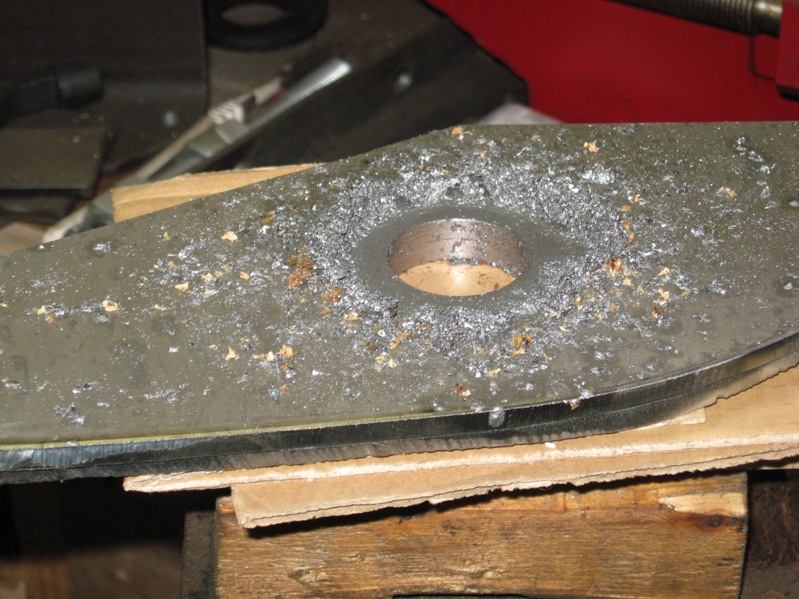
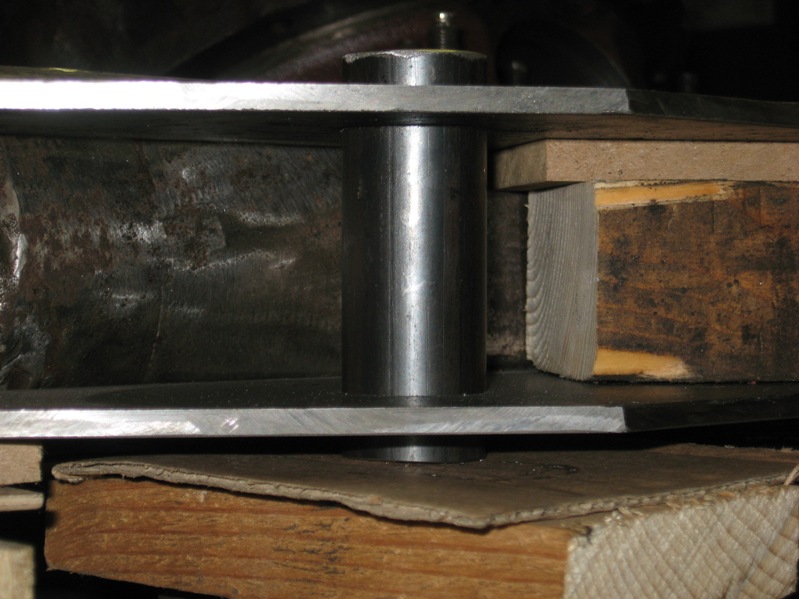
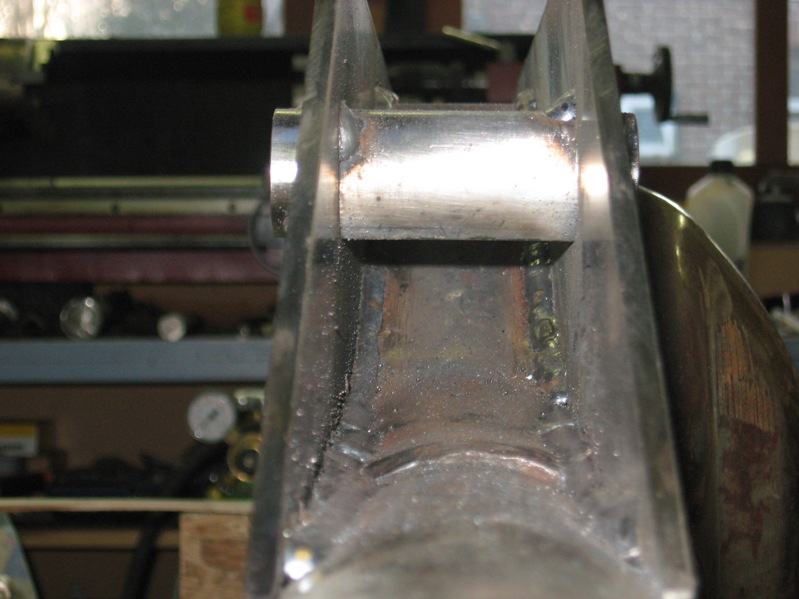
Drilled 2 holes 30mm(1.25") for mutual firmness and fixation.
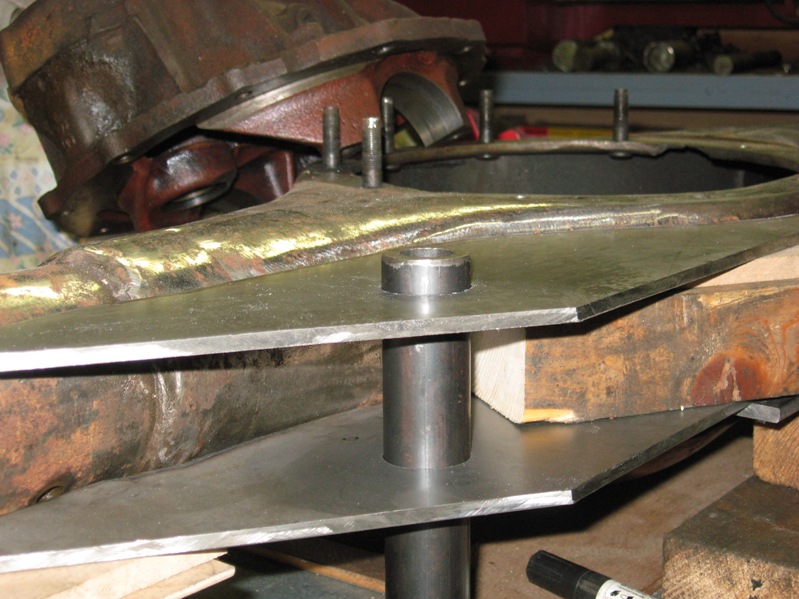
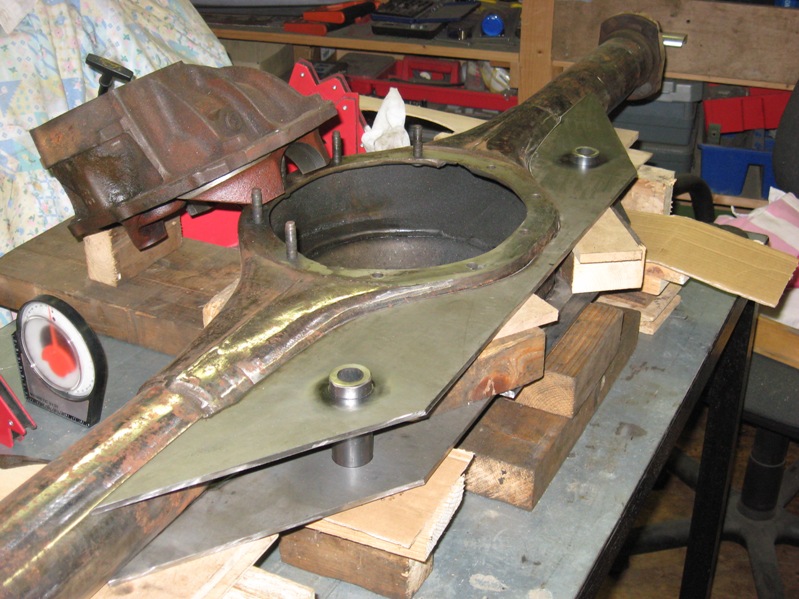
Then a tube 30mm wall 6mm(1,25"/0.25") through
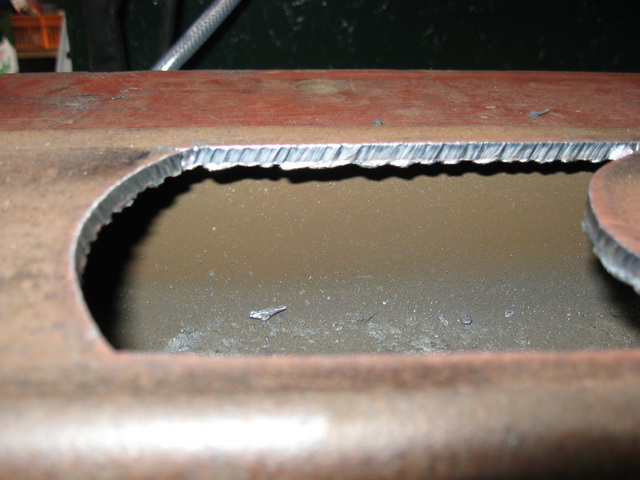
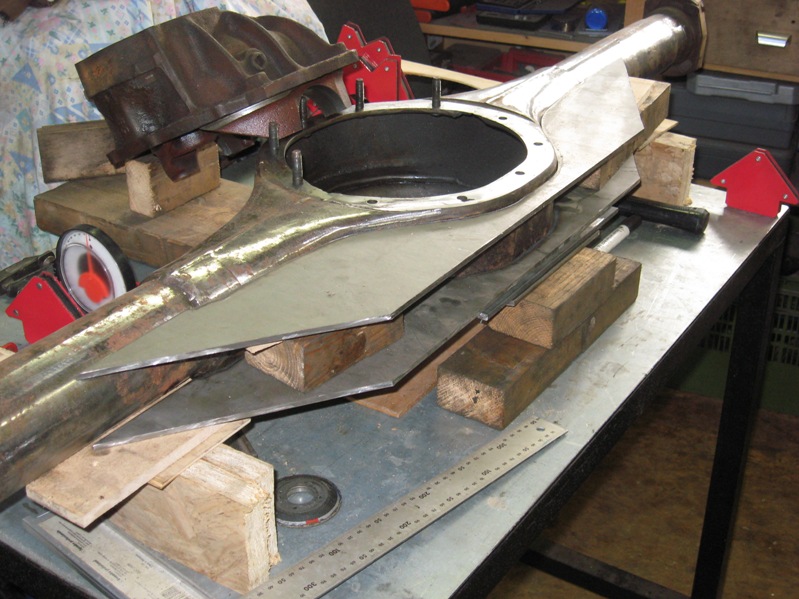
Have been experimenting with some lenghtwise cut tube 60mm wall 5mm (2.25"/0.20") for the sides,
but I don't know yet wether there will be enough room for it.
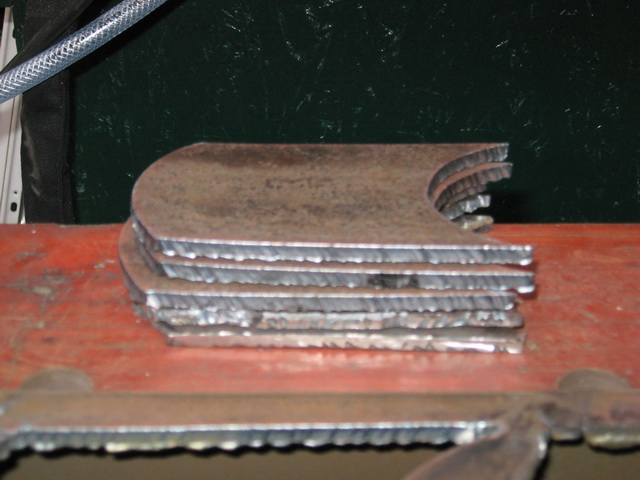
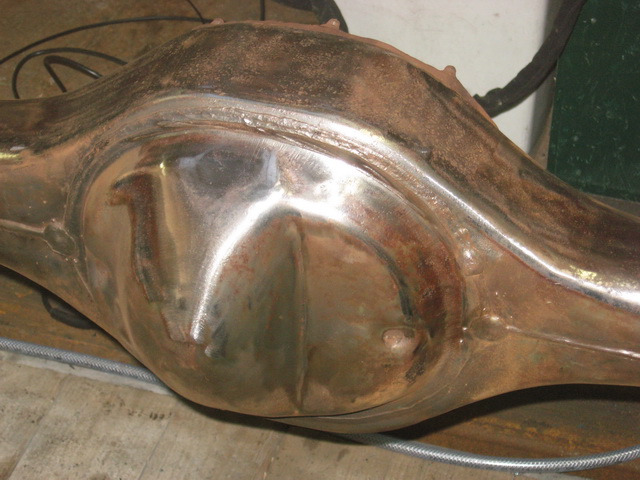
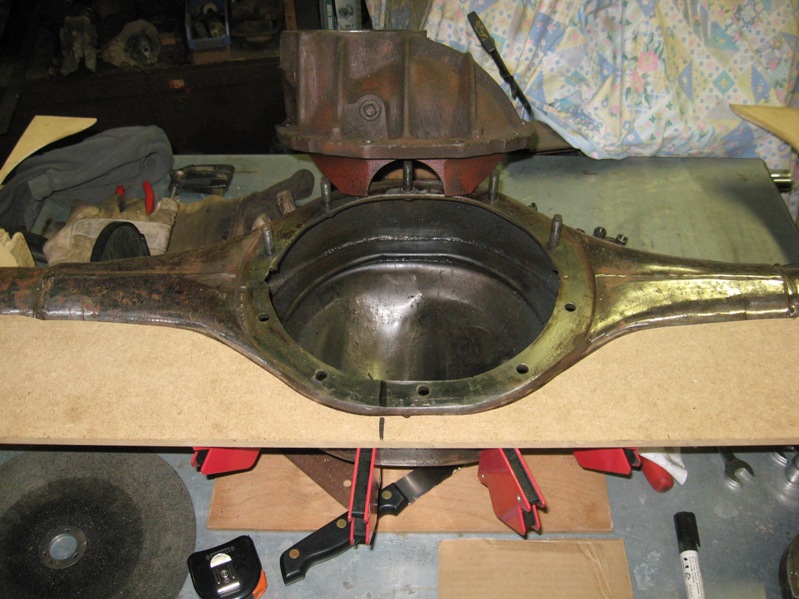
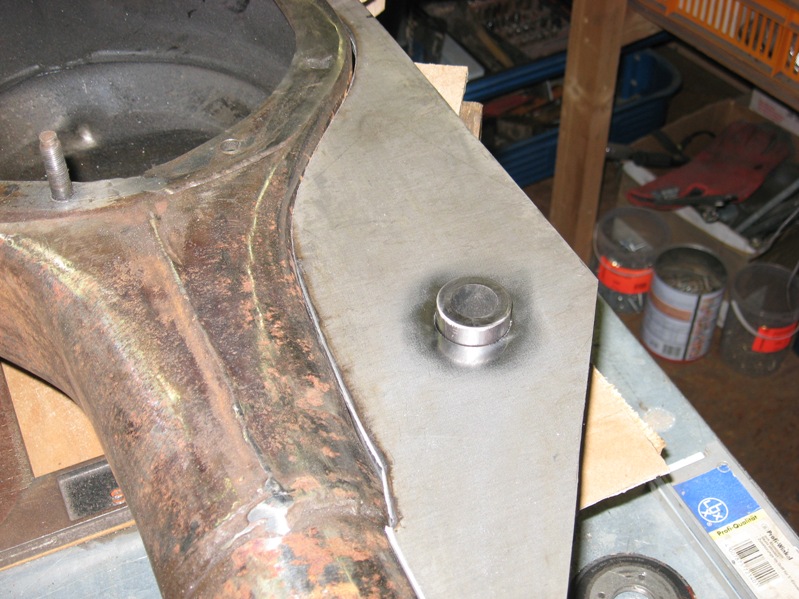
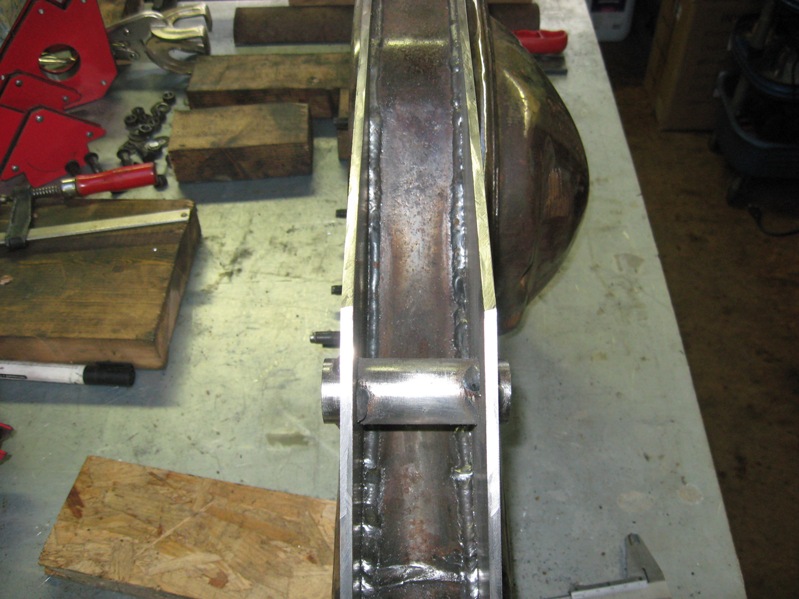
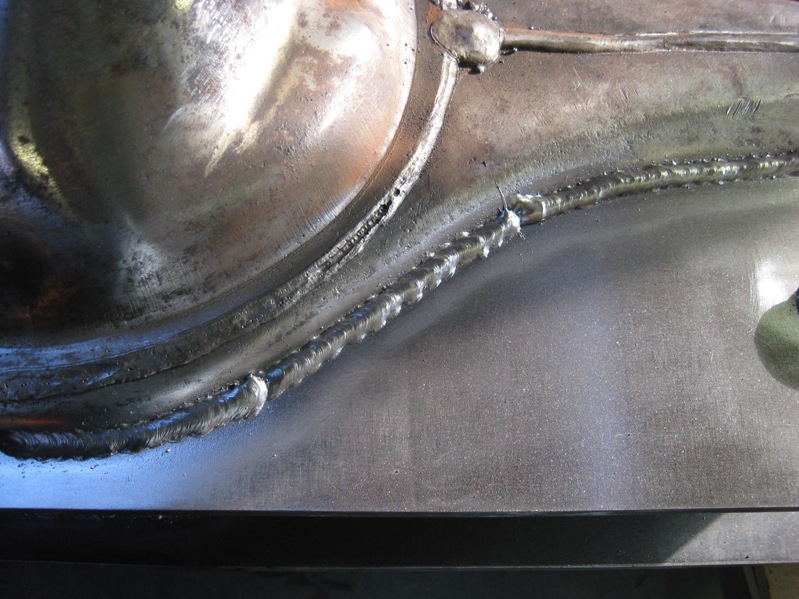
Time to weld the truss
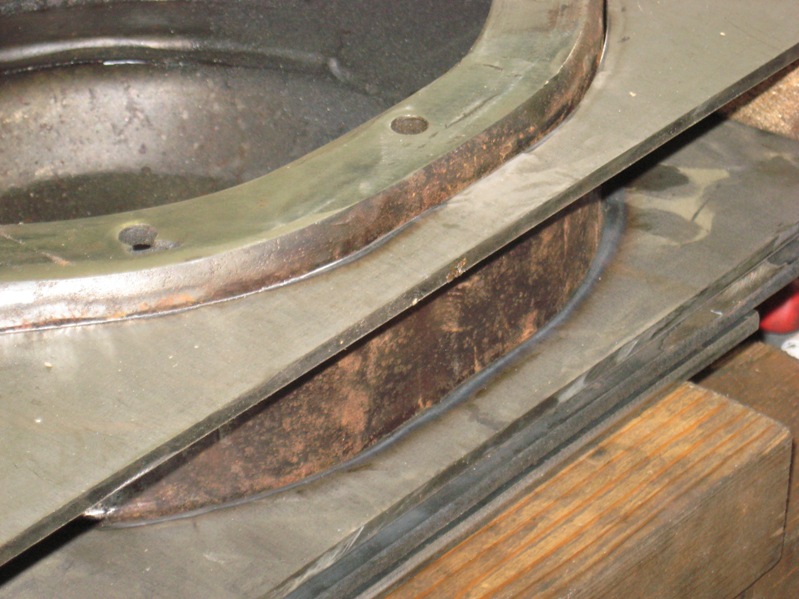
However the truss exactly sists over de breather hole,
seems familar also happened to me on the 8.8 a couple off years ago
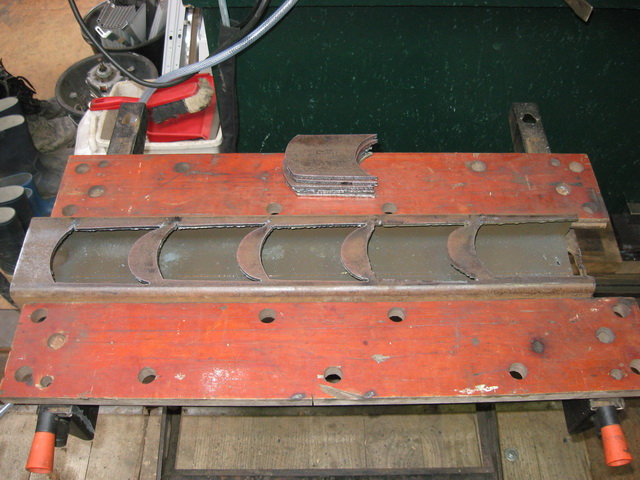
plumbed.
Truss tacked.
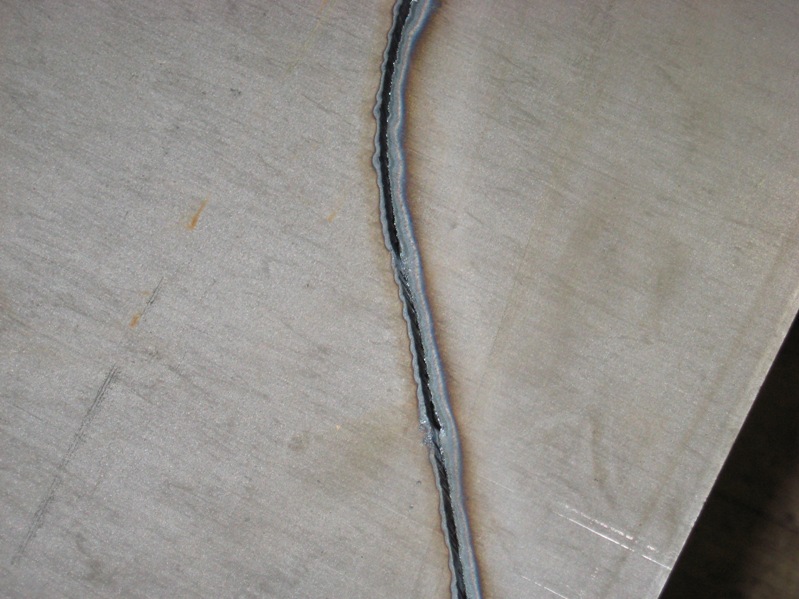
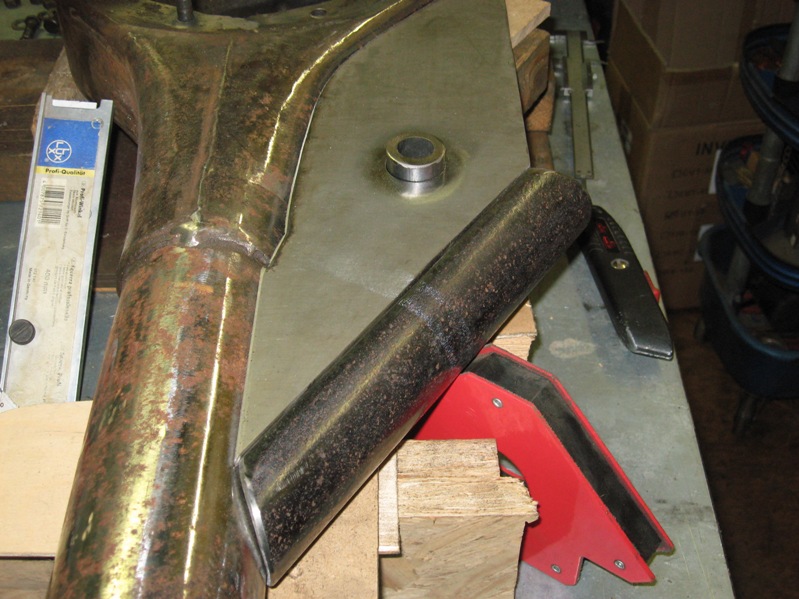
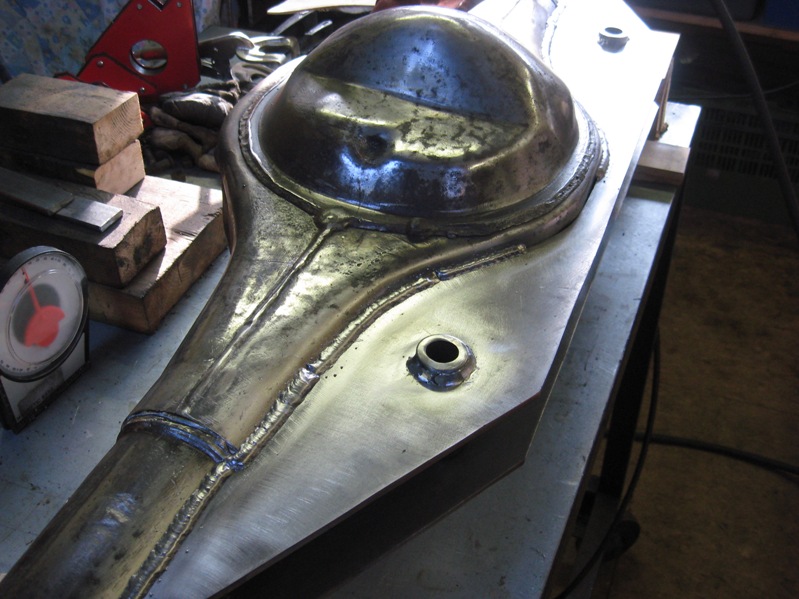
Then a very time-consuming job to weld the inside, bits of 6 a 7 cm(2.5"/3" to "prevent warp.
1 piece left
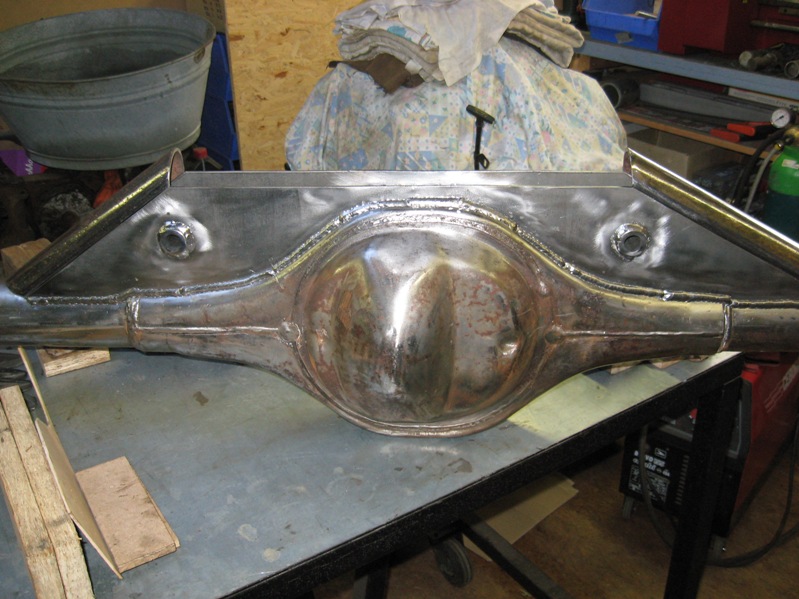
On to the outside
Checked the axle tubes for straightness, seems to be okay.
 02-01-2009, 05:01 PM
That looks sweet. Keep us posted with the progress.

 02-01-2009, 05:46 PM
great job on that truss!!, i should get you to do mine! lol
| « Previous Thread | Next Thread » |
| Thread Information |
Users Browsing this ThreadThere are currently 14 users browsing this thread. (0 members and 14 guests) |