|
|


 12-31-2008, 01:32 PM
yeh, the rest of the thread covers that ad nauseum. too much trouble to fix it now.
 12-31-2008, 02:26 PM
Who cares, the ground will be farther from your head when you roll it. Looking good.

 12-31-2008, 03:56 PM
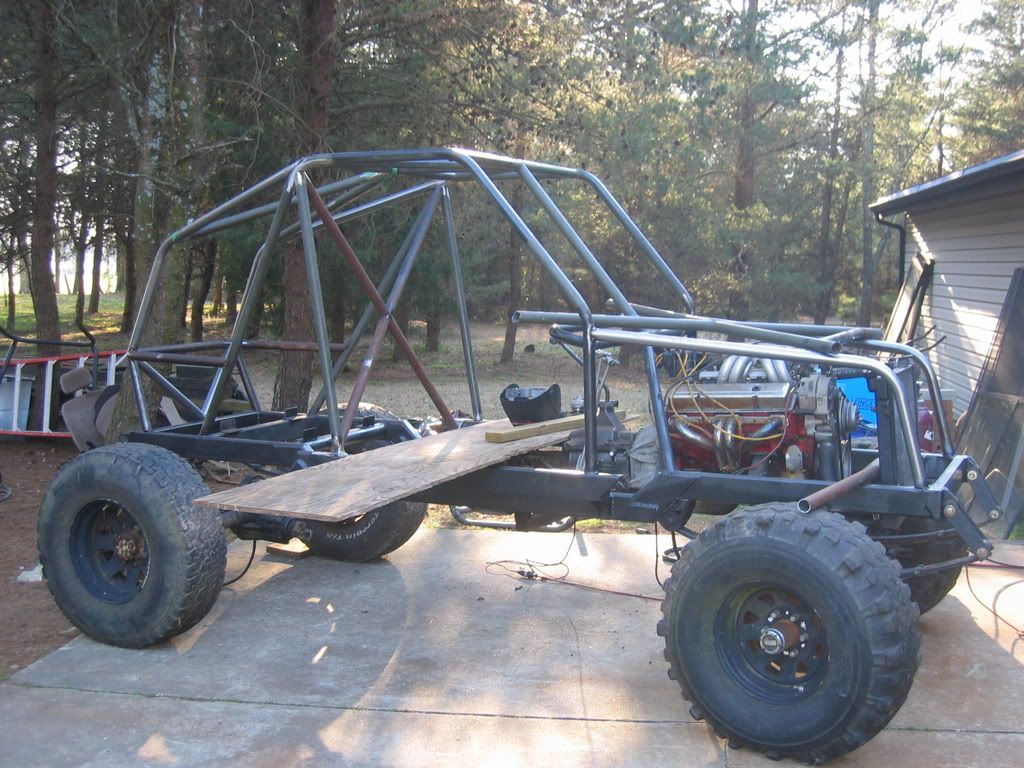
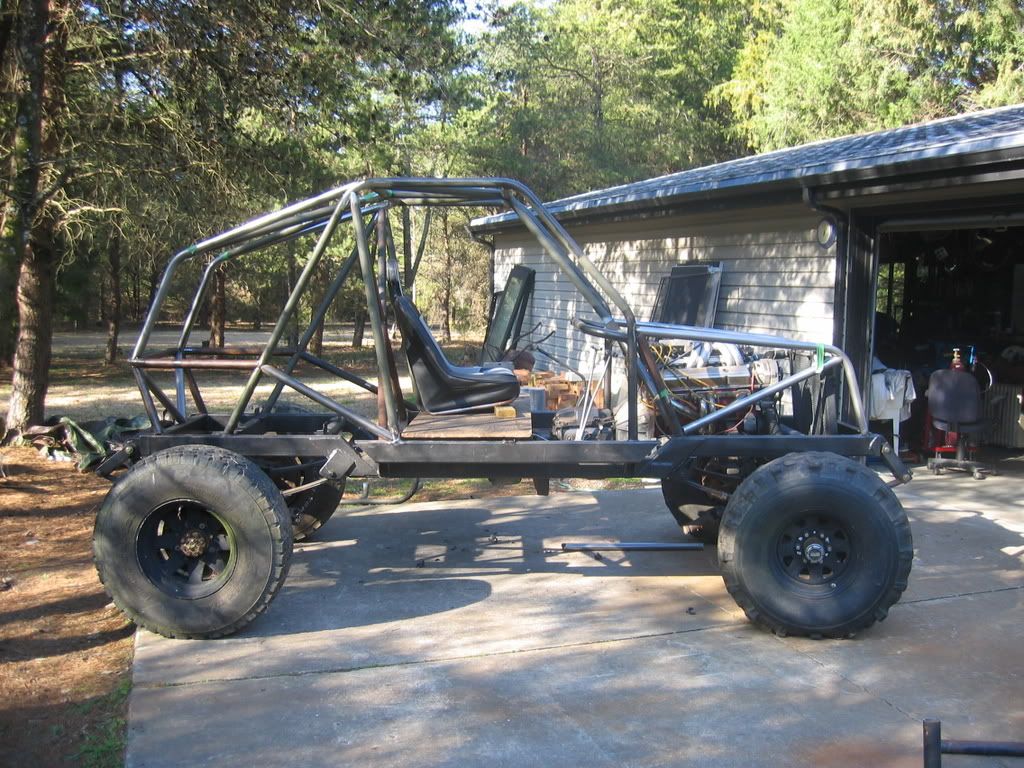
Are those shackle bushings the not the same width as the spring bushings, or is that just the camera? You're probably gonna want to carry spare front springs with you with those shackles being so far out there. Have you thought about springs with an offset center pin, like waggys fronts, XJs or toyota rears? I'd just be worried about ramming the shackles into everything and bending/ breaking springs. With the waggy springs and 40s you'd have much better approach angle.
01-01-2009, 08:22 PM
you're right, the bushings are 2 5/8" and the leaf bushings are 3". shackles joggle 3/16" per side.
i dont like the front setup either. It will get a little better with the 40s on there instead of those 35" rollers on there now, and i also want to drill the perches to try to cheat the axle forward about 1" too. Hopefully that'll get the tires up past the shackles, but i dont think it will. If these start breaking, I will definitely move to an offset pin spring (considered the waggys like you mentioned), but more than likely if i have reliability issues i'm just going to link it.
paul
01-01-2009, 11:04 PM
You're gonna want to look into some offset shackles then, as they'll probably bind like crazy like that. Ruff Stuff has 1/8" and 1/4" side plates pretty cheap, but I didn't see any 3/16". If you really wanted to you could always try to re-drill your center pin hole, but you'd be looking at a good drill bit or two and about half an hour per spring, lol.
01-01-2009, 11:48 PM
i've heard if you redrill spring holes, the main leaf almost ALWAYS cracks at the old hole.
not sure i follow you on the shackles. the centerline of the spring and the centerline of the bushing are aligned, and each side plate is joggled inward (offset) 3/16" to make 3/8" of total width reduction. the shackles in those pictures were just mockup, the ones currently on there are longer/beefier, didn't snap any pics though.
01-02-2009, 12:14 AM
Older high-mileage springs will crack a lot of the time after being redrilled, but I've seen people have good luck with newer ones. I personally wouldn't do it though.
With the shackles like that, they'll be putting an uneven load on the bushings and bolts. You could probably get away with it, but it'll try to eat bushings/ snap bolts at the shackles and not allow the suspension to move freely. At least that's what happened with a buddy's CJ with YJ springs on the front(1/2" wider) with the original hangers. You could just put a 3/16 washer on each side of the hangers to take care of it.
01-02-2009, 03:06 PM
thought about the washer, but i just bent the shackles. i essentially built an offset into the shackles like the ruffstuff ones you mentioned. the surfaces where it meets either bushing is flat to the bushing face and perpendicular to the bolt, but the frame end is offset inward 3/16". make sense or am i misunderstanding you?
01-02-2009, 04:23 PM
Yup that works. As long as the shackles are flat where they contact the bushings you'll be good to go.
 01-02-2009, 06:08 PM
Those gloves remind me of the time we had to shave poly off of the rear pucks on my BB
Looks like they might not do as good of a job this time
 01-02-2009, 11:54 PM
new we rock rules need 6" from the top of your helmut.
this will be the only buggy that currently meets that!!!!
01-03-2009, 12:16 AM
see? for years people laughed. turns out i was just a visionary! bitches!Originally Posted by Kraqa
yeah, those gloves are pretty tired. picked up a new set for cleaner work just a few days ago.
02-09-2009, 12:14 AM
weather was nice so i fueled up and made a quick run to SC. put in maybe 15-20 hours over 3 days.
just getting into the swing of things when the welder starting being a bitch. I was having feed speed issues with the hose/cable in anything but a straight line away from the welder. got pretty pissed off, disassembled the hose...took the liner out. Once i pulled the wire out of the liner, i couldn't get it back through again. there was some kind of blockage in there. Eventually cut the liner at the blockage with cutters...the blockage was compacted metal shavings and dust. Weird. Anyway, new liner is on order and the rest of the weekend I was without a welder. Just meant I had to notch better...
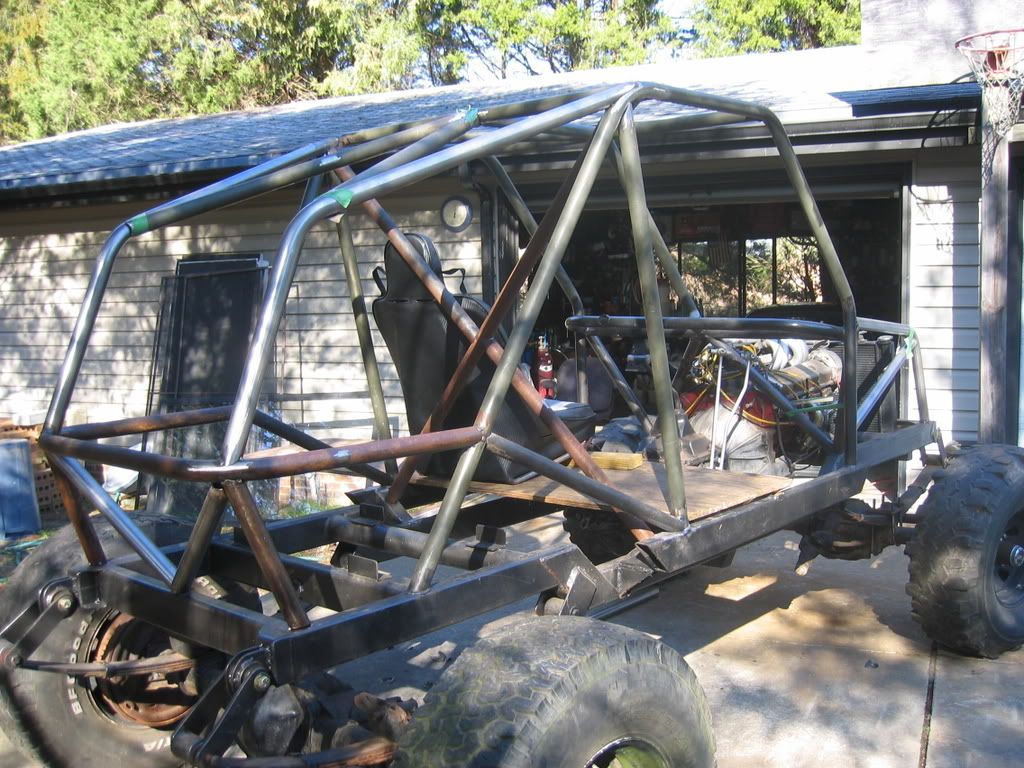
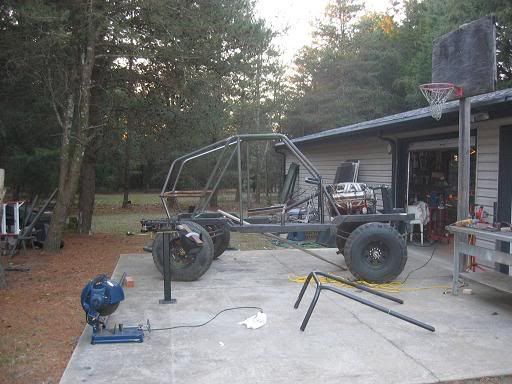
Cut out the old B pillars and reclined them, made a new b pillar "X", added a whole bunch of other tube:
buggy in a pile....just add a welder:
edit, also realizing my 'garage pro' jcwhitney seats are probably going to have to hit the scrap pile or craigslist for midgets. They are looking like they are much shorter than they should be...top the headrest is roughly the top of my neck. Not good, and i'm only 5'9"
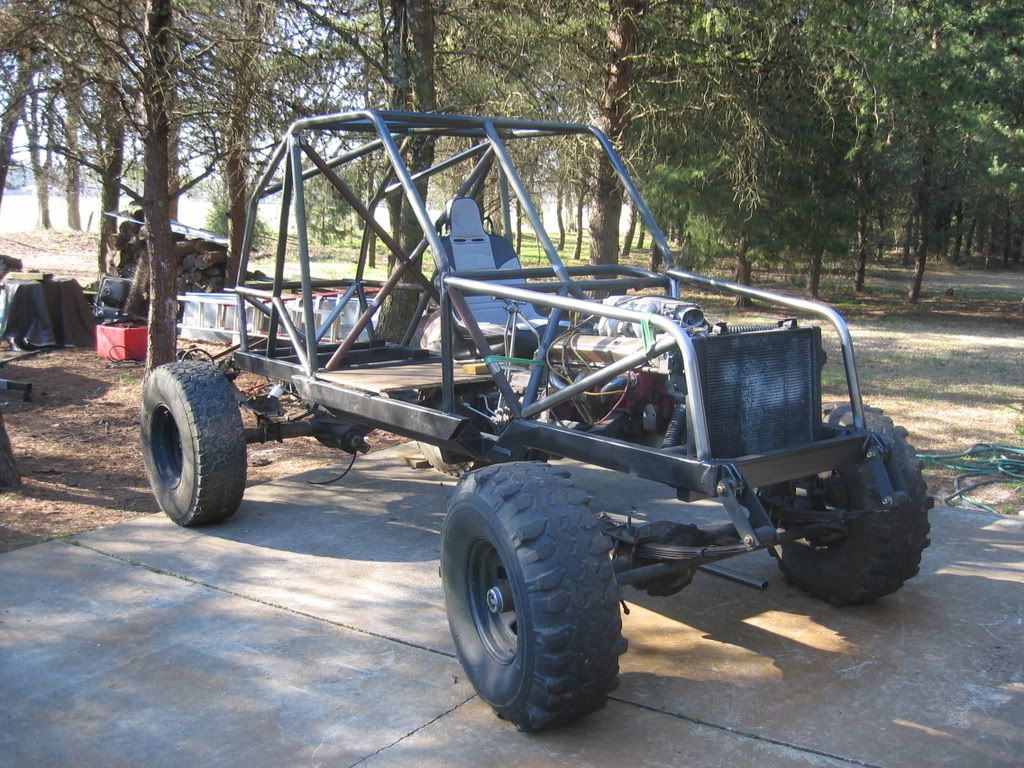
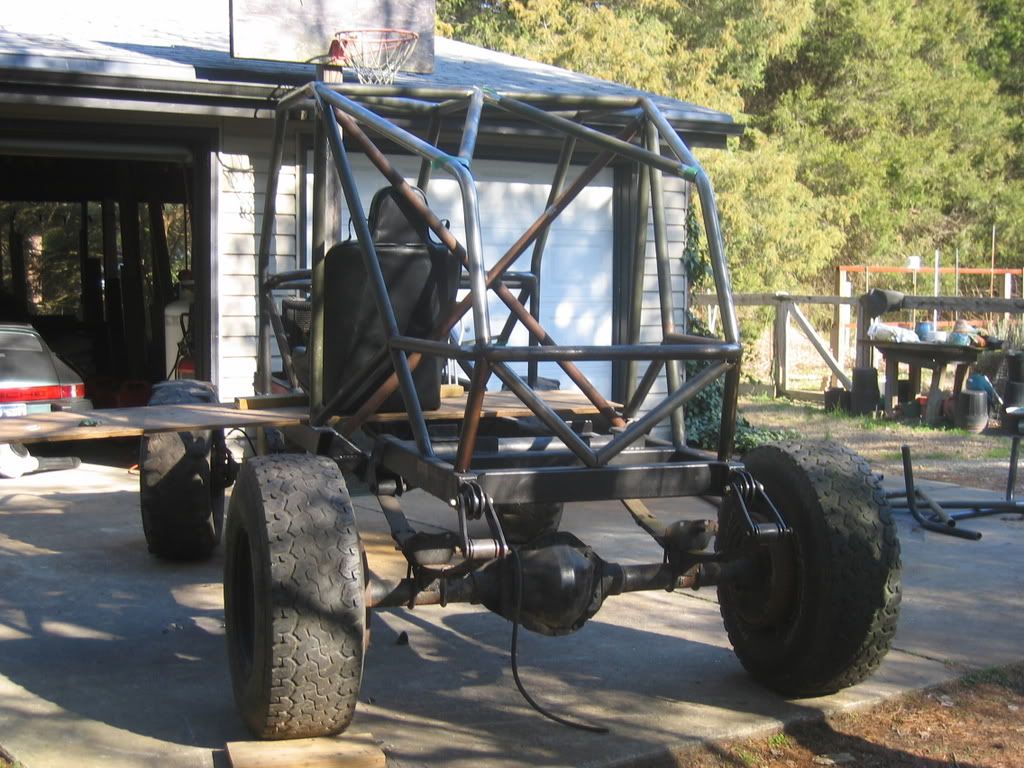
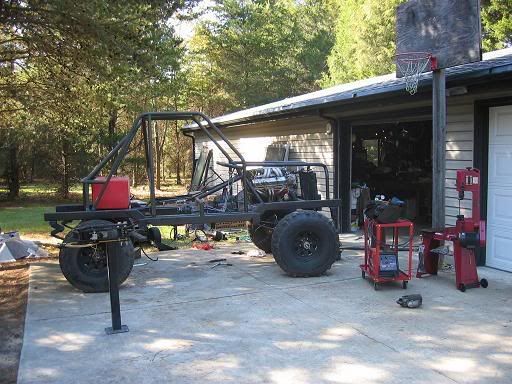
progression since november:

Last edited by paulkeith; 02-09-2009 at 12:39 AM.
 02-09-2009, 12:41 AM
That looks a lot better now. I think once you get it all finished up its going to look great. I might have missed it, but what are your plans for tires?
 02-09-2009, 12:56 AM
wow! It looks infinity times better. I really like the lines of the cage in the rear. I'm impressed with your patience to redesign with so much else left to do, but you'll be glad you took the time. Any plans for a door bar?
02-09-2009, 08:06 AM
thanks for the compliments. Its been a long road, motivating to finally see some lines coming together.
Kirsch, tires will be 39.5 boggers on 15x10 locks. Probably going to cut them for a little better sidehill traction, not 100% on that yet. There's a pic of them back somewhere in the thread.
Cam,
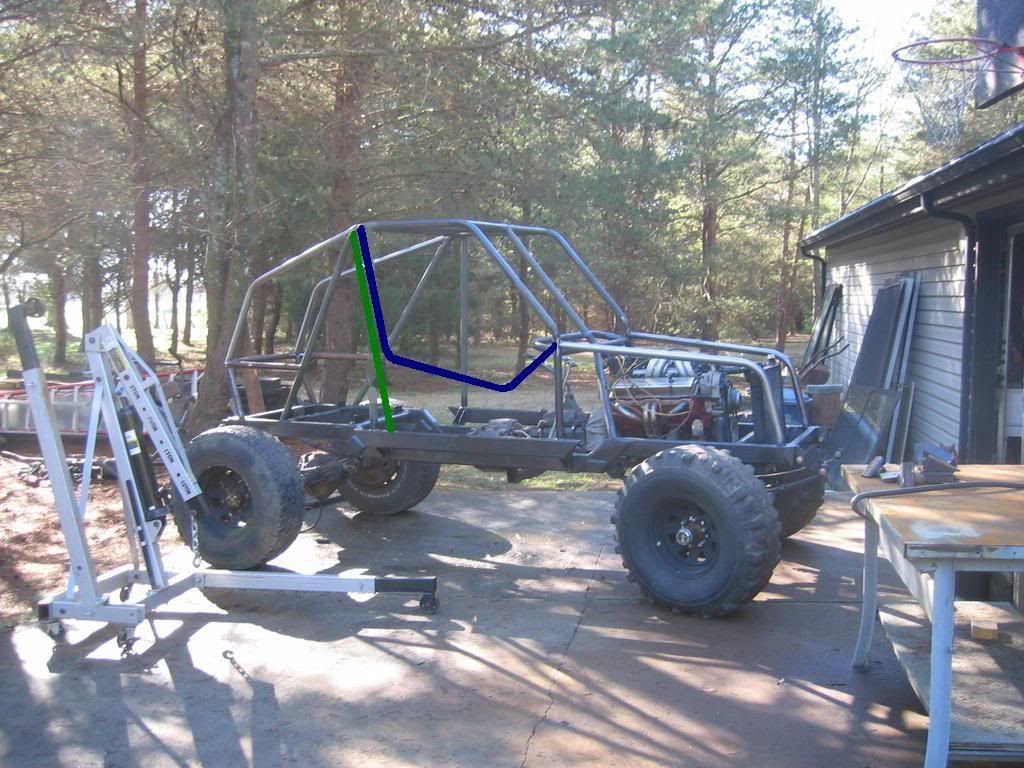
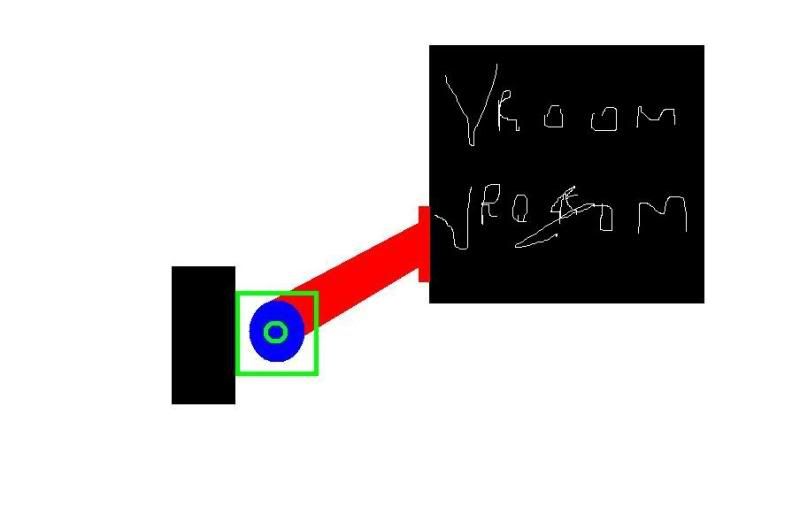
Yeah...I have plans for a door bar. Just don't want to put them in yet as I've still got a lot of climbing in/out to do. Plans are something along this paint sketch....
thoughts?
Also, its 80.5" to the top, 21" to teh skid. Add ~2" for the final tire size, subtract a little for additional tube weight, fuel, etc. Tall, but not as bad as i was initially expecting.
Paul
Last edited by paulkeith; 02-09-2009 at 08:42 AM.
 12-09-2009, 05:58 PM
Updates?
12-09-2009, 06:47 PM
Stay tuned. Few weeks over christmas should yield some results. Tarp hasn't come off the thing since Feb....
12-09-2009, 06:55 PM
You mean the boggers haven't sold yet?!
12-09-2009, 07:35 PM
Nope. I thought $750 for a set of boggers on locks would go like fire. Lukewarm interest at best.
I'd like to see all the tubes pictured above tacked in, the blazer torn down, and the 14b/60 under the chassis. Not really a lot of complex work, just a lot of heavy stuff to be disassembled/moved/reassembled.
reedit: just read back over this whole "build." amazing how 4 years boils down to 4 or 5 fab sessions. fail.
Last edited by paulkeith; 12-09-2009 at 09:08 PM.
12-09-2009, 10:00 PM
That is awesome! Frame, cage, beefy axles, iorn t case, and a v-8. All you need now is a chick to blow you while you drive... Maybe a mullet too? That might be pushing it LOL.
Seriously keep at it. That thing will be sick when its done!
12-09-2009, 10:24 PM
Never saw this build...but I like it!
Good work Paul! Keep it up man!
12-18-2009, 11:44 AM
question for those of you who have fabbed engine mounts:
This is my current design*:
*naming convention stolen from cam
The motor mount is a few inch long arm that reaches to the frame.
The more i think about this, the less I like it. That's putting a huge moment arm on the bolts holding the mount to the block.
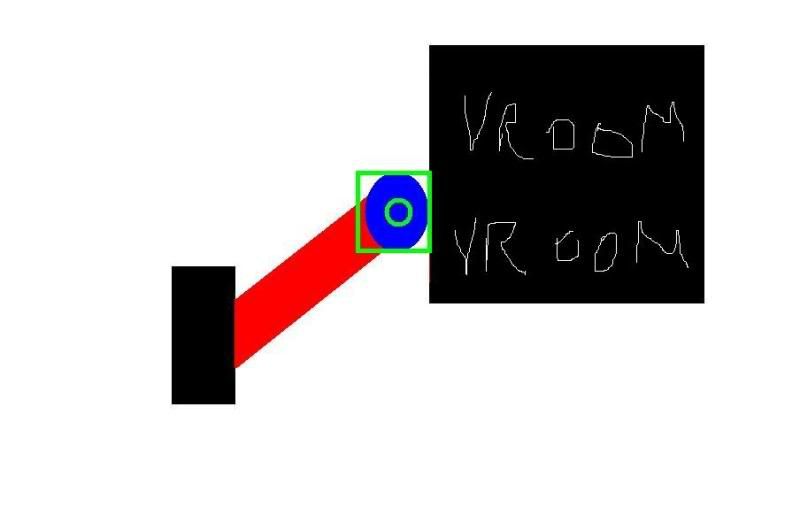
I want to do this:
Because I think it would be stronger and friendlier to the bolts screwed into the block.
The only downside I can see to revising the design is that the new arms hard mounted to the frame might get in the way when pulling the motor out.
Any other thoughts or considerations?
12-18-2009, 11:54 AM
That is how most of the swap kits do it. Hell thats how most oem's do it. If you use a block mount that pushes the through bolt away from the block you'll be golden.
12-18-2009, 12:10 PM
What? My point was keeping the bolt closer to the block as that's what would reduce the moment.
| « Previous Thread | Next Thread » |
| Thread Information |
Users Browsing this ThreadThere are currently 1 users browsing this thread. (0 members and 1 guests) |