
|
|


 03-15-2013, 12:32 AM
Ive been around on this board for a long time, my jeep was still stock when I discovered this site and owe it a lot for all the information I've learned here. I hope I can make some tech contributions to attempt to give something back to the community so I decided to make a build thread.
Evolution: I tried to do it in stages that would build off of one another so I wouldn't spend $$ twice on parts
1. started with some 235/75/15 peerless tyre mud terrains, definitely wanted more ground clearance after tearing off my front bumper and annihilating my muffler.
2.front to rear swap with front and rear adjustable trac bars and new shocks and some used 31" mtrs, loved its offroad performance, did great on trails like wheeler lake like this, but started getting death wobble
3. added a full set of rubicon express adjustable control arms and some coil spacers to give me about 4.5" of lift and bought some 33x12.50x15 bfg ats. enjoyed the added belly clearance, death wobble mostly disappeared, my 4.0 was not happy about the new tires with 3.55 gearing.
4. upgraded my steering with the phat jeeps high steer kit, they were nice guys to me. they let me hang out in their shop while they were working on my jeep and even showing me how to do what they were doing. up until this point they had done all of my work as I was a young kid with no garage, no tools and very little mechanical knowledge.
4 then the performance upgrades began to get the pig up the mountain: k&n cold air intake, then a performance ignition system, kolak exhaust. still not enough, decided it was time to spend the big bucks and go for gears and lockers.
5 had my lp dana 30 geared to 4.56 with a true trac to take care of the carrier break. and bought a dana 35 with an arb and 4.56 gears already in it for cheap( goal was to rock the d35 while I built an 8.8, then sell d35 for what I bought it for)
6. ran chinamans gulch, broke the crosspin in my arb, thought I had emergency brake issues, turns out disc brakes can keep c-clipped axles from walking put while driving after a carrier failure.
7 replaced crosspin, broke it again, put stock d35 back under the heep while I got the $$ together do build my 8.8 with a detroit locker.
8. jeep stayed like this with a few little things here and there until I got a welder and other fabrication tools, then things started to get more interesting and a little more worthy of being on this board haha
 03-15-2013, 12:46 AM
My wife let me go on a tool shopping spree for my birthday last year, I bought a 180 amp 220 volt welder, 14" shop saw, 2 4.5" angle grinders, a 20lb co2 tank for offroad air and welding, and all those other little fab necessities like welding gloves, clamps, auto darkening helmet and miscellaneous safety stuff like goggles, ear plugs, respirators. I'd say it was one of the best birthday presents ive ever picked out for myself lol!
I had learned how to weld in high school, we had a metal shop class, pretty awesome. so when I noticed the front upper control arm mounts for my jeep were starting to tear away from the unibody I knew that I needed to go to long arms before I could do anymore wheeling. I had a friend try to weld it back together the year before btw and his welds eventually failed after a few trails.
I originally planned to buy a front long arm upgrade kit and install it myself, but I hurt my ankle in July of 2012 bad enough to keep me from working, but not bad enough to dink around in the garage. So I researched a ton and made my own 3 link front long arms. very happy with the results. Ill post pics when I get a chance. My ankle wasnt getting stronger after 3 months of pt, so my foot and ankle specialist did a brostrom evans procedure and tightened up my loose ligaments and repaired my peroneal tendon.
As soon as I was able to walk again I started build a front bumper, and that takes me to today. sorry for being so long winded, just wanted to log where I came from on my build as I get into the more interesting part of jeeps: making the shit yourself!!
03-15-2013, 01:31 AM
03-15-2013, 01:37 AM
03-15-2013, 01:41 AM
and heres some pics of my foot
10 days post surgery

03-15-2013, 01:45 AM
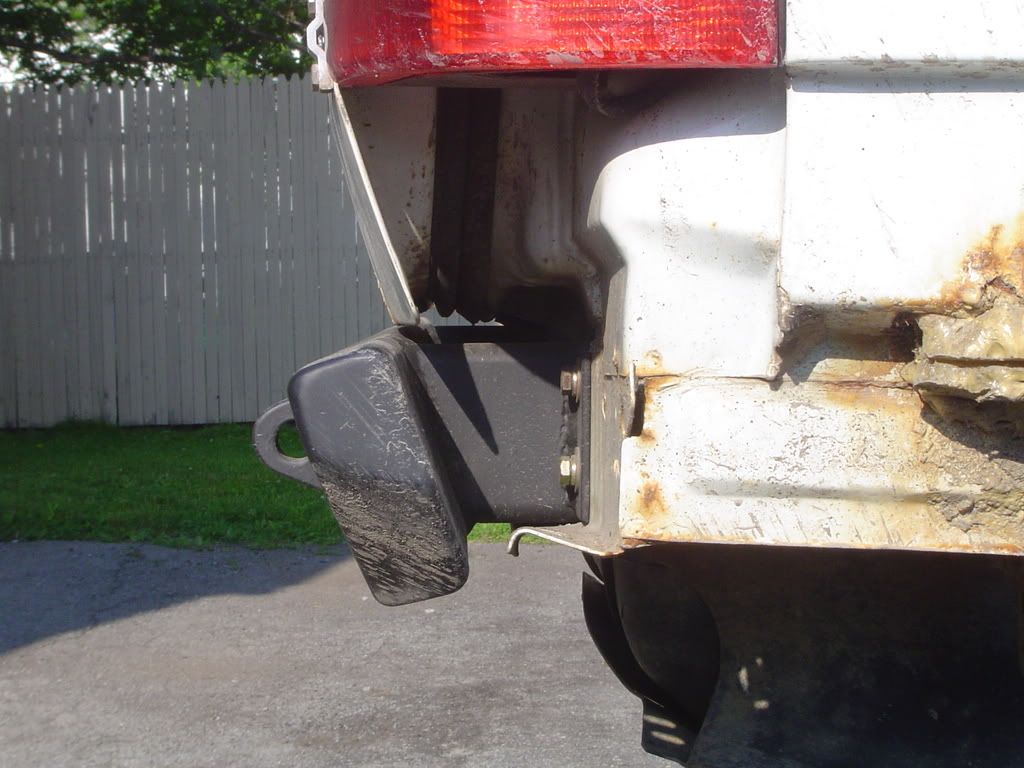
made a little co2 tank/fire extinguisher bracket the other day, it mounts on the passenger side of cargo area by that little cargo net thing bolted to the floor and wheel well using 6 3/8" bolts with fender washers on the other side of the body from the bracket. oh and those are quickfist xls that are holding the co2 tank to the bracket.

Just ordered a bunch of goodies from ruffstuff to start my rear dual triangulated 4 link, thanks for the st. Patty's day coupon Dan!
I think I'm gonna do a little write up on it now that I actually have a build thread now.
 03-16-2013, 11:40 AM
Nice man! "The Egg Carton", that's AWESOME
Thanks man! The project name popped in my head when I was making the bumper haha
03-16-2013, 02:10 PM
I will be tackling the rear long arms first, but after that I will be building a rear bumper w/tire carrier and I've always had a soft spot for the swing down tire carriers the wranglers use. So I want to do something similar on my grand, I would use 4 poly bushings to attach the tire carrier to the bumper, 2 on the bottom part and 2 with t-handle release pins right under the rear tail lights, my only concern is of there is enough vertical separation to keep the tire from moving when wheelin. here's an ms paint edit to show my idea.

Last edited by egg; 03-19-2013 at 09:36 AM.
 03-18-2013, 01:13 PM
After seeing several ZJ's with stress cracks at the rear bumper mounting points I'd avoid having a huge over hung weight on rear.


 03-18-2013, 02:09 PM
If you feel like lifting your wheel and tire combo plus 25-30 lbs of steel and reaching over to slide a pin in every time you want to open the hatch, go for it.
If you do build it, I would use UHMW bushings instead of the soft spring bushings you were probably planning on. In addition to taking out more of the play/ give, the harder bushings will slide better than the softer stuff without grease. You'll have to make the whole thing beefy (heavy), especially the outer mounts and supporting structure as having the tire so far above both mounting points means a lot of leverage on the whole assembly.
I'd make the bumper mounts as long as possible and strongly consider plating the outside of the rails, too.
 03-18-2013, 02:11 PM
Absolutly correct here. Unless you plate/sleeve or some other way beef up the most rear part of the " frame" it will crack.Originally Posted by Ted_Z
 03-18-2013, 02:18 PM
IMO, a significant amount of that stress can be relieved by adding "XJ-style" mounts to the bumper. ZJ bumpers typically only use vertical bolts on the frame to mount them. XJ bumpers typically mount with horizontal bolts onto the back of the body. So if you use something like 4x2 tubing for the "ZJ style" mounts, then weld on some plate or angle iron and make some backing plates, you can add in the XJ style mount for a pretty stout mount.
Last edited by SirFuego; 03-18-2013 at 02:23 PM.
 03-18-2013, 05:17 PM
I would use uhmw.
uhmw has no memory. It smushed into shape and stays there. With the weight of a tire on the rear it will develop slop and pound it self out.
I can make you some real good firm bushings that will never pound out.
03-19-2013, 09:48 AM
this is some good input! I like your idea Sir Fuego, run mounts into the unibody rails, bolt them to my gas tank skid, as well as along the vertical side of the rail effectively sandwiching the "frame" on 2 planes, and then along the outside like an xj. Now that'd be a stout mount!
It might be stupid, but I think my desire for uniqueness here is going to trump the practicality of having a typical swing away tire carrier, if it really bothers me, ill add a spindle and latch for a bar that the swing down stuff will be mounted to, I saw a guy on I think jeepforum do that. I was liking the idea of just taking the tire carrier off when I'm not going wheeling to save weight for putting around town and what not.
Kraqa- does the uhmw just replace the rubber/poly bushings in a standard bushed dom setup? definitely interested, just wondering how to use it. I've only seen people around here use uhmw for skids.
thanks for the advice!
03-19-2013, 12:10 PM
I was referring to these: http://www.mcmaster.com/#uhmw-polyet...shings/=ly3yzb
You probably don't need inner sleeves for what you're doing. I would use 57785K25.
Make the latches 3-sided so they act like pockets to catch and roughly position the carrier. I would also make the lower mounts extend a couple inches past the center of the tire and make the tire sit straight up. This will make the carrier want to stay closed after you hurl it up into place and make it a lot easier to throw a pin in.
That's some great insight Indy, thanks for taking the time to look at that for me. I got some time before the bumper/tire carrier build and definitely want a solid plan for this before I make the first cardboard template lol.
Anyways, onto the rear long arm project
Rear crossmember will unfortunately hang down 2" below the "frame rails", but it will start flush, boat side style

03-19-2013, 07:46 PM
What have you all done with the brake/fuel lines when plating the inside of the frame? i was thinking I'd unsnap some of the retainers, weld the plating up, drill new holes in the plating, remount the snaps in the holes, sound about right??
 03-19-2013, 08:08 PM
Thats exactly what i did on mine, no pictures, but its not rocket science
Haha I guess I was just thinking out loud, was stupid simple when I just went for it.
04-11-2013, 10:10 PM
been working on the rear long arms, made some tabs for the upper mounts, welded them to the angle iron that will finish my unibody plating. Then welded them to the unibody. was pretty tough cause my welder was sputtering pretty bad on any setting but max amps and max wire speed, but I still managed to get some decent welds without burning through the unibody, maybe its because the angle Im using is 1/4"....
welding the new angle iron to the angle iron I already had on the "frame rails" proved to be the biggest PITA since I had about an 1/8 to 3/16 gap along the area for the two to meet and I had to fight with the metal getting too hot and gooping up on me. some of the welds look like crap along that area, but some turned out good so I'm happy. anywhoo here's some pics to show what I'm talking about

04-11-2013, 11:23 PM
Man, you don't mess around, you GET SH*T DONE! Props to ya, coming together nicely.
Thanks man, I'm just trying to get as much done as I can before I get cleared to go back to work.
I got the rear crossmember notched for exhaust clearance and welded up to the new sub frame today too, didn't take any pics of that. Tomorrow I'll pull the 8.8 out to start stripping the ruffstuff tabs setup for short arms and begin fabbing a truss out of some 3x6 3/16 square tubing
Finished the 8.8 truss today and tomorrow I'll be setting the tabs up. I'm pretty pumped to get this done and be on full set of long arms
Pics to follow when I get back home
| « Previous Thread | Next Thread » |
| Thread Information |
Users Browsing this ThreadThere are currently 1 users browsing this thread. (0 members and 1 guests) |


