|
|


 05-27-2011, 12:21 AM
After Hours spent looking at others rigs, and gaining ideas, I suppose it is time for this tech illeterate individual to start a build thread.
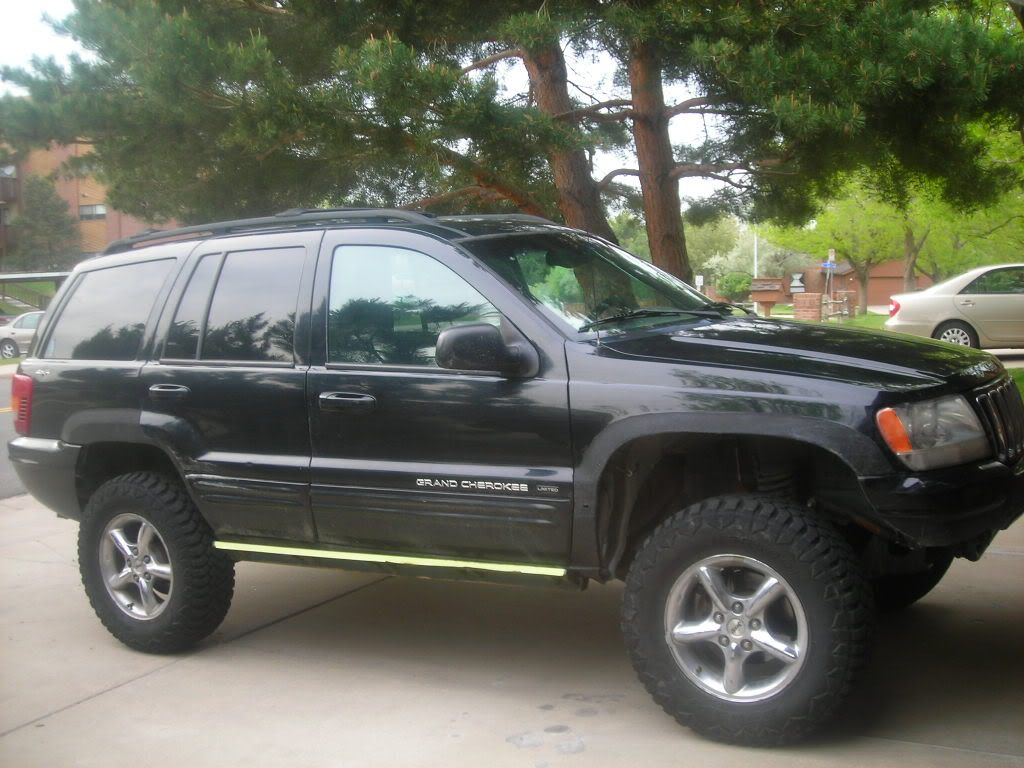
I got this 01 WJ in Feb '10 after my little bro came up Spring Creek Trail in his bone stock WJ to rescue me and my '90 F250 that had no buisness on that trail. It was an ex-cab long bed. Lesson learned.
It started life as a stock limited. Sorry for the lack of early pics...I am getting better. I found a used Rock Krawler 3.5" kit on Ebay-490.00. I couldent pass that up. Then I got some 265/70r17 Hancook mt's and off I went. Lets not forget the wheel spacers. After bashing in my rocker panels, I built what I thought were some killer rock slides. More on that later. Then, I ripped out my washer pumps and destroyed the tank...Enter the ZJ washer tank. And while we are in that line, I discovered it is not good to be stubborn about trimming...note the gashes in my poor tires. Also, they make bump stops for a reason. Note the dent from the track bar in the oil pan. Guess I am lucky-the crank did not appear to come in contact with the pan, and it does not leak.
I got around to painting the cut fenders and smashed rocker pannels this spring. I used Herculiner-thank you mc. Alco traded that pos t-case skid for a IRO unit. Also swapped my ls rear for mybrothers open so I couls stick in a spartan. What a difference that made. I also got a HD diff cover for the 30-dont remember brand. It came from HCP4x4.
As you can see, the mods are seeming to be to fix shit I tear up so, a wish list is next to pointledd. Every time I decide what to do next, the decision gets made for me.
Here we sit now

Last edited by fluxcap; 05-27-2011 at 12:30 AM. Reason: %^&*^% Pictures
 05-27-2011, 12:40 AM
06-01-2011, 09:29 PM
05-27-2011, 12:40 AM
06-01-2011, 09:29 PM
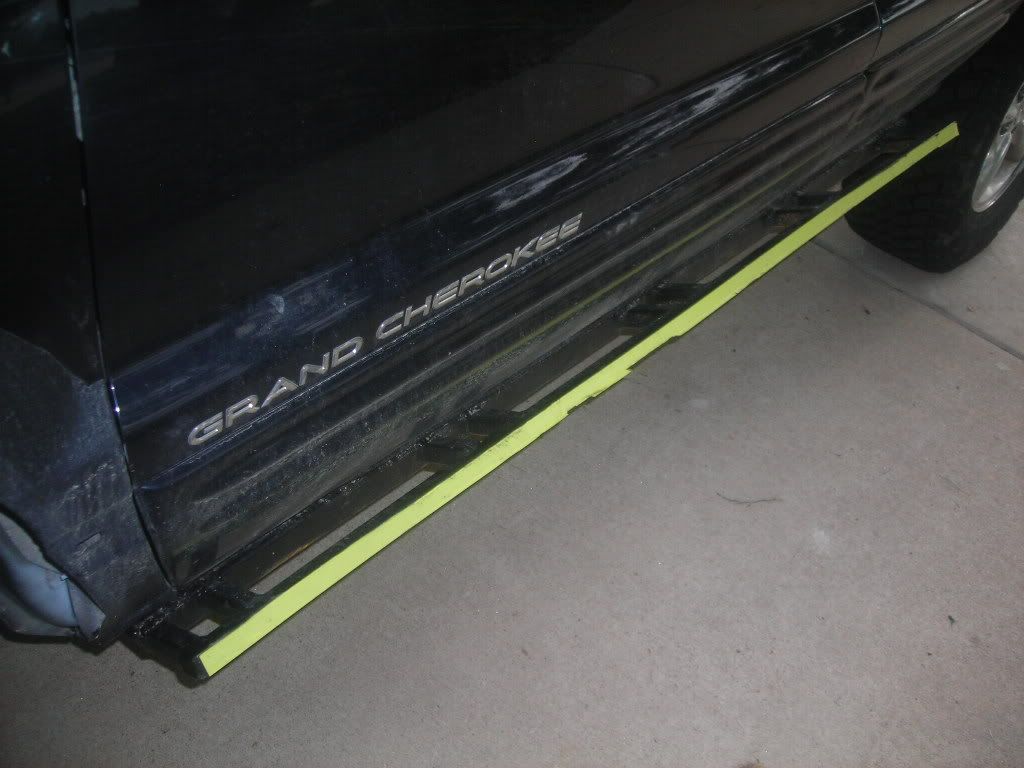
Here are my home grown rock slides
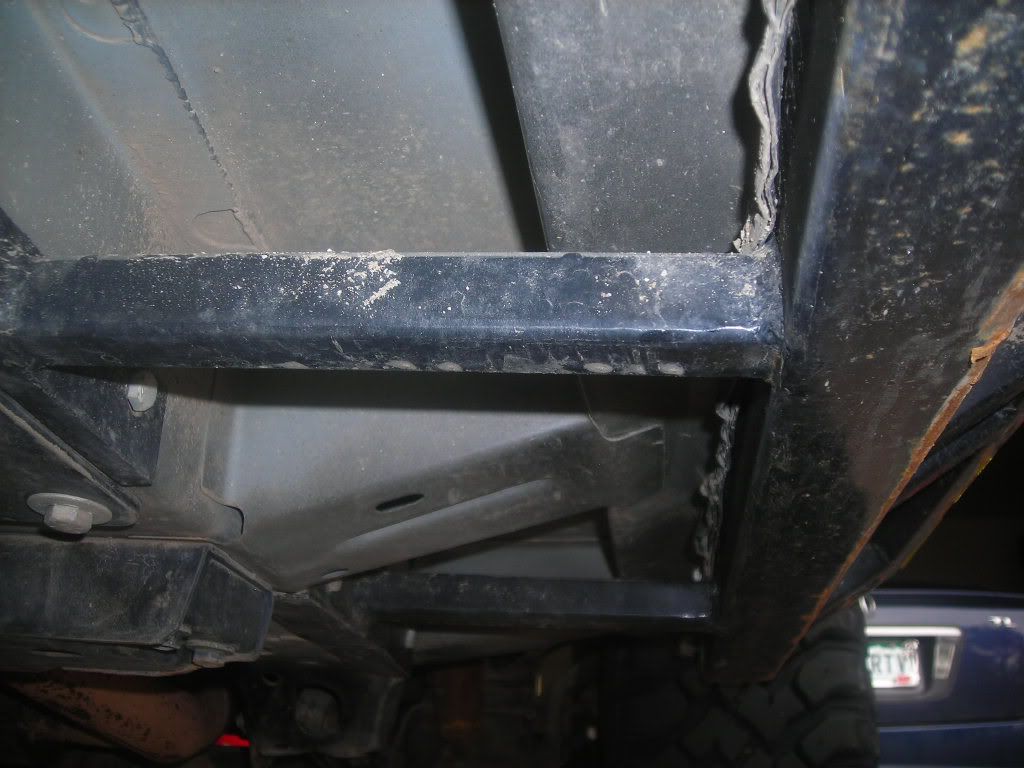
Here is what happenes when one goes down a pair of steps wrong
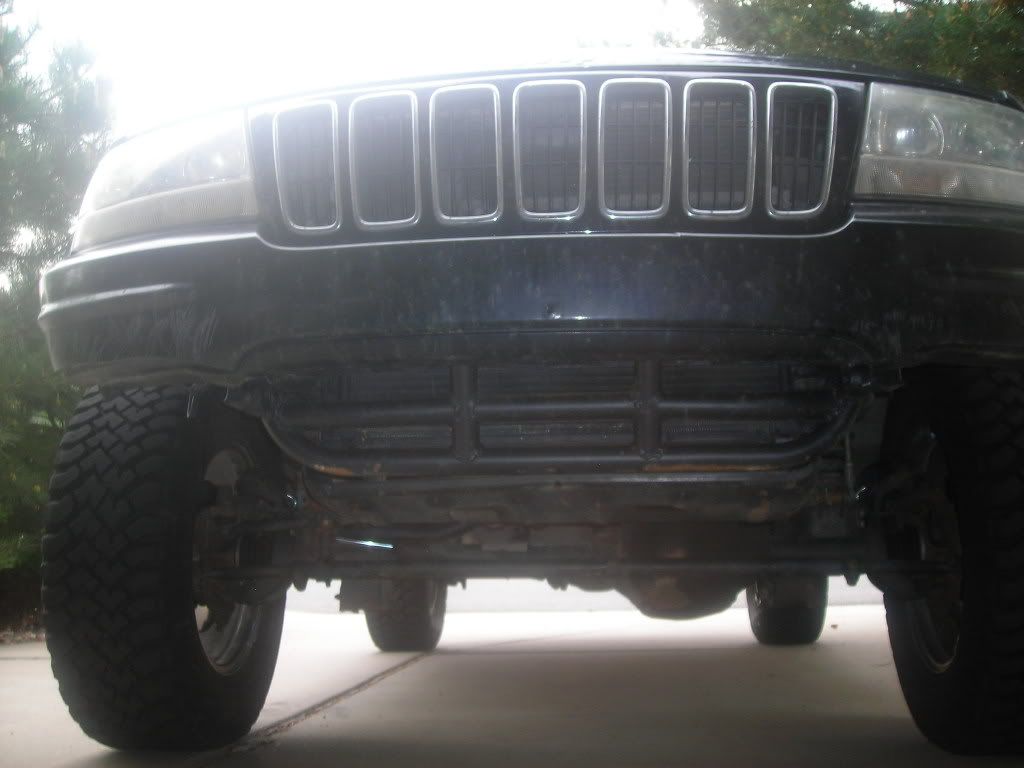
This is what the underside should look like.
Time for boat sides?
Here is the lower radiator support I had built. It will one day morph into a whole bumper.
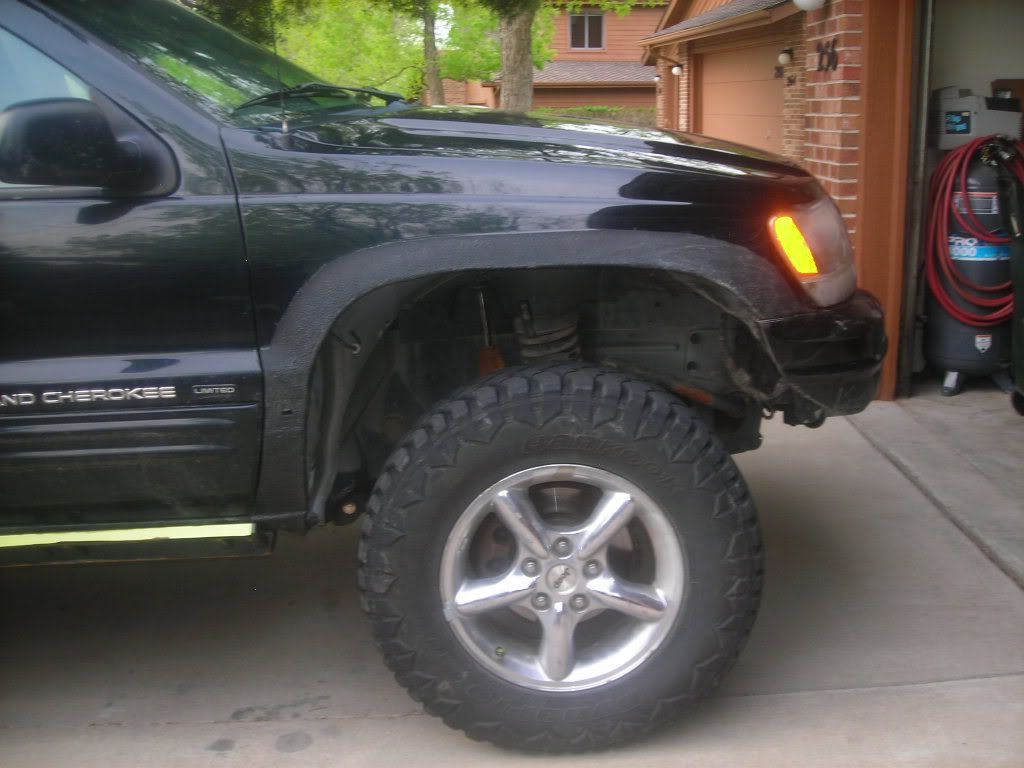
Here is a closer look at my cut out front fender
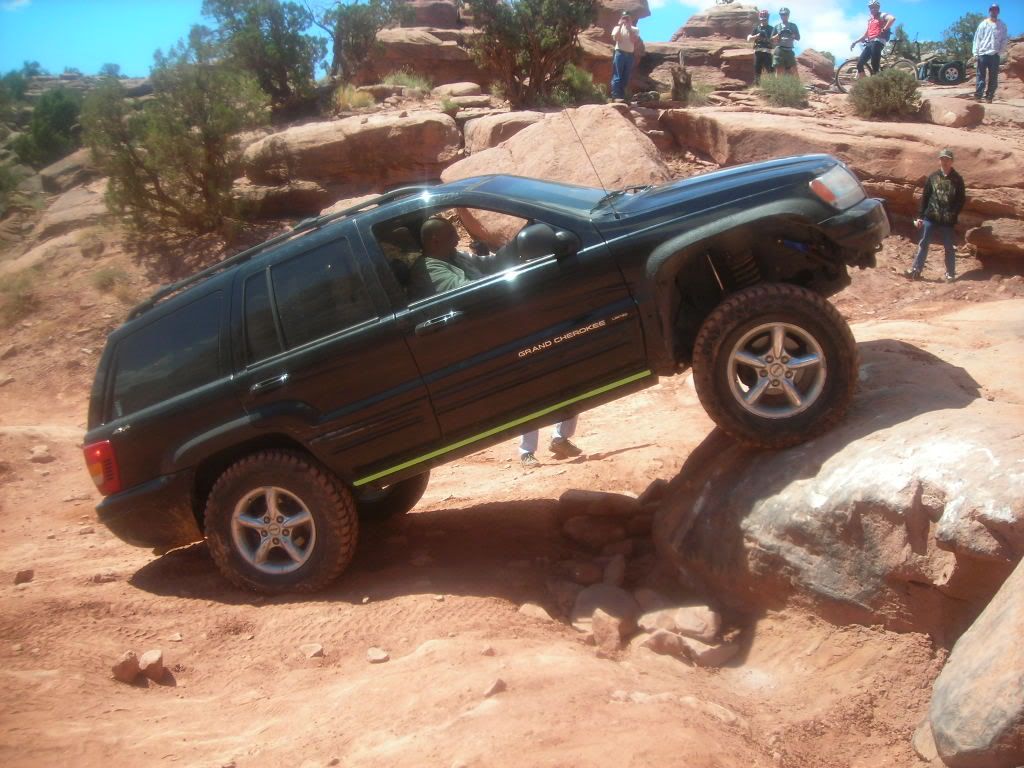
Sorry to say, even with the spectators, I did not make it
06-02-2011, 03:14 PM
nice built sliders. I have a feeling when I pull my cladding off my rockers, I'll be forced to make built in sliders to replace what once was rockers. I live in the salt belt area NH
01-02-2012, 03:18 PM
Here is the next installment...A higher fuel tank, and the first opportunity to use my new welder. Hobart handler 210.
[IMG][/IMG]
[IMG][/IMG]
[IMG][/IMG]
01-02-2012, 03:26 PM
Up next: To fix this
[IMG][/IMG]
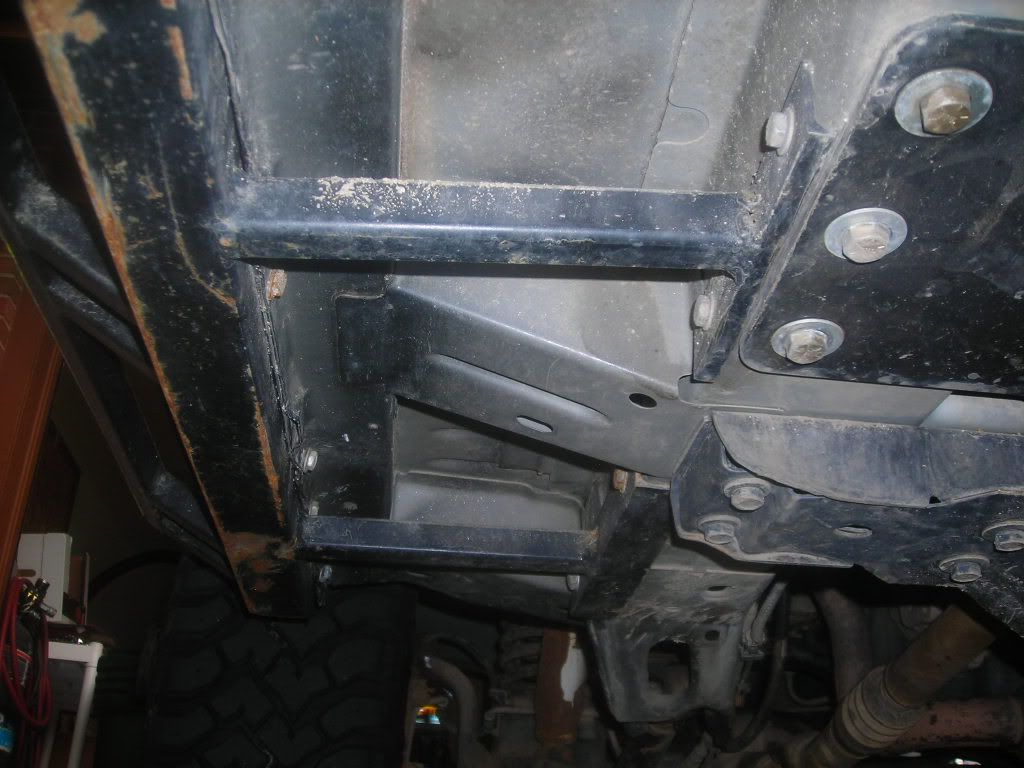
And this
[IMG][/IMG]
A little 3/16 plate and a little time and it will be better than new.
01-03-2012, 11:44 AM
Looks good
01-05-2012, 05:40 PM
Oh yeah that'll be a easy fix. Did ya get to it yet?
01-29-2012, 11:18 PM
[IMG]]Finally done. This as usual turned into a larger project than I anticipated. I first attempted to straighten the lesser bent side to make a template to make rienforcement plates for both sides. I even tried applieng generous heat, but quickly lost patience. I then ran out and purchased some new tabs. No prob....right? Wrong. After some....too much.... time grinding then welding both in uncomfortable and tight places makeing some ugly welds, I figured out the only way I was going to clock the new tabs properly was to pull it.
[IMG][/IMG]
And after pulling it
[/IMG
Welds look a little better.
[IMG][/IMG]
Can anyone tell me how to make theese pics not so obnoctiously large? Using photobucket?
01-30-2012, 10:54 AM
I don't think they are that big, but I'm on a 21" widescreen.
01-31-2012, 07:54 PM
Yeah they look fine on my regular ol laptop. Nice start
01-31-2012, 08:19 PM
Tomorrow I head to a buddys house to do some head scratching on rear bumper ideas. I like what AP did to the blue submarine, but I did not raise the tank as much as he did. anyone else have suggestions on whose rear bumper builds to look at? Need I worry about plating the rear frame rails or attaching anywhere other than the reciever mount locations.
I want to ditch the factory reciever, possibly cut into the rear "cross member" to raise the reciever, definately cut out the rear fender wells.
All criticism and pointers welcome.
Thanks, brad and UT
 01-31-2012, 08:32 PM
Looks good! Why is your slider painted weird?
01-31-2012, 08:35 PM
In the garage floor, tucked out of the way are a hp44 and 9 inch. All this is leading up to building axles and long arms. I want to get armoured up before re-doing the suspension again. Also in the corner of the girage are 4 new Kumho KL71 mt's in 315/70-17.
After the rear bumper, and before car show weekend in moab, I want to get the bumpers built, and do boat sides. the other advice i need is, how to stiffen my uniframe for the trusses for the boat sides without f-ing up future suspension mounts. I would like to avoid adding the tubing likeClaytons does to maintain as much clearance as possible. The thought I currently have is to wrap the uniframe in 3/16 or 1/4 in and either create a box or some type of sleeve to tuck the lowers up outboard of the inner frame rail. Does that idea make sense without a drawing....Not that computer savy yet.
02-19-2012, 11:43 PM
Here are the beginnings of my rear bumper. My goals are a substantially higher reciever, recovery pionts, and eventually a spare tire carrier. I started with 3.5 inch by 3/16 square tube inserted in the ald crush bumper location. Into this I cut a hole to accept the reciever I scavenged from the old mount. The next phase of the project is to strip the rear uniframe of shock/sway mounts and coil buckets and then plate with 3/16 and replace siid hardware with a 1/2-1 in spacer to lift the ass back up.
Here is what I have done so far.
[IMG][/IMG]
[IMG][/IMG]
[IMG][/IMG]
[IMG][/IMG]
[IMG][/IMG]
[IMG][/IMG]
03-05-2012, 10:41 PM
Over the weekend, I cut a 3/16 opening at the end of the tube I put in and plated from the shock mount back to the end of my new "bumper" tube. I was going to plate the inside all the way to the spring bucket then the bottom. I am thinking it may be more trouble than it is worth. Anyons have a reason I should not just put angle iron on the inboard side and but weld plate across the bottom, making it easer to cut out the holes to mount the gas tank skid and sway bar?
Sorry no pics. the outboard plate has several holes in it to stitch to the existing rail.
Thoughts???
03-05-2012, 10:58 PM
glad to see that you decided to reinforce that to the "frame" and not just the body.. and i'd say your weld improvement on the shock tabs went from absolute shit to wayyyy better, not just a little lol. good work keep it up
03-09-2012, 06:43 PM
This is a beefy bumper build. i like the way you cut out the body and inserted it. Kudos on the weld improvements. Now more fabby fabby and less talky talky
03-11-2012, 10:59 PM
Here is the progress. There is A LOT OF GRINDING left to do. The part that scares me is designing the corners. How low to go, what to cut off the body as the beginning of the rear fender trim, etc.
The plates on the outside go all the way past the bumper, the inside goes to the inner corner, the bottom plate goes from the farthest back point to the spring bucket. When I build the long arms and install new axles, I can tie in to all three and continue forward.
I am going to use 1/2 " cutting board pieces to get an additional 1" at the rear. That is cheaper than a spacer.
There is an old custom bumper build thread on here, but any more suggestions or examples would be appreciated.
Here is where Sunday night ended,
[IMG][/IMG]
[IMG][/IMG]
[IMG][/IMG]
[IMG][/IMG]
[IMG][/IMG]
[IMG][/IMG]
The new plasma cutter is awesome. I got the Longevity model. You cannot get consumables at HF.
I got a new possition at work, and am no longer on the road 3-4 nights a week. That cuts down on computer time, and increases build time.
Let's see what this week brings. I want this bumper done so I can get boat sides done before Moab's car show weekend.
03-22-2012, 10:32 PM
Here we are now. the template was harder than I thought.
[IMG][/IMG]
[IMG][/IMG]
[IMG][/IMG]
So far, so good.
12-09-2012, 02:40 PM
It has been a while.. Rocker pannels-gone
Rear bumper-done
New crossmember material-purchased
Links and inserts for long arms-ordered from Ruffstuff
Link material-purchased
Old IRO skid plate-for sale
Let the games begin!!!
02-12-2013, 09:15 PM
imputs please...
The plan is to build a rear crossmember similer to the Claytons front. but put the rear lower mounts inboard and have the bottom of the mount flush with the bottom of the crossmember thus makeing a flat belly possible. the rear lower joints would pivot near the t-case output.
Wish I could draw.
 02-12-2013, 09:22 PM
What's the plan for upper(s)?
That would make for some very long lowers.
02-21-2013, 10:09 PM
Now that the rear axle is out, I can see some progress. I am going to truss the 44hd and push the uppers as far back as possible and put the other end at the apprx location of claytons. If I can hit over 70% of the lowers I will cycle it and see what happens.
03-05-2013, 08:31 PM
This is my rear crossmember idea.
Link mounts to the rear.
| « Previous Thread | Next Thread » |
| Thread Information |
Users Browsing this ThreadThere are currently 1 users browsing this thread. (0 members and 1 guests) |