|
|


 03-09-2009, 01:55 AM
next day ...
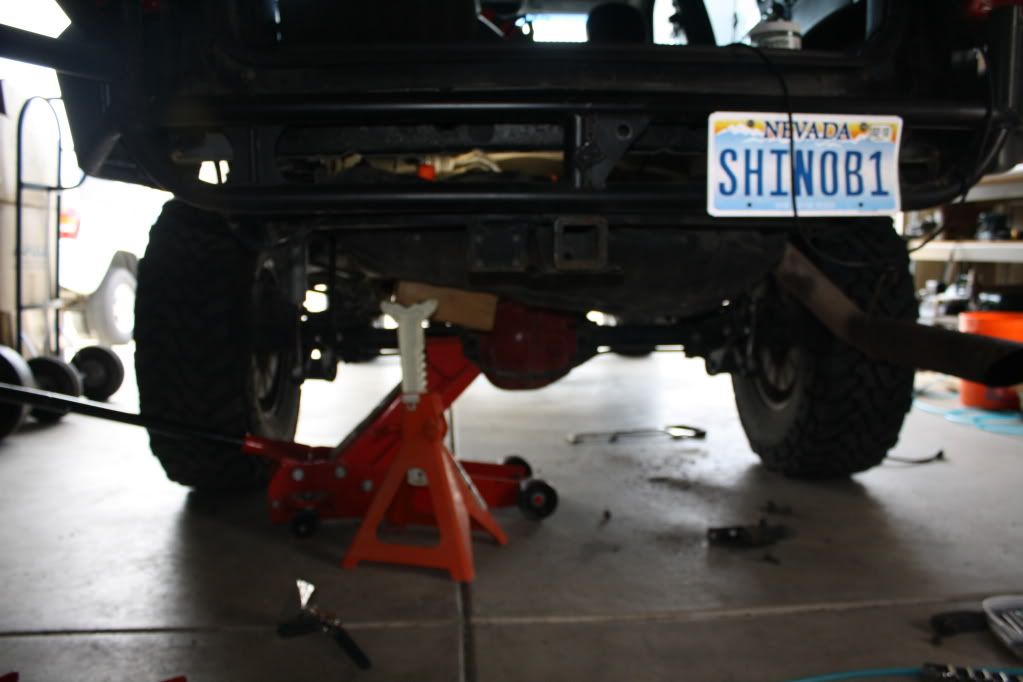
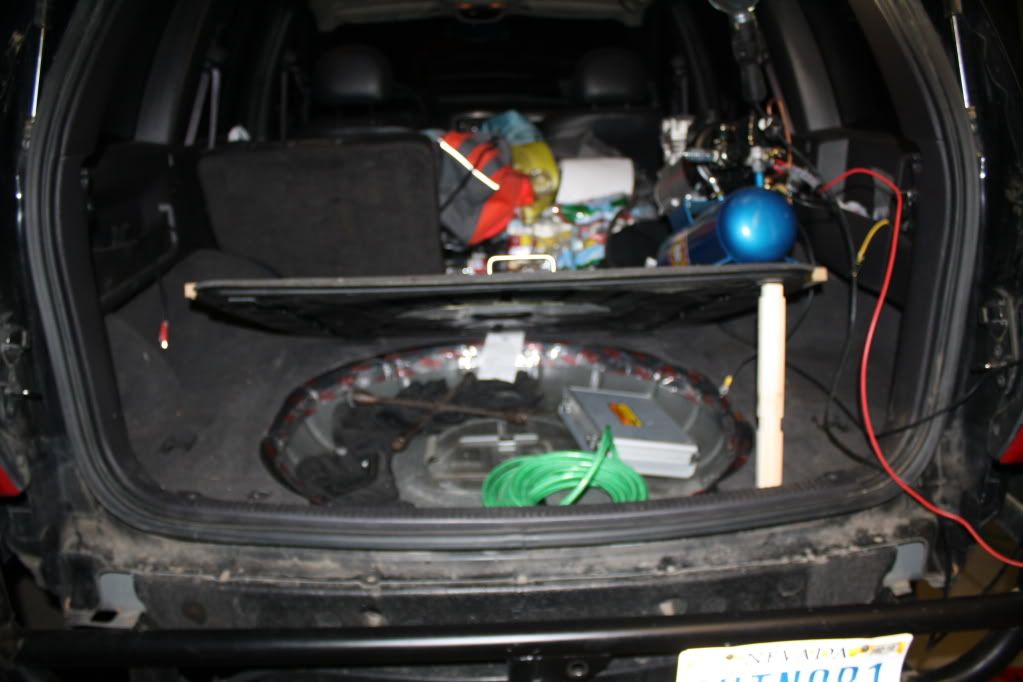
Alright we finished up today and the installation went well and seems like everything is working so far .. I was really scared at first because it was making a ridiculously loud clunking bang noise when making left turns ..but after some searching seems like the loud clunking noise is normal for the WJ's with 247
Here is the clunking noise ..
http://www.jeepforum.com/forum/showt...=aussie+locker
this is from the write up we used .
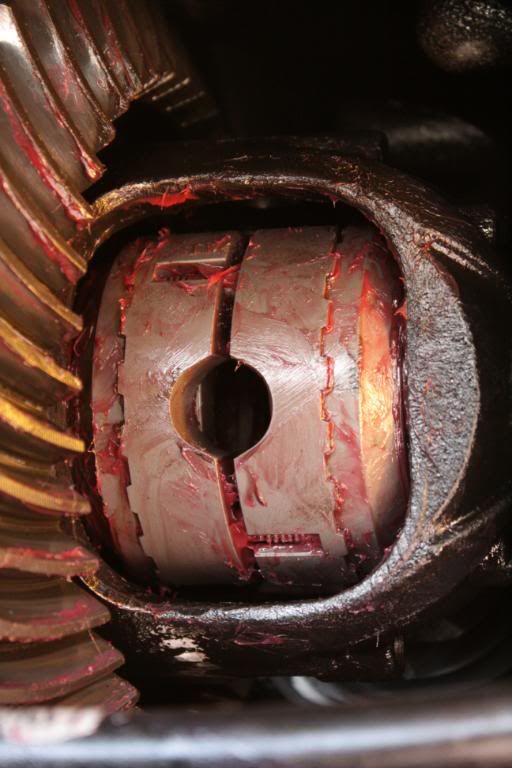
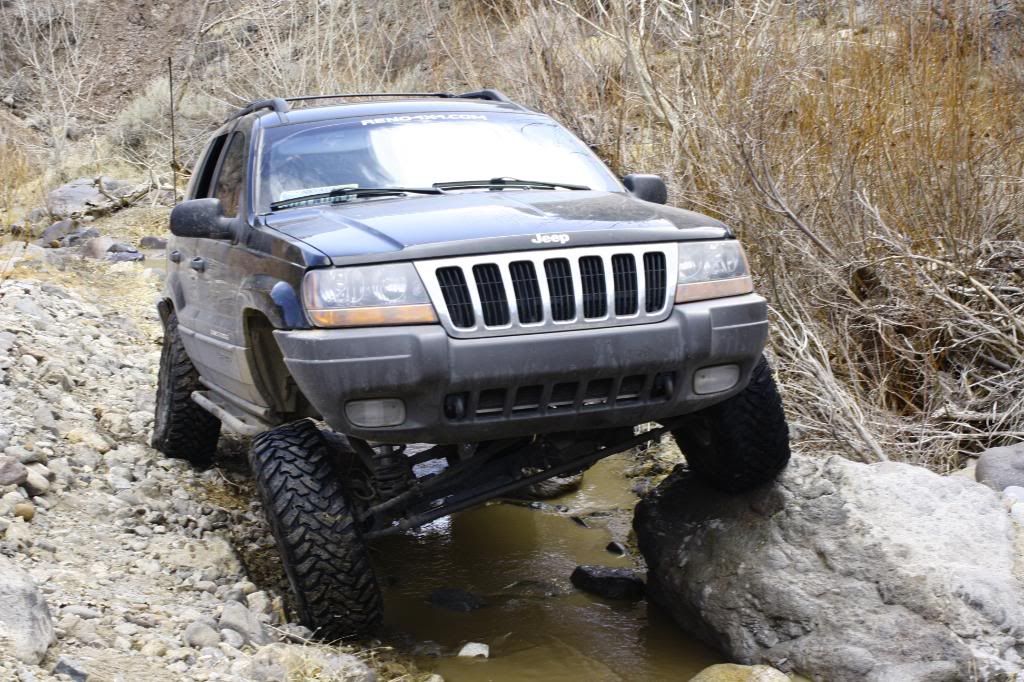
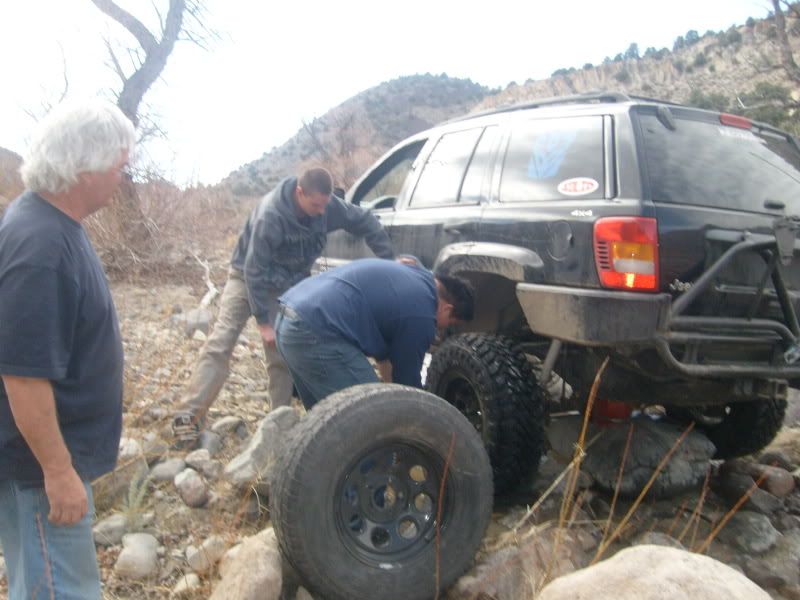
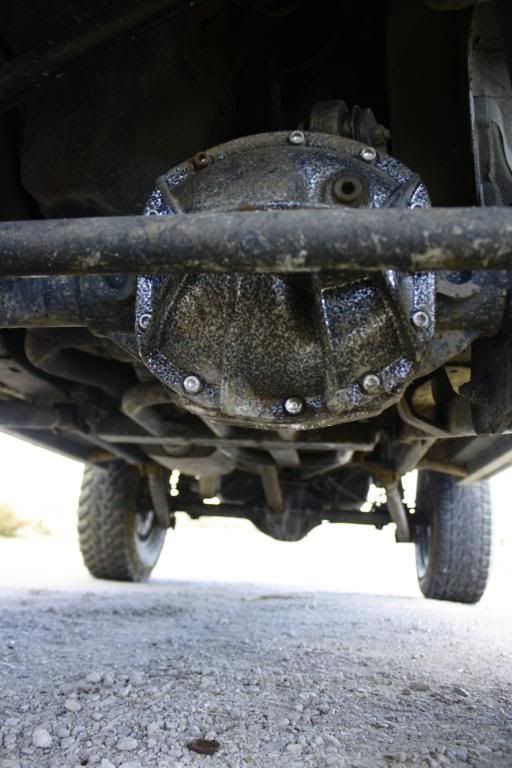
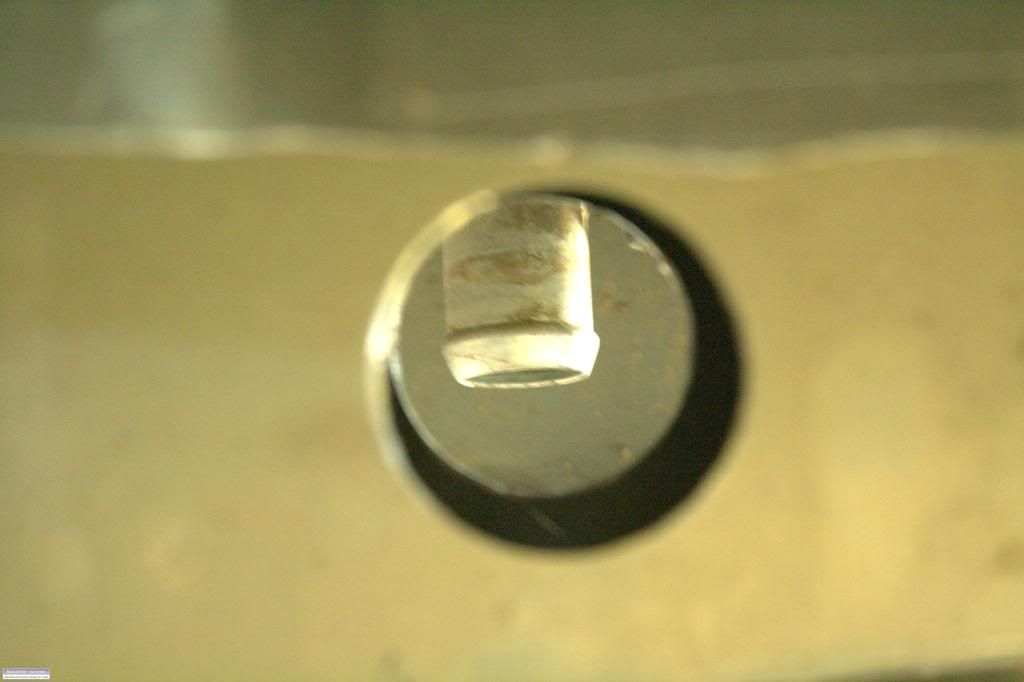
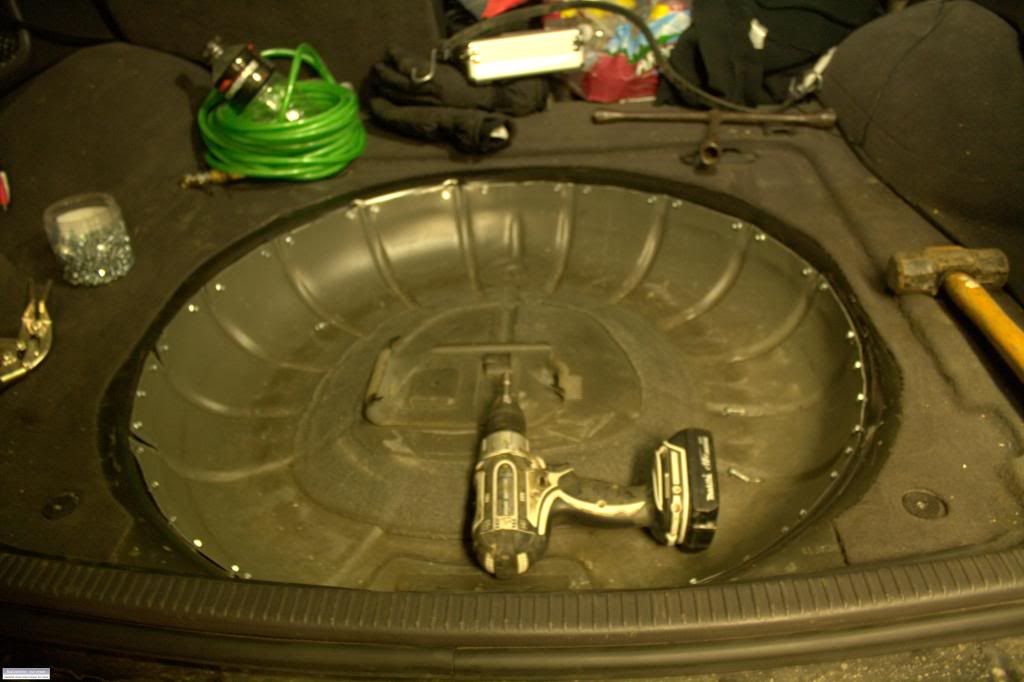
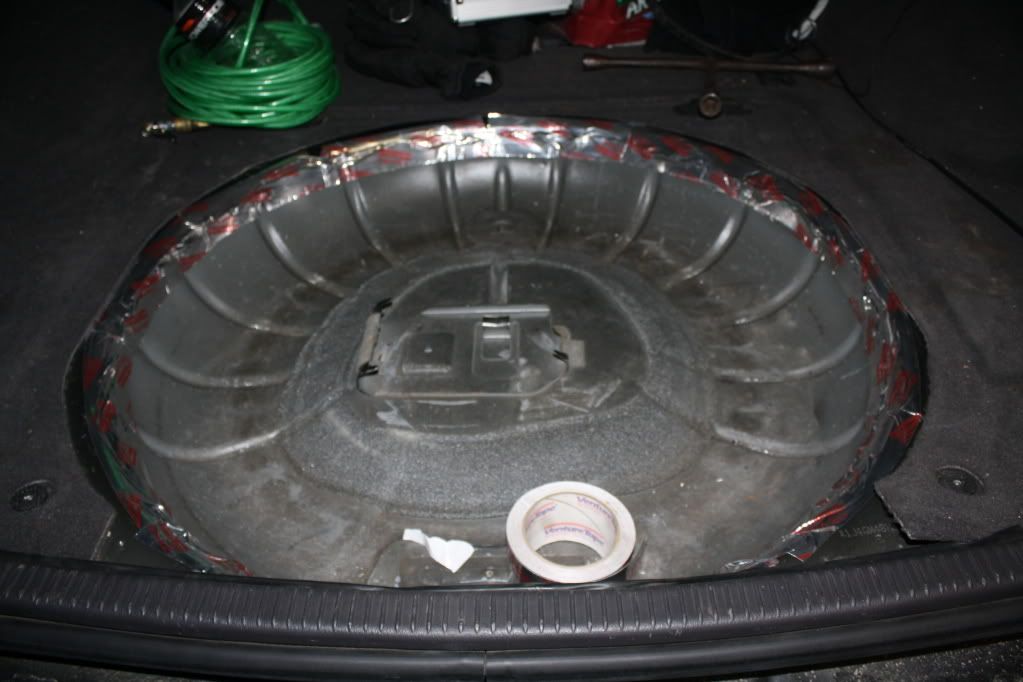
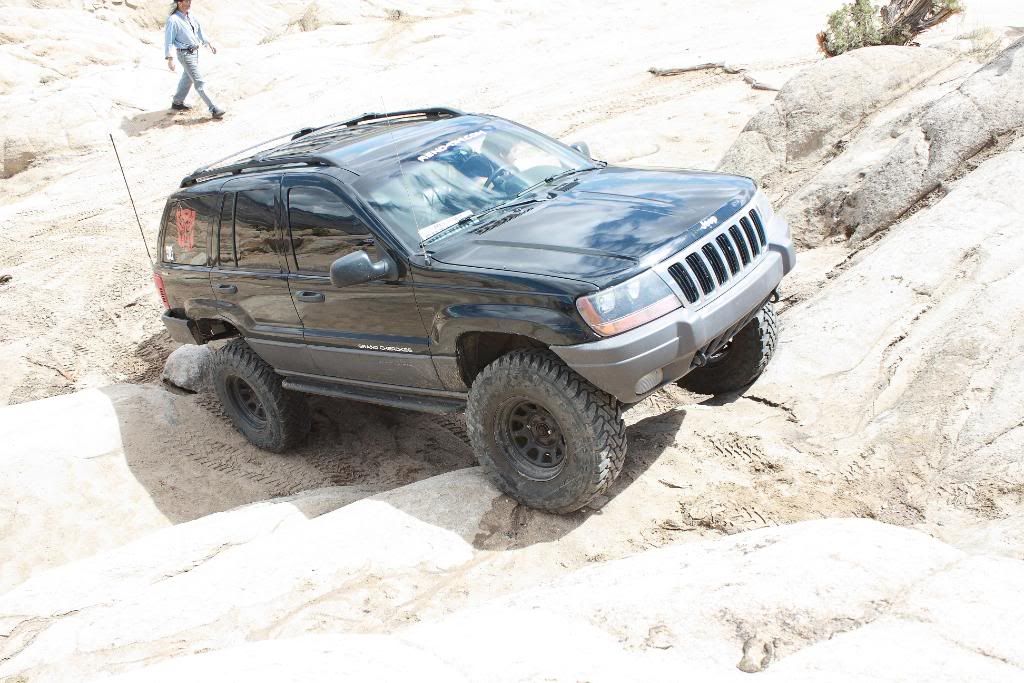
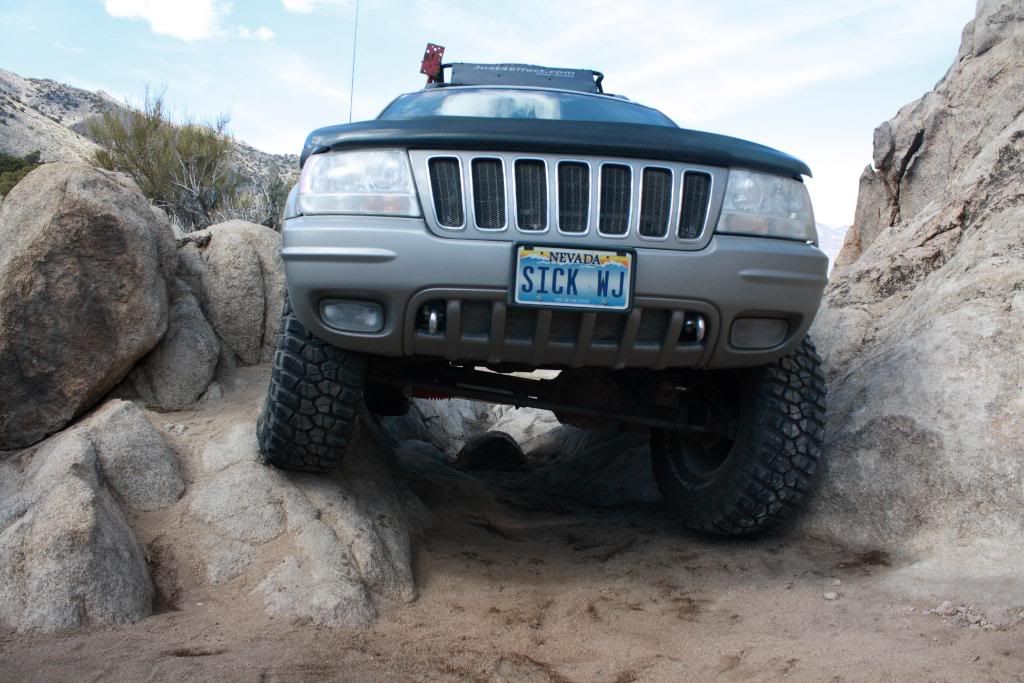
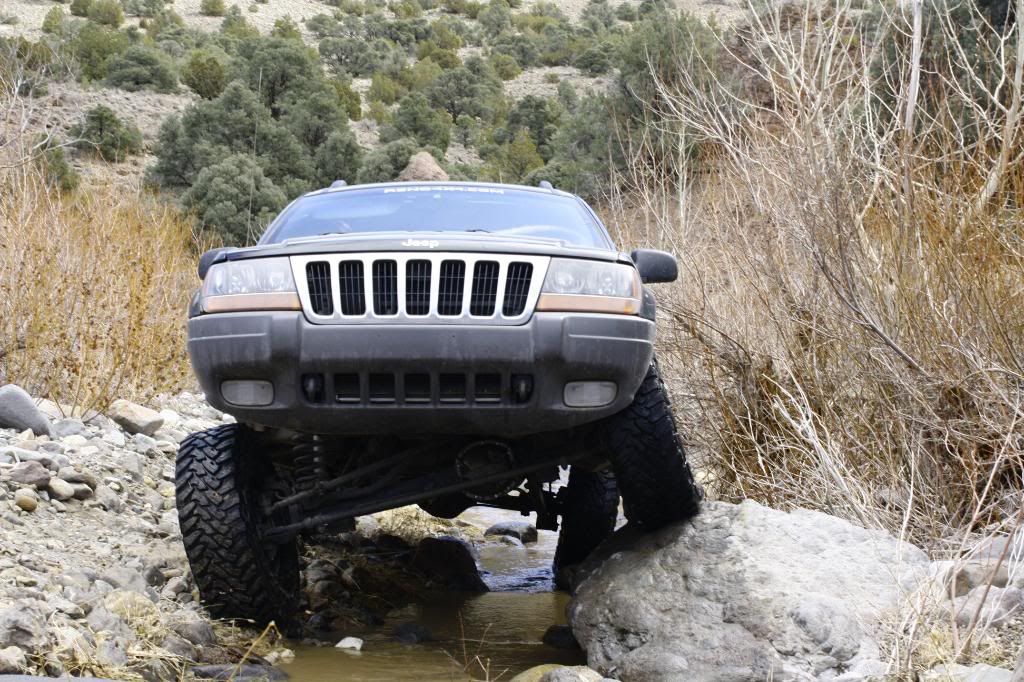
Here is the locker installed before inserting the crosspin .Testing:
it's time to take this bad boy for a spin. Take it easy for the first few miles. You'll be able to climb walls but it's going to hadle a bit differently. For example, when taking corners I have found that gas into the beginning of the corner, let up and gas on the very end of the corner is the best way to avoid that loud ratcheting noise, you'll still hear it but it won't be nearly as loud. Just drive around town and drive on some dirt roads just to see how it handles on these terrains then once you've got the feel for it, TEAR IT UP! There is a break in period of 200 miles for the locker, but there isn't any special driving needed it's just a way of letting you know that there might be some noises other than clicking happening, but if you've followed these instructions you don't need to be concerned.
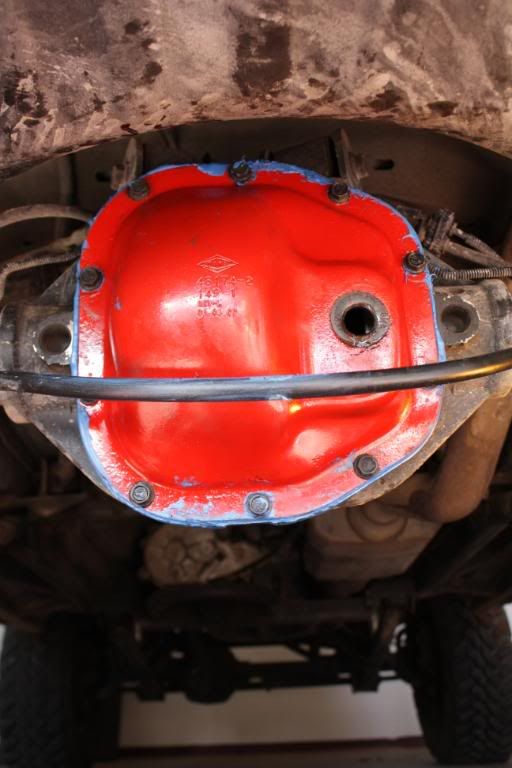
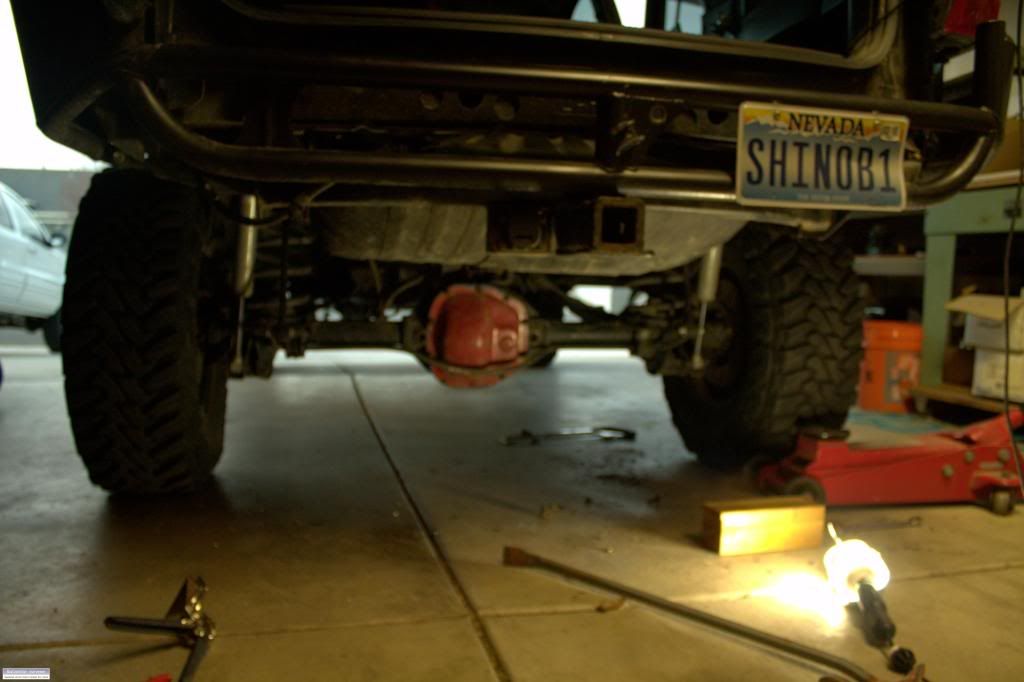
Yay diff cover is onlove the red !!
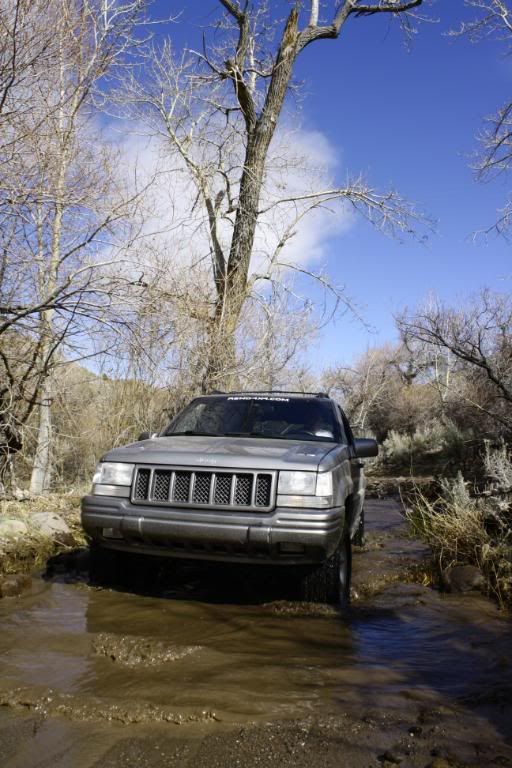
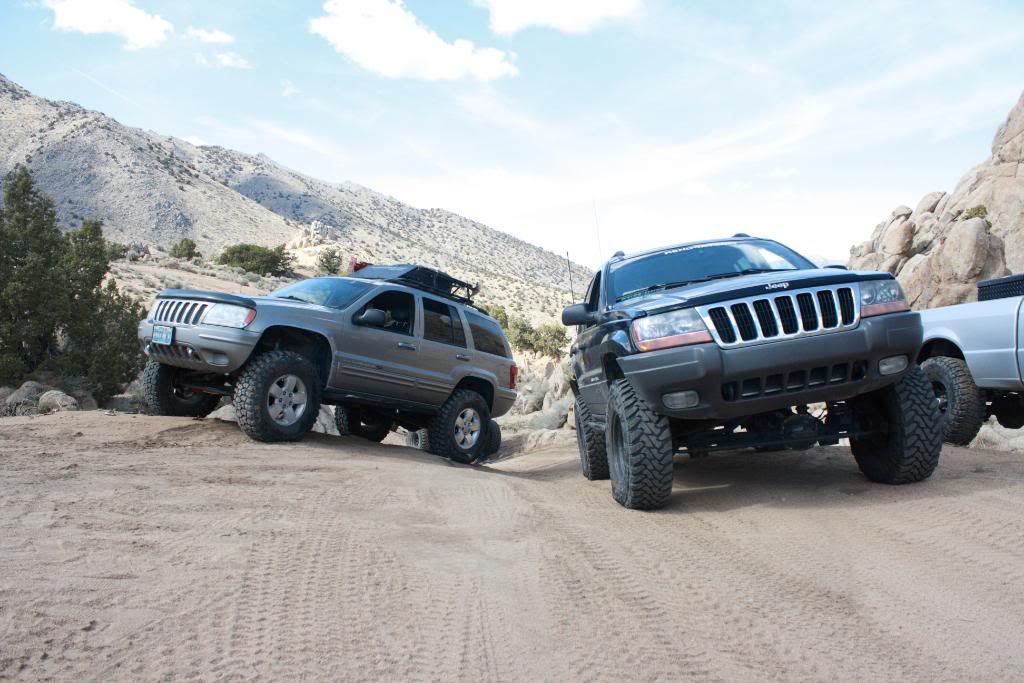
We took it out for a spin to test out the locker
 03-18-2009, 02:44 AM
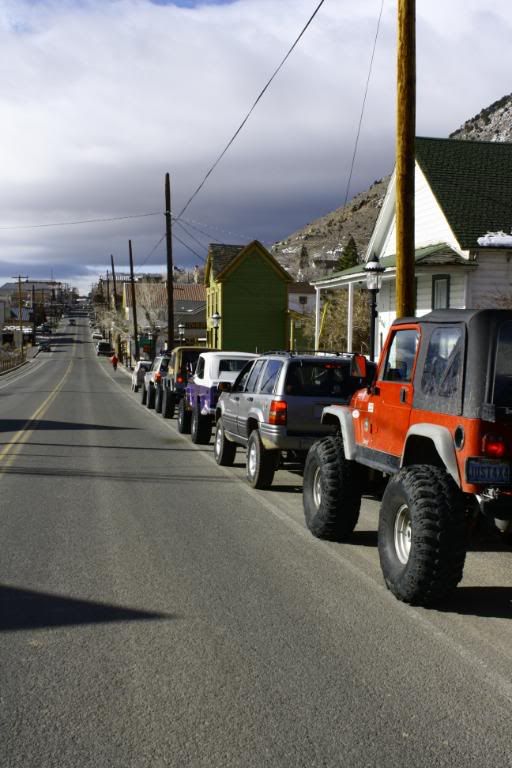
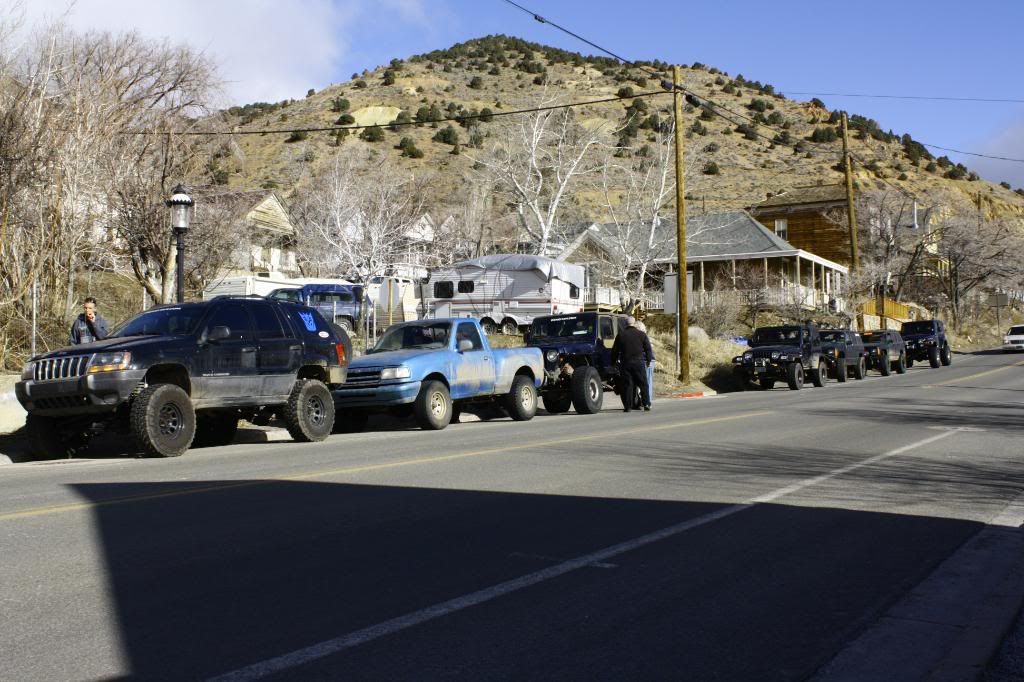
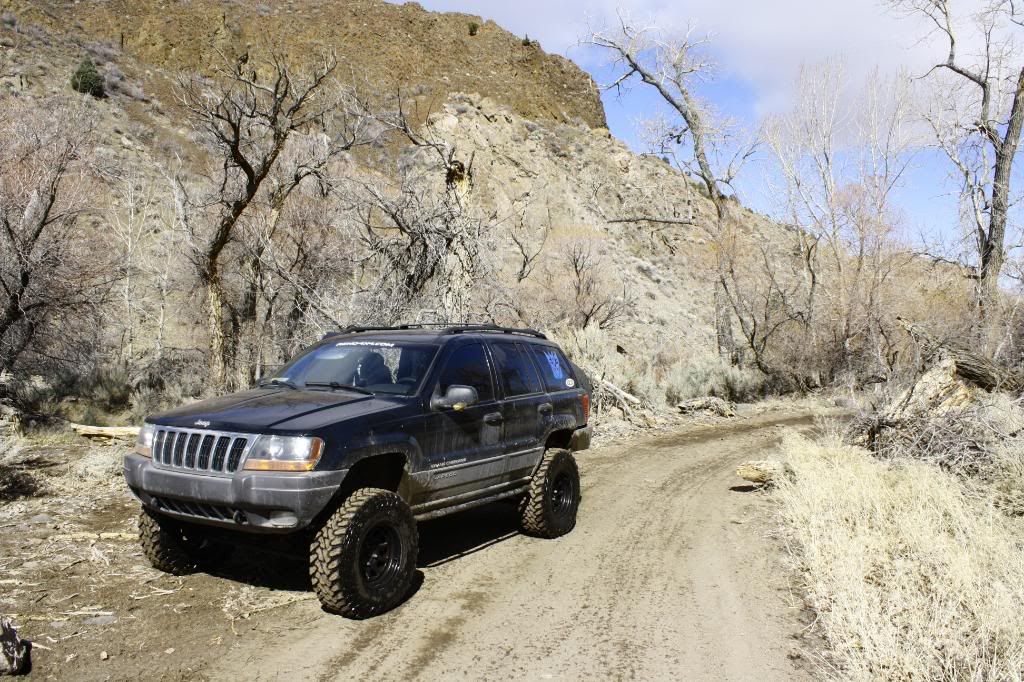
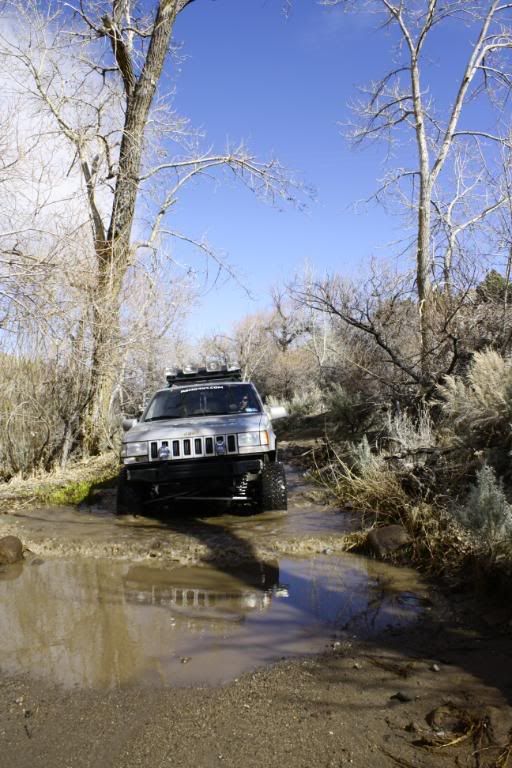
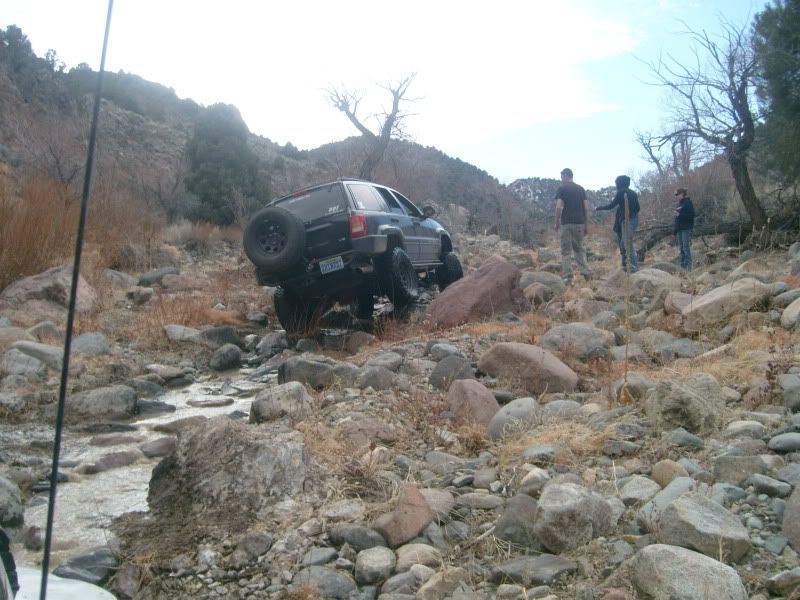
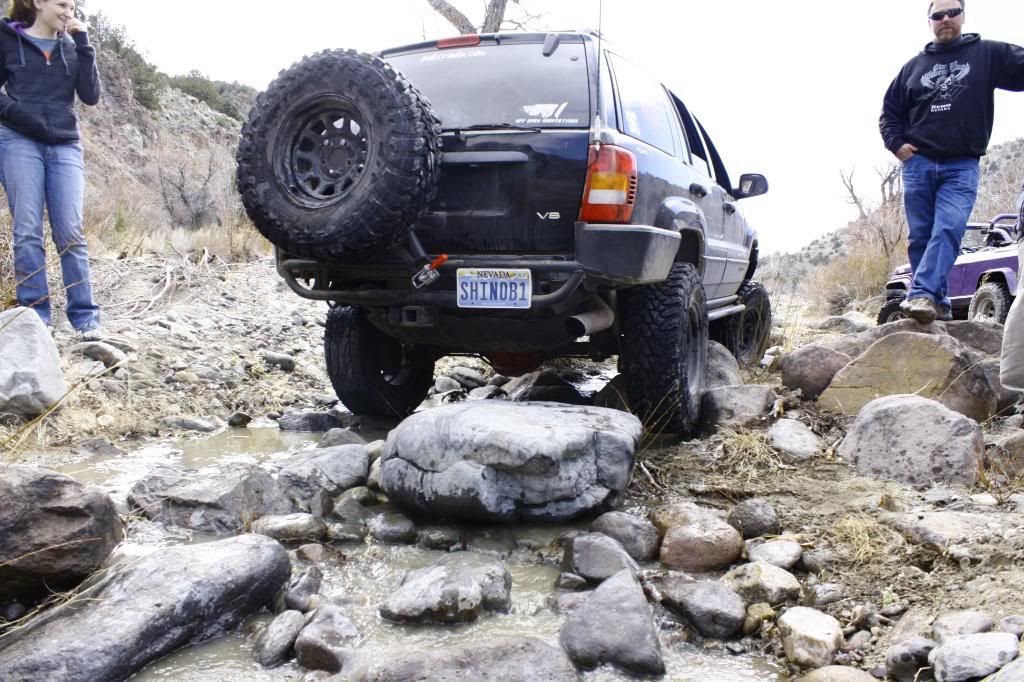
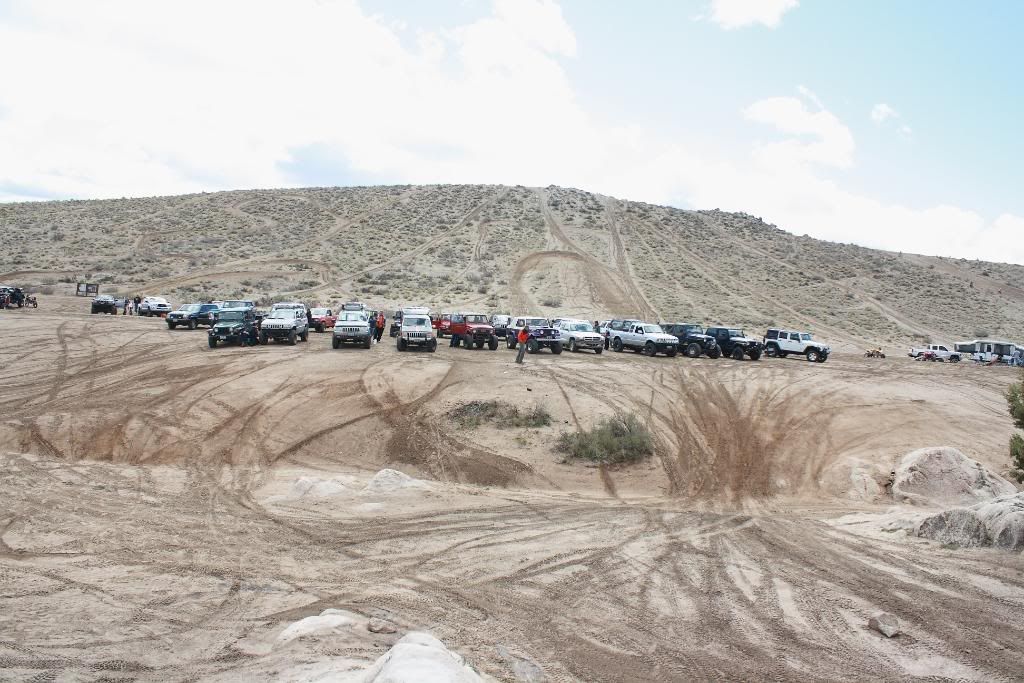
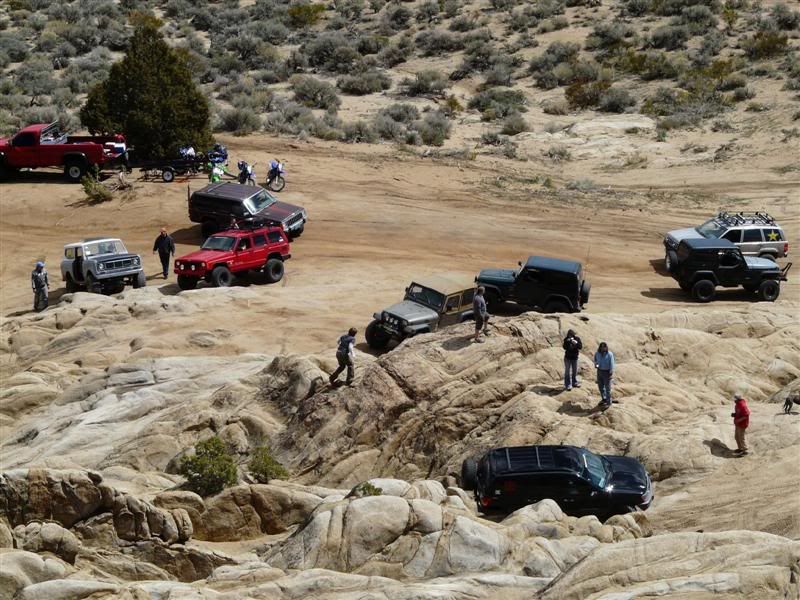
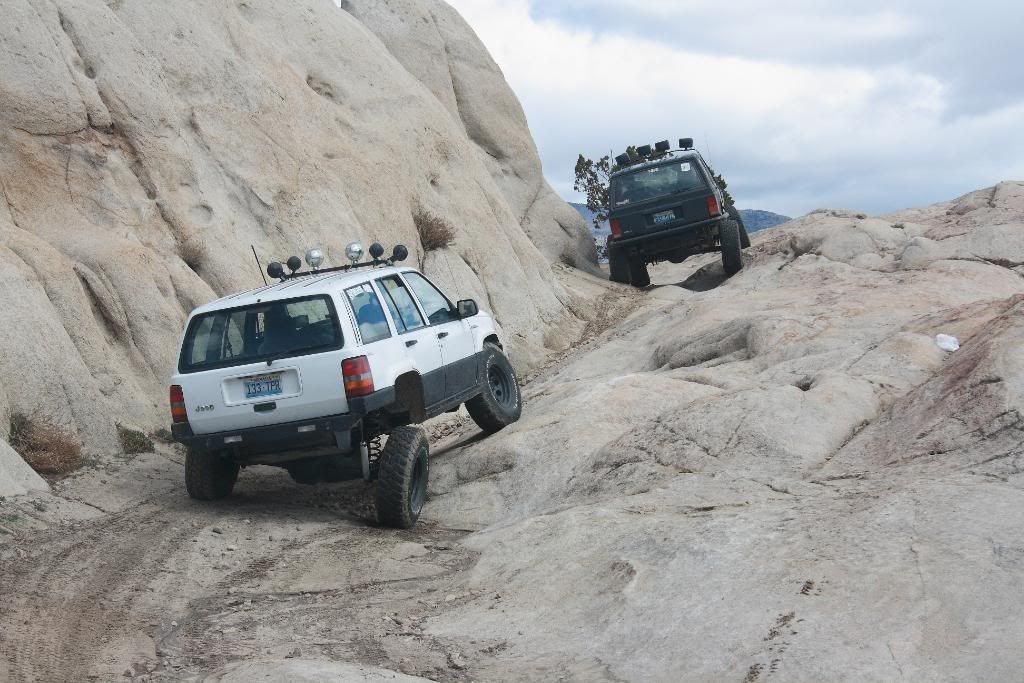
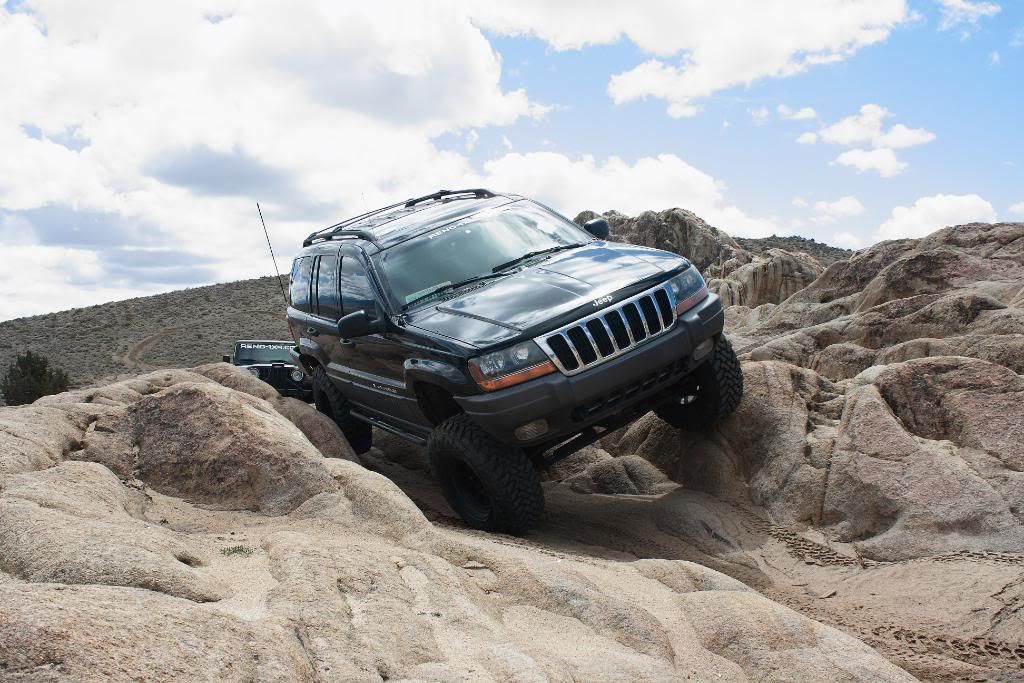
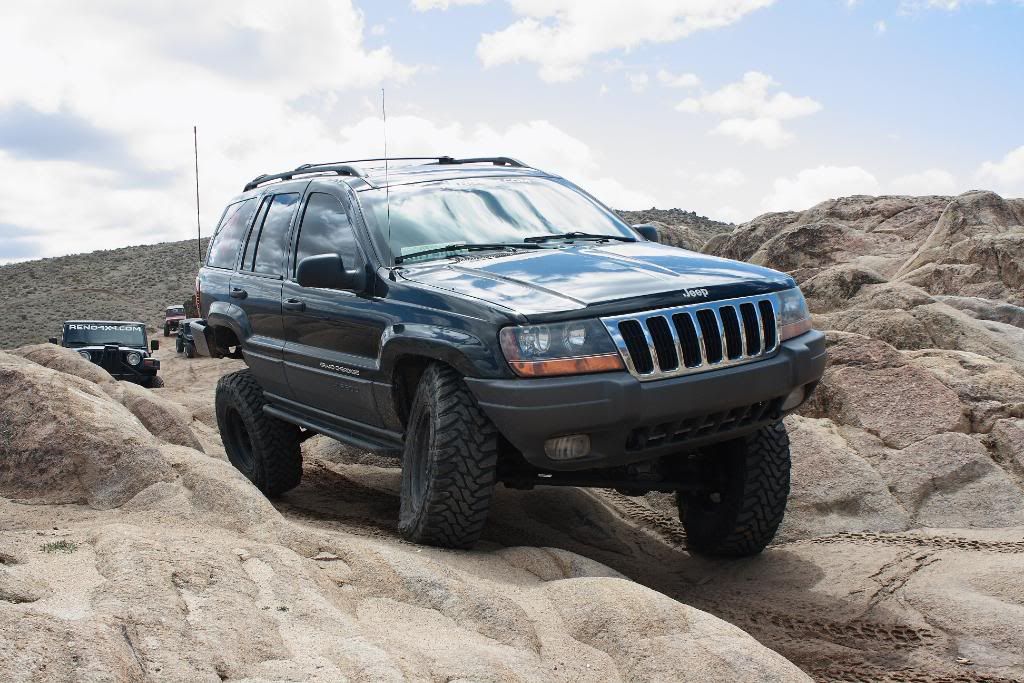
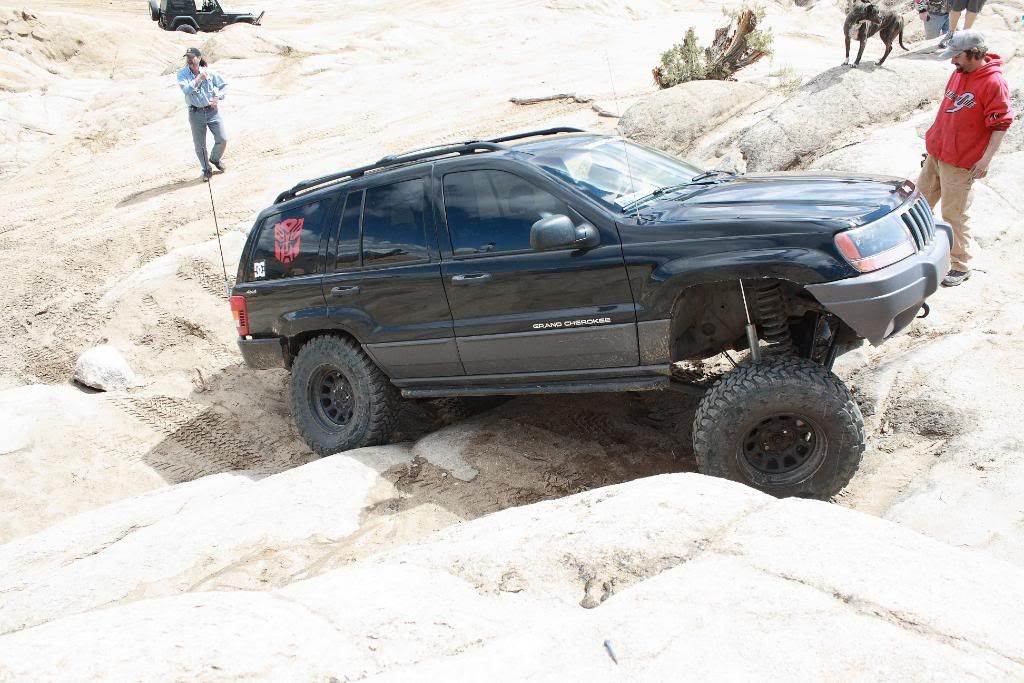
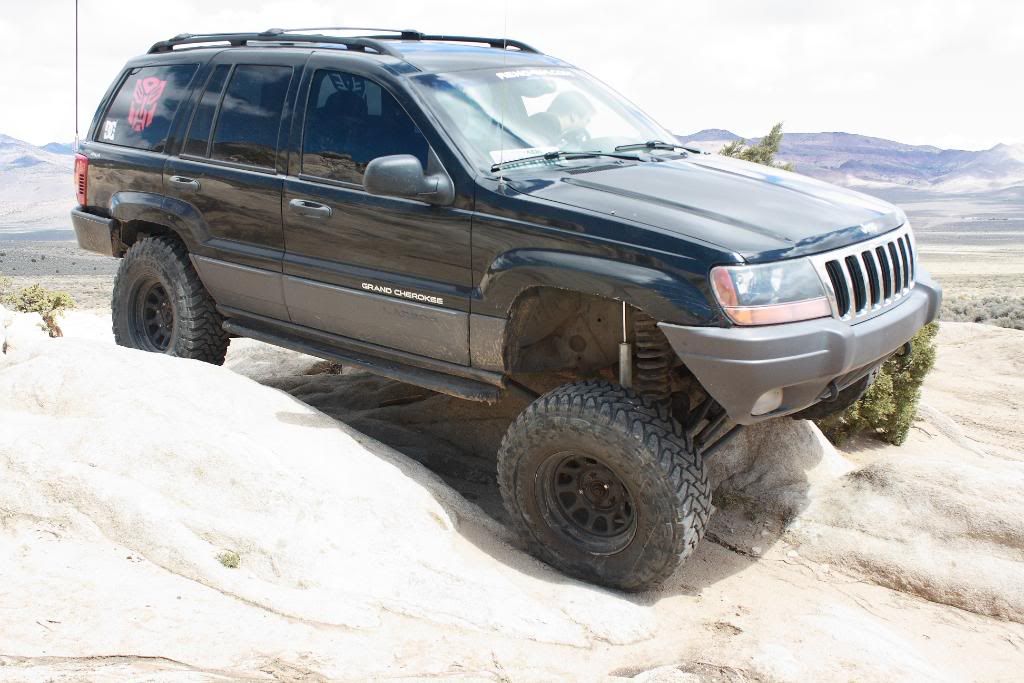
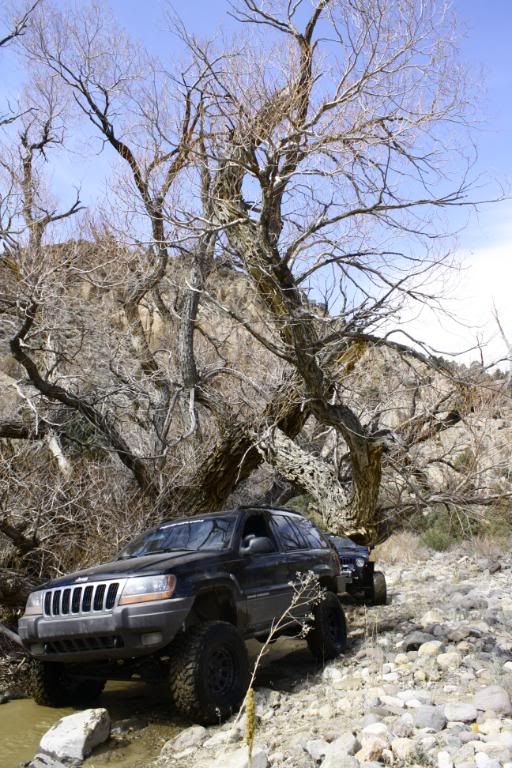
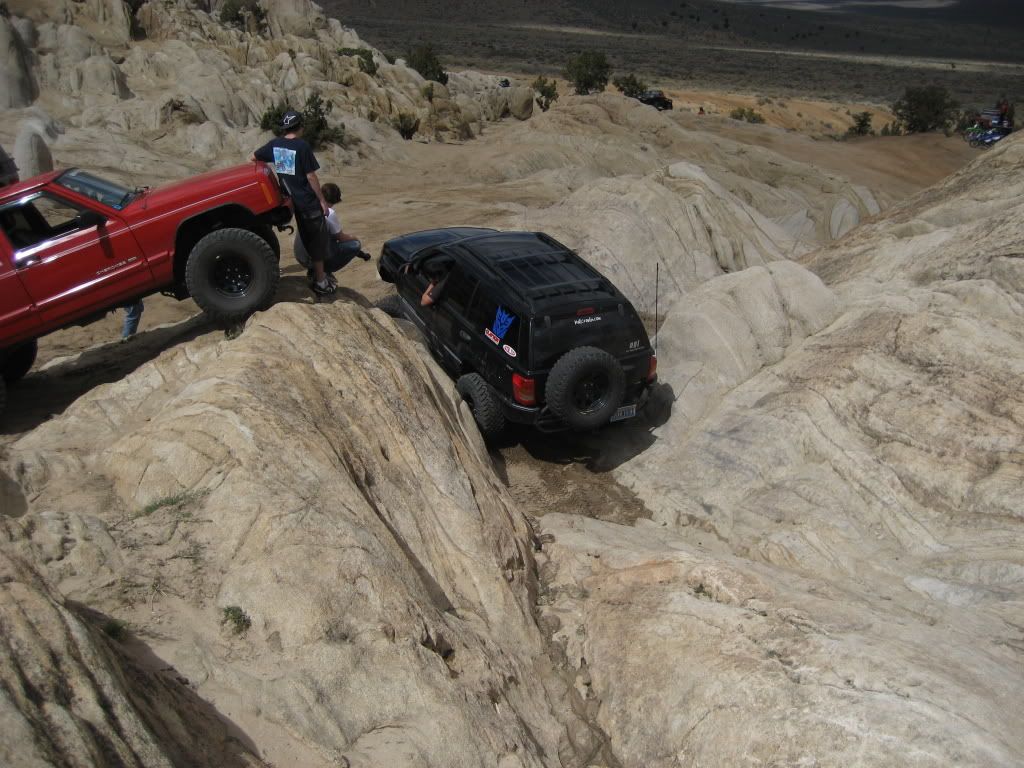
Went wheeling with my local wheeling group this past weekend
03-18-2009, 02:45 AM
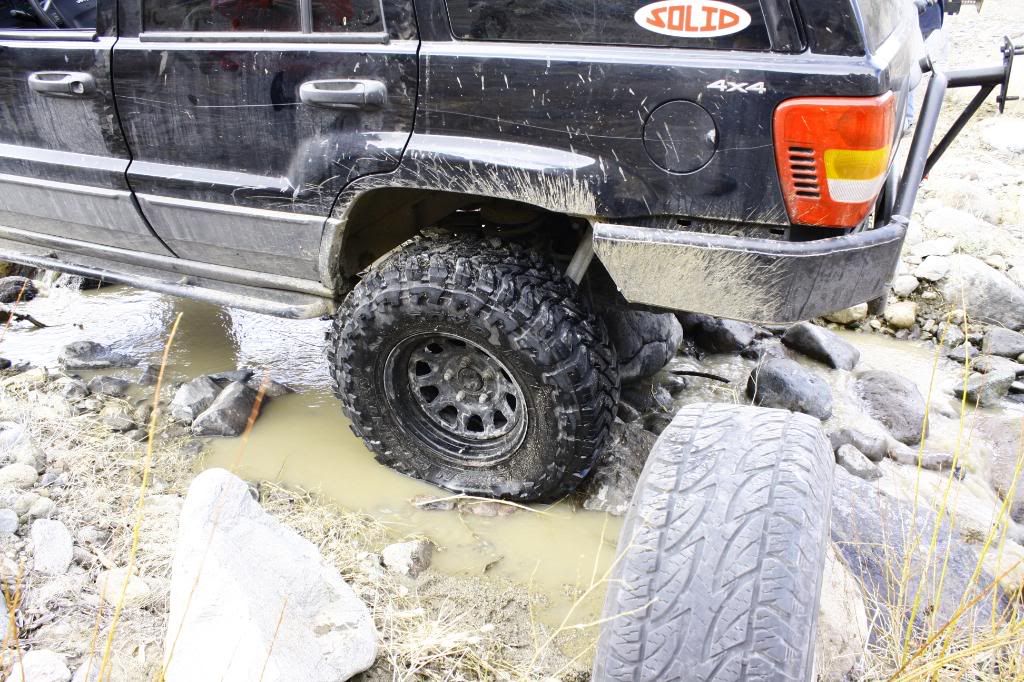
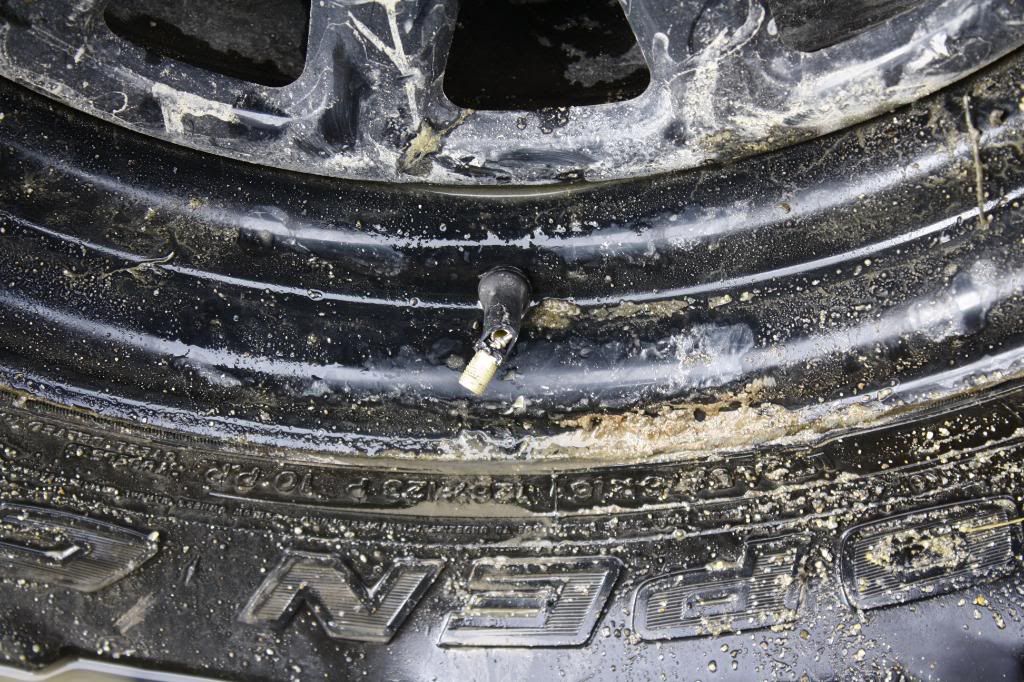
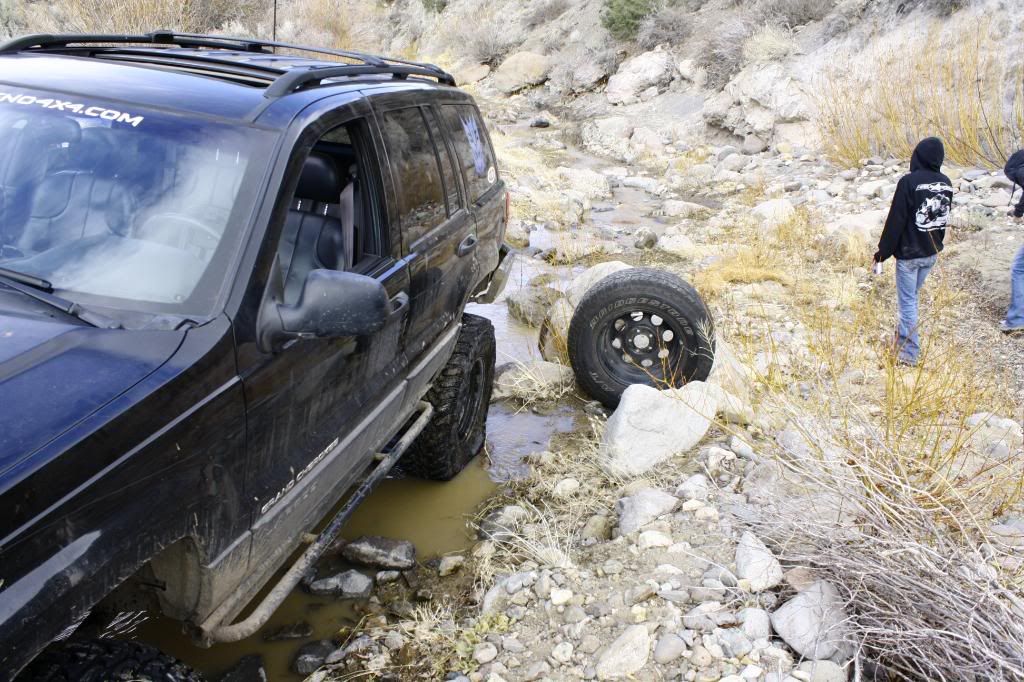
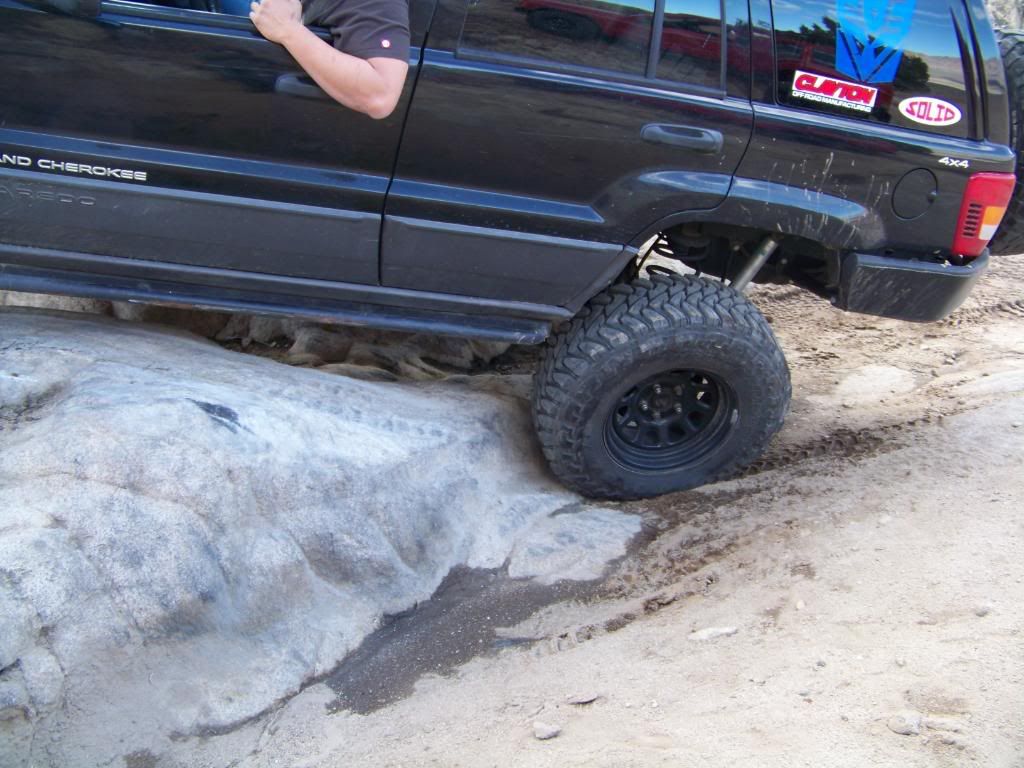
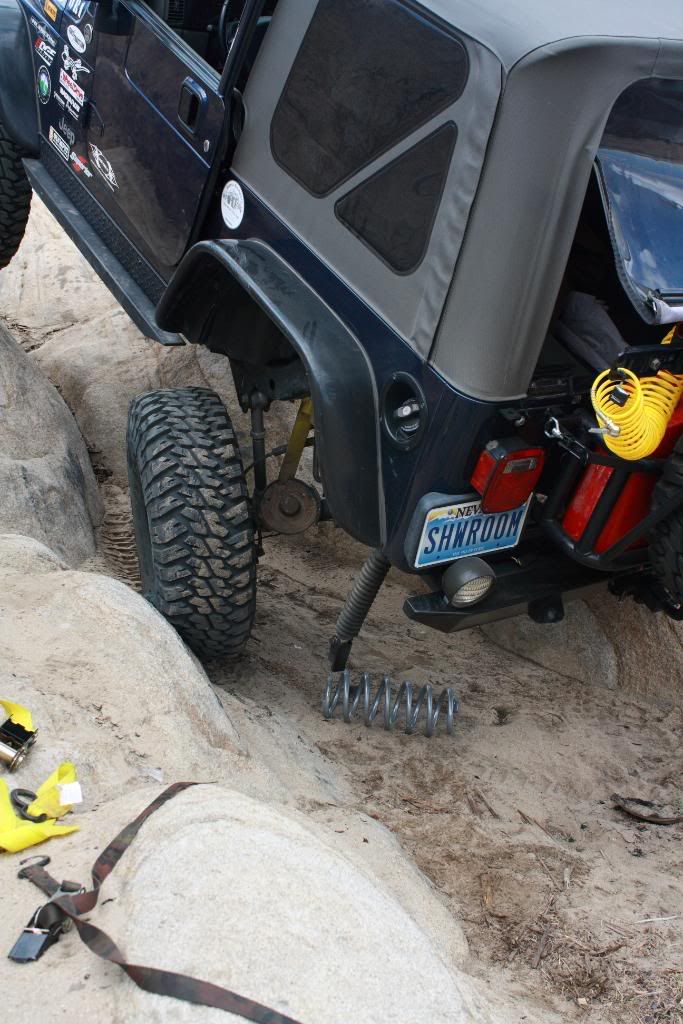
I got a Flat
Stupid rock broke my valve stem !!!
look at all that aluminum scraping lol
03-18-2009, 02:47 AM
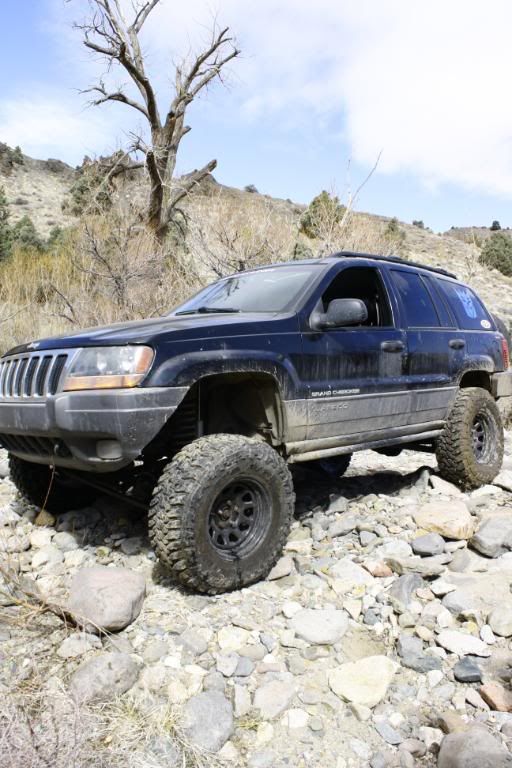
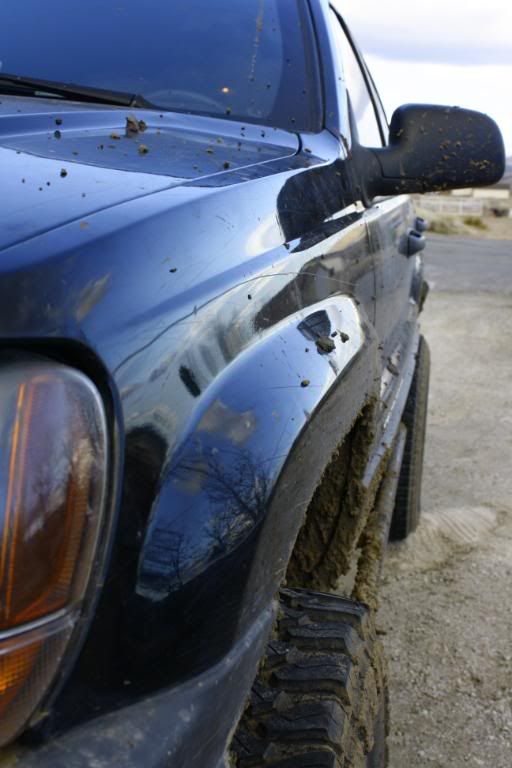
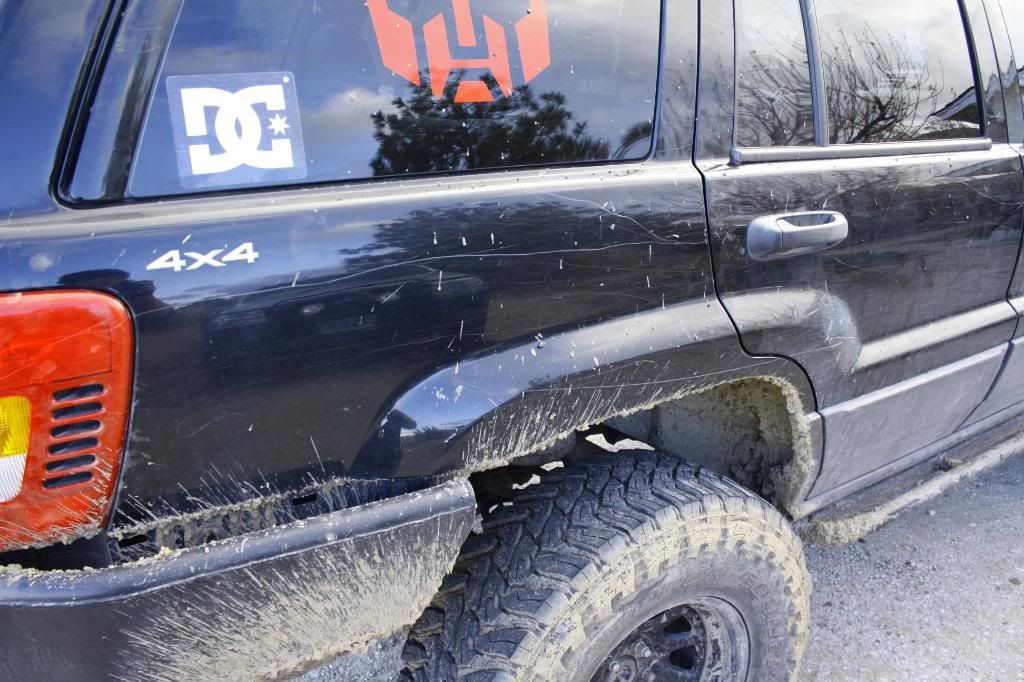
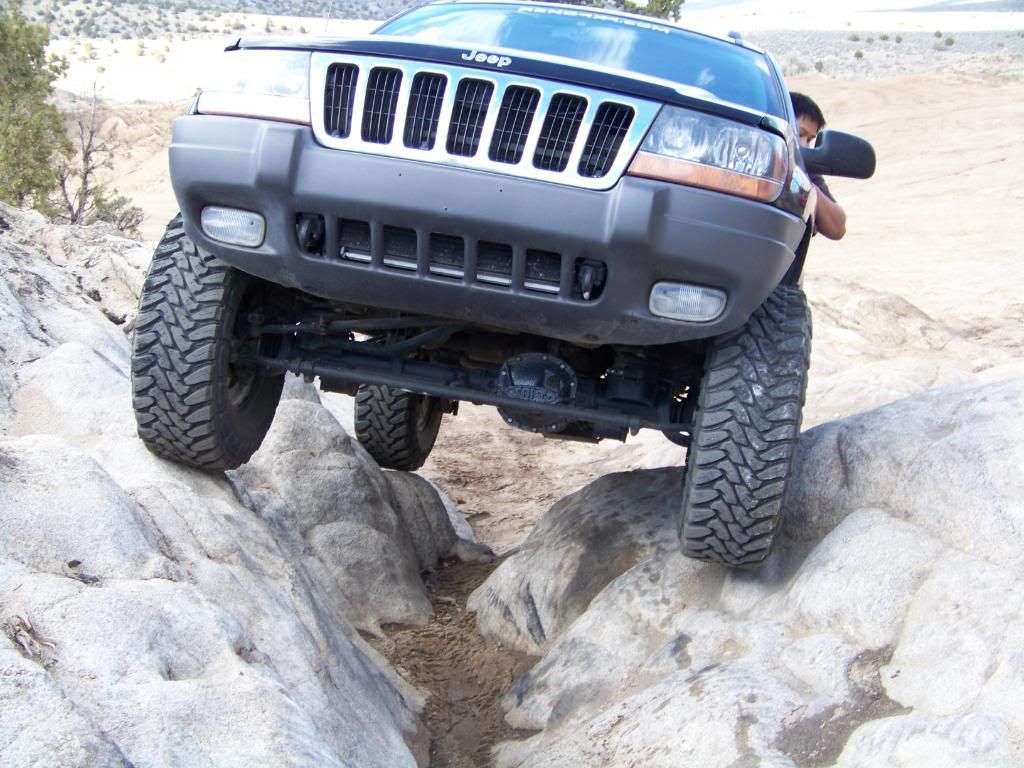
Here are my carnages of the day
lol Nevada pin striping
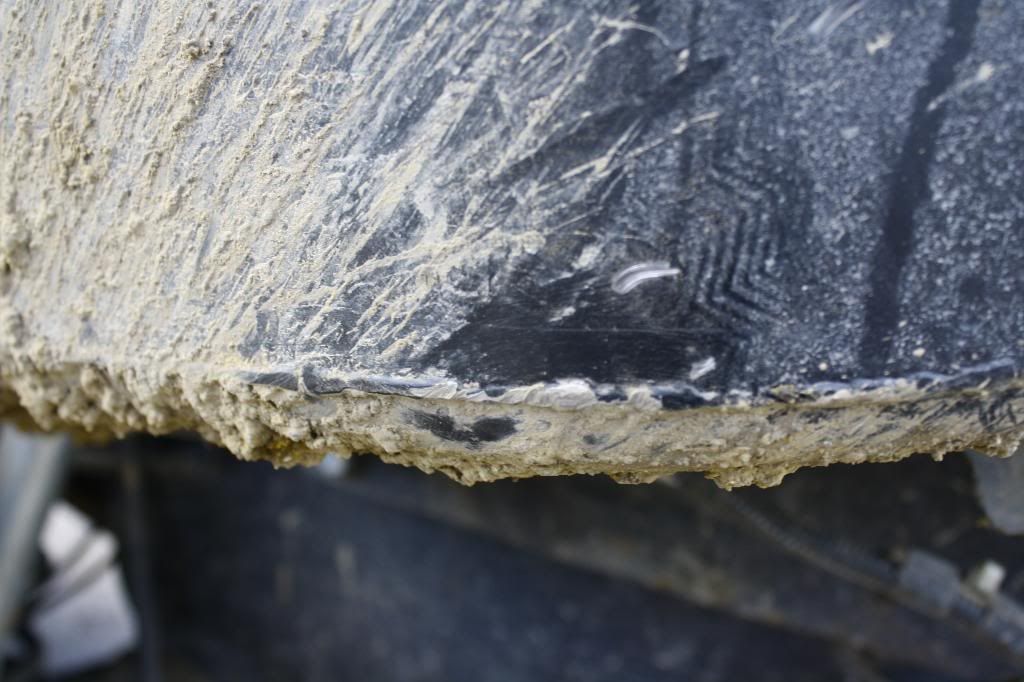
Bashed the bumper pretty hard a couple times ..
Scraped the **** out of my front diff and tierod
and the stupid valve stem
I was thinking about getting these so this doesn't happen again .. anyone run these or know if there good or not ?
http://store.summitracing.com/partde...5&autoview=sku
 03-18-2009, 09:23 AM
a buddy of mine ran some like that and he loved them. i plan on getting some when i get new tires.
jake
 03-18-2009, 07:50 PM
Hey, Virginia City! Where are those trails from VC? I grew up in Reno and rode dirt bikes all over those hills. I'm going to be up there next week visiting the family.
03-20-2009, 09:43 PM
When you take it to your tire place ask them to put in short valve stems. I had this exqact thing happen and ever since they put in the short ones, not had the problem.
Just a live and learn thing.
03-20-2009, 11:40 PM
Looks like you could use some longer shox.
03-29-2009, 02:52 AM
lol yes I doOriginally Posted by WJJEEPIN


03-29-2009, 02:53 AM
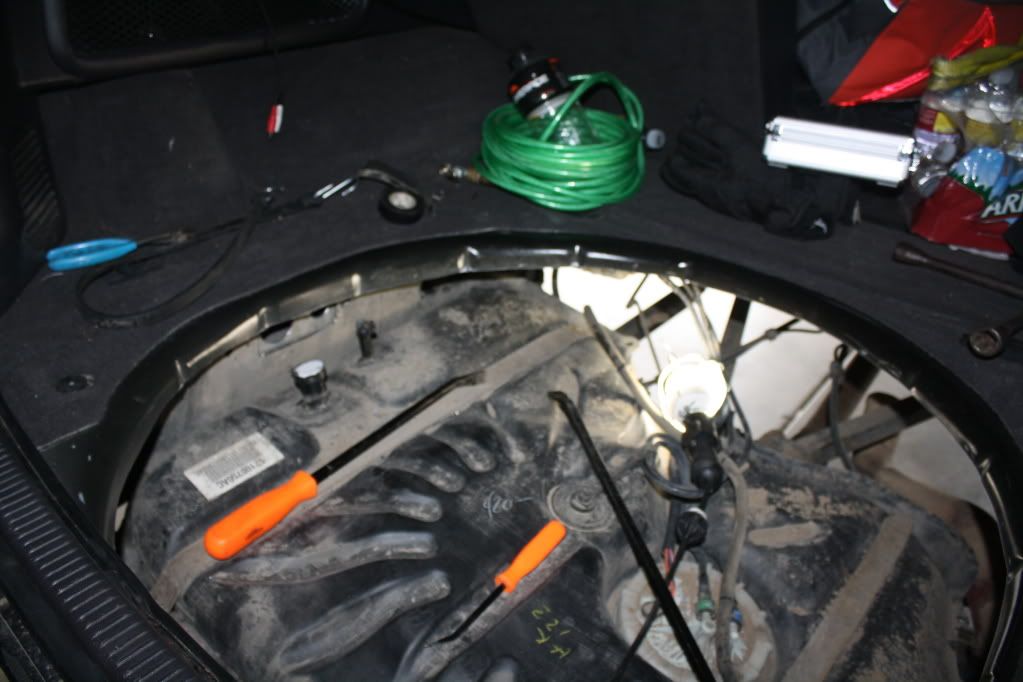
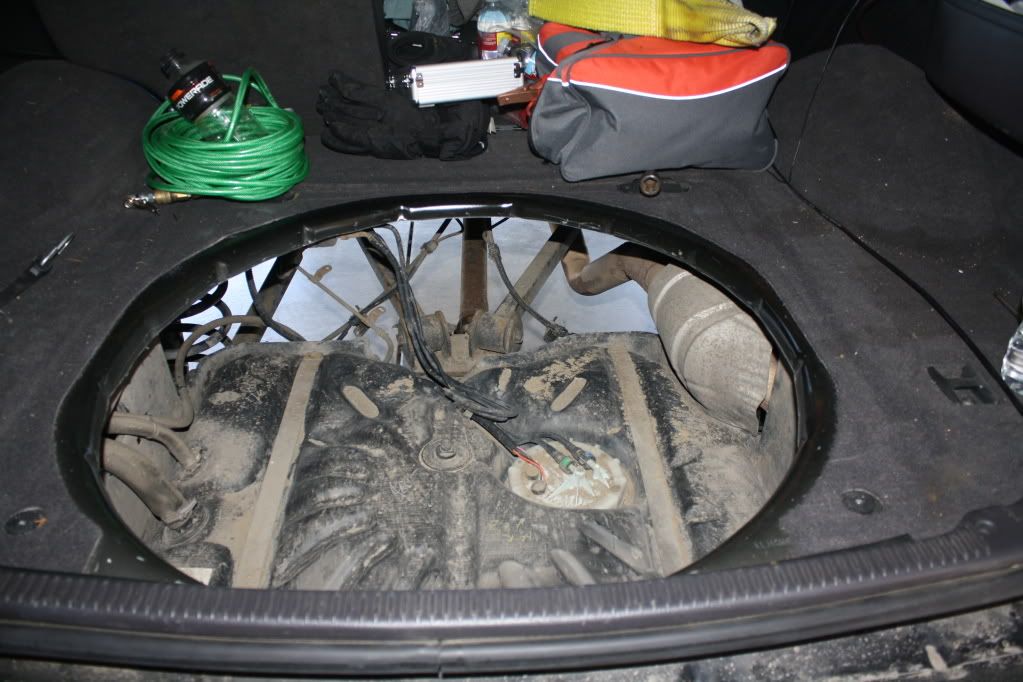
Well today I went over to my buddy's house( who owns a WJ too ) to do the gas tank raise
Here are some before pictures .
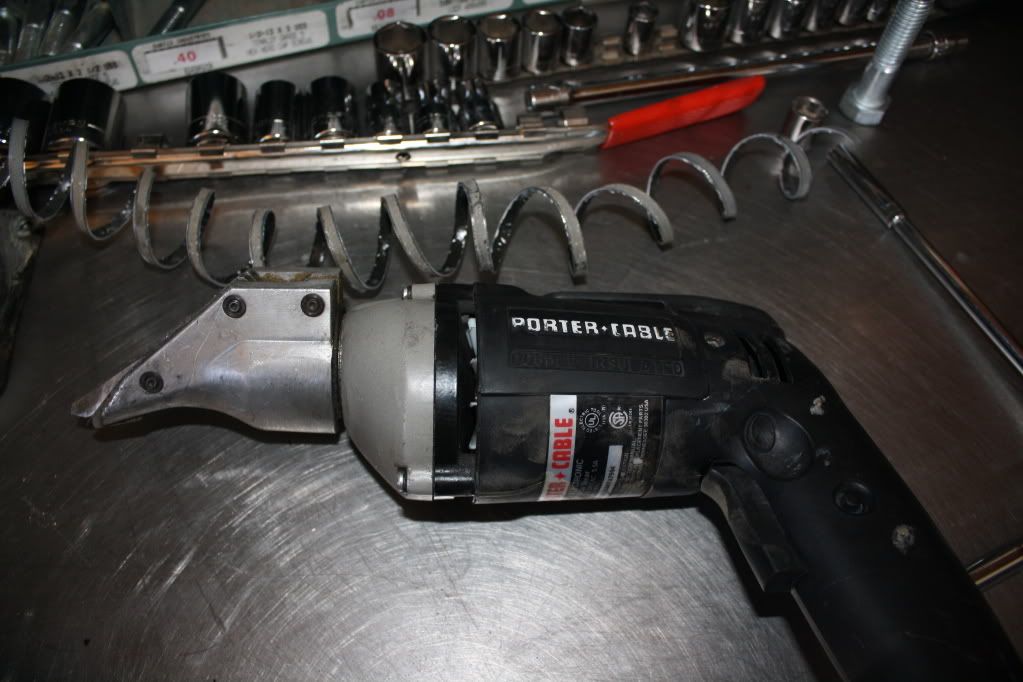
Lol my buddy just started cutting with out even telling me haha
This thing is probably the coolest and easiest cutting tool ever
heres the tub out .
openness
03-29-2009, 02:53 AM
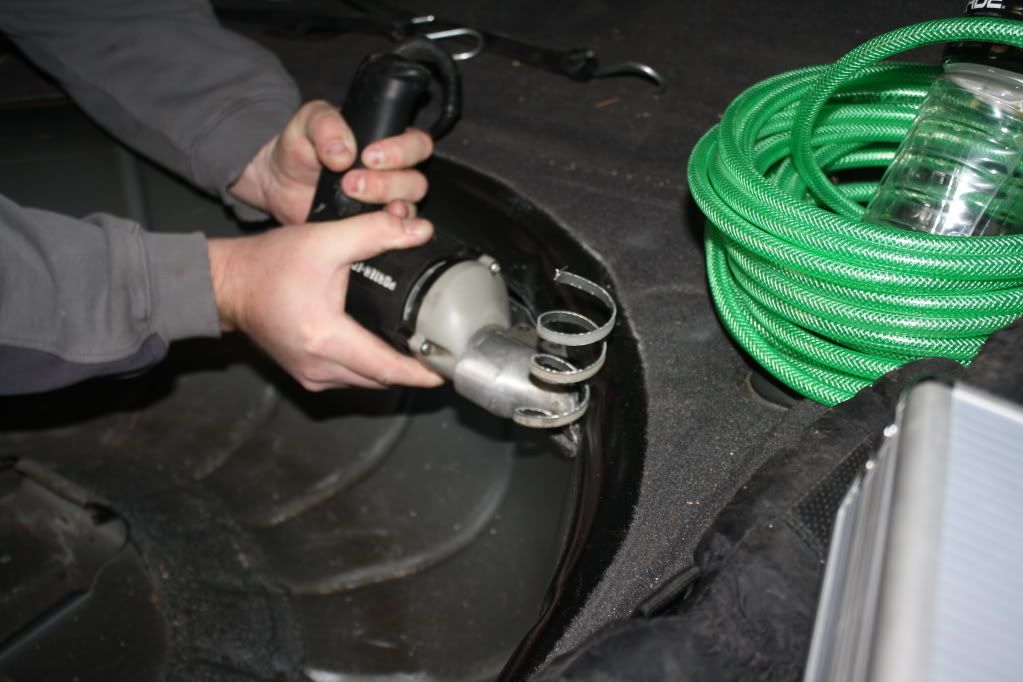
Took out the fuel feeder and breather
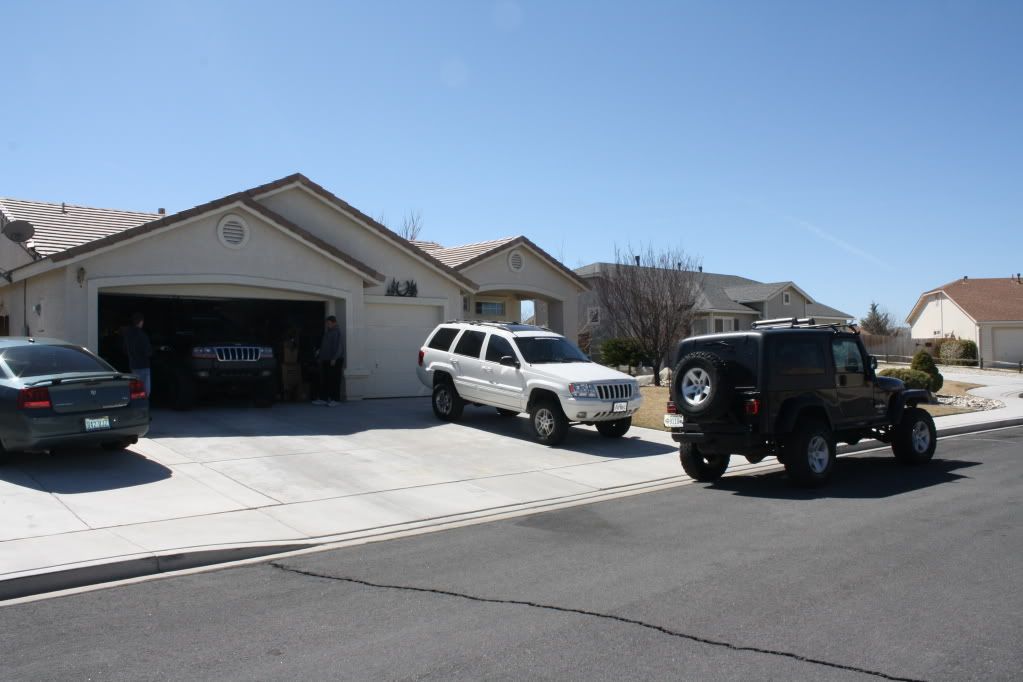
look at all them jeeps oh yeah and a charger :P
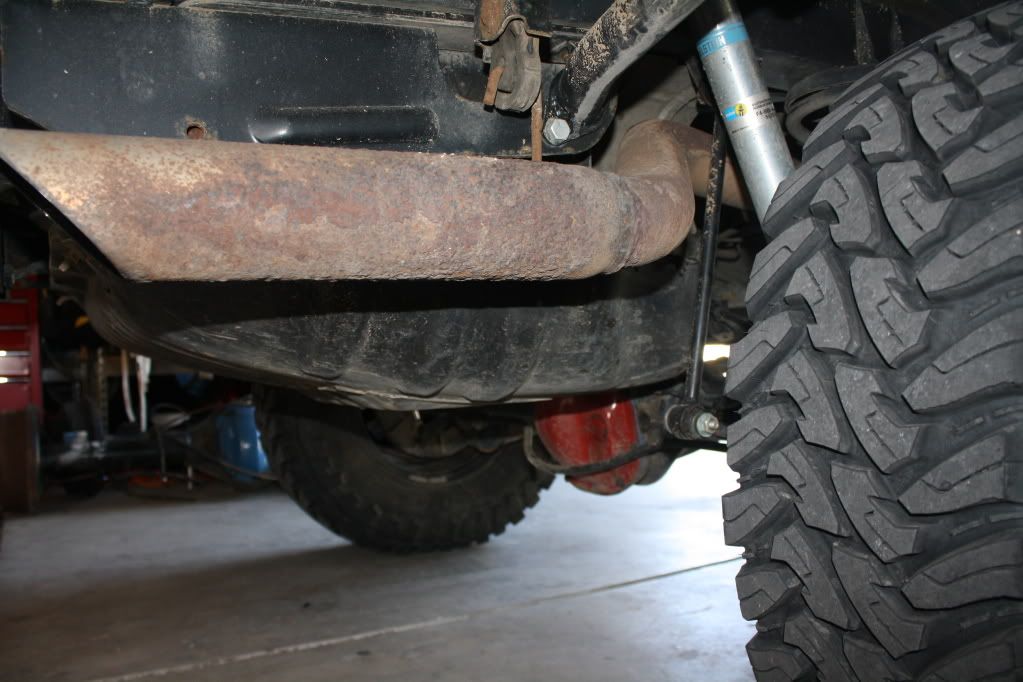
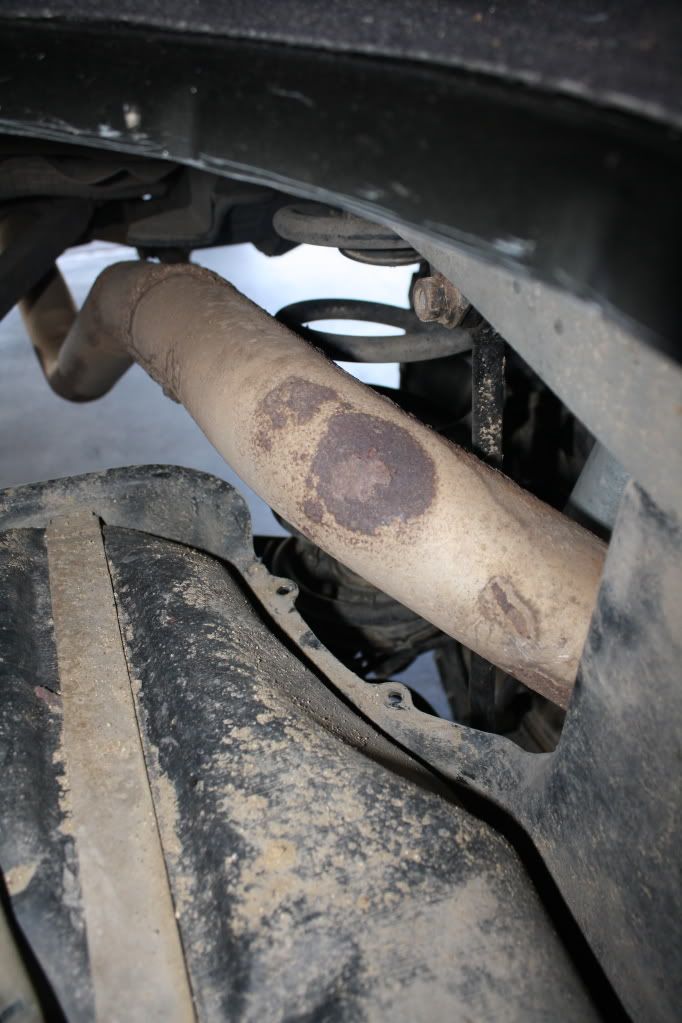
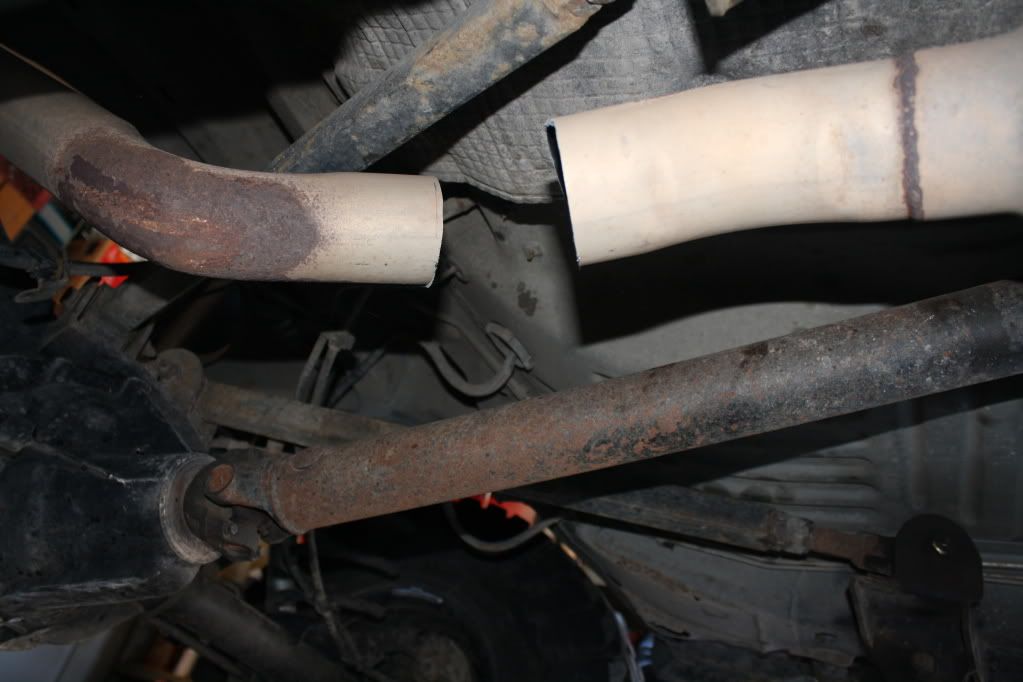
Since the exhaust pipe was going to be in the way of the raise
we had to say byebye to the 3" tail pipe
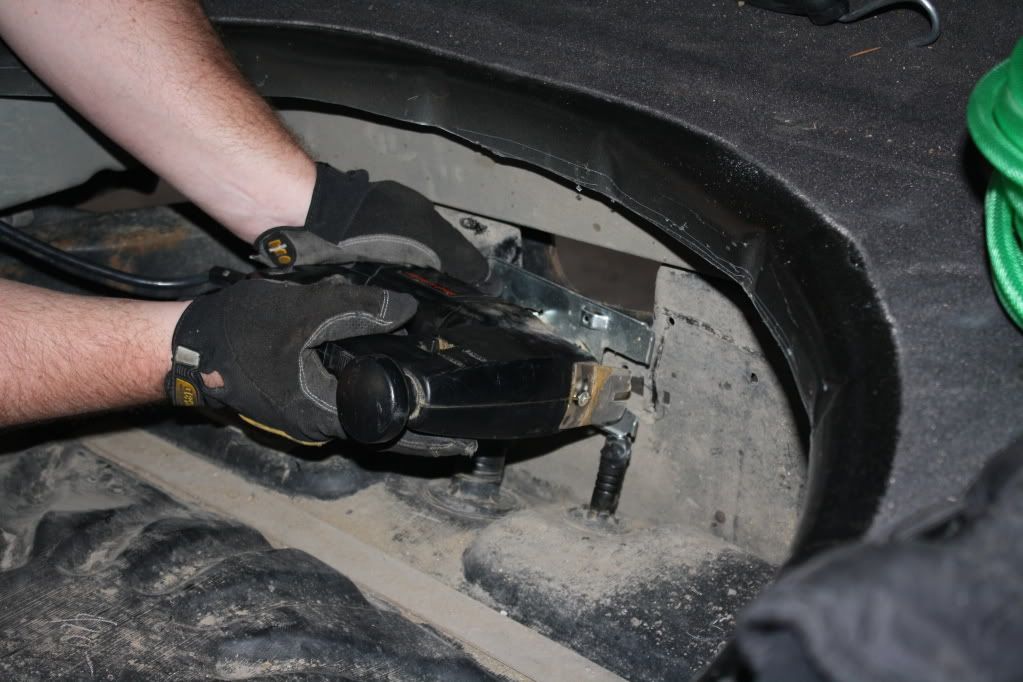
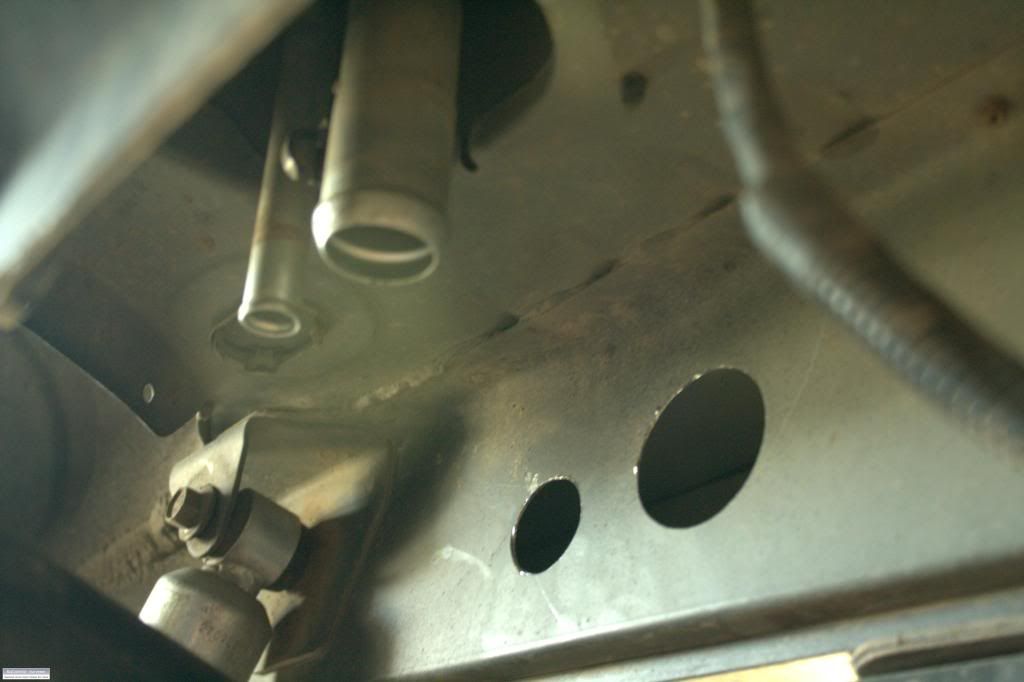
Then we used a jigsaw to shorten the skid brackets
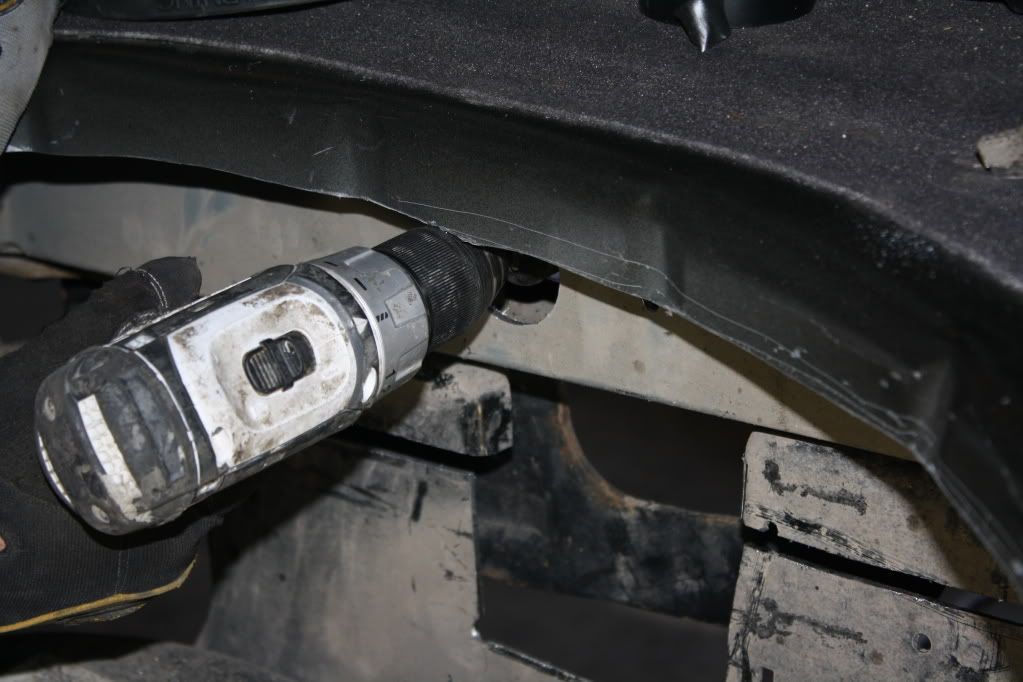
Then drilled a whole for the fuel filler and breather
03-29-2009, 02:54 AM
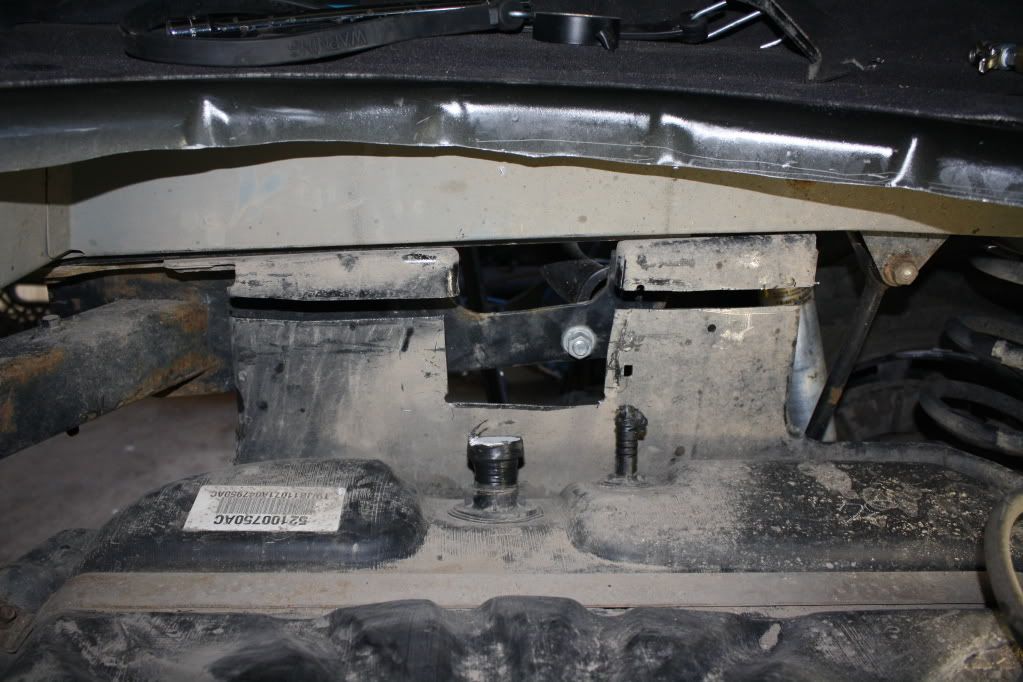
Then we jacked up one side of the gas tank and drilled some holes for some bolts then bolted the skid to the frame .
( I didn't get any pics of the other side and the fuel hoses cuz I was to focus on the task at hand :p)
Then we hooked up the fuel hoses though the holes we made and since it was raised we had to trim about 2 inch's of the hose. It was a PITA to get the hoses to fit back into the port with out a kink , the breather was cake but the filler was giving me a hard time . I left it a lil kinked but seems like it would be fine I will have to test it out on the next fill up .
Then we did the same thing the other side but instead of drilling into the Frame we used end that we cut off the skid that was originally mounted with the bumper and hitch to mount it with the gas tank . ( IDK if that made any sense )
look at all that clearance !!!
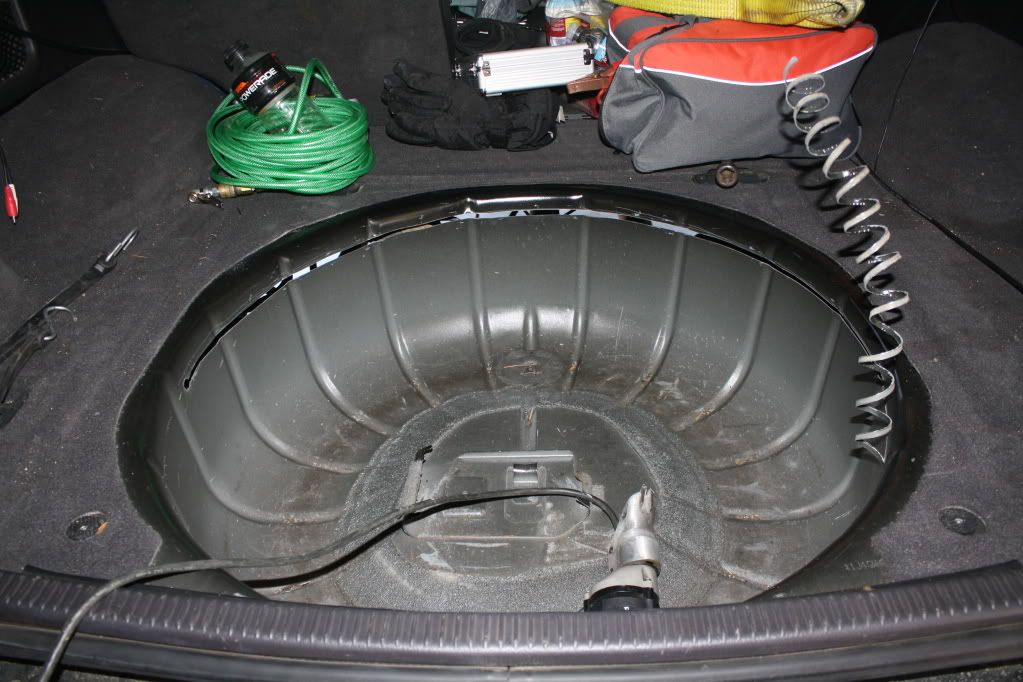
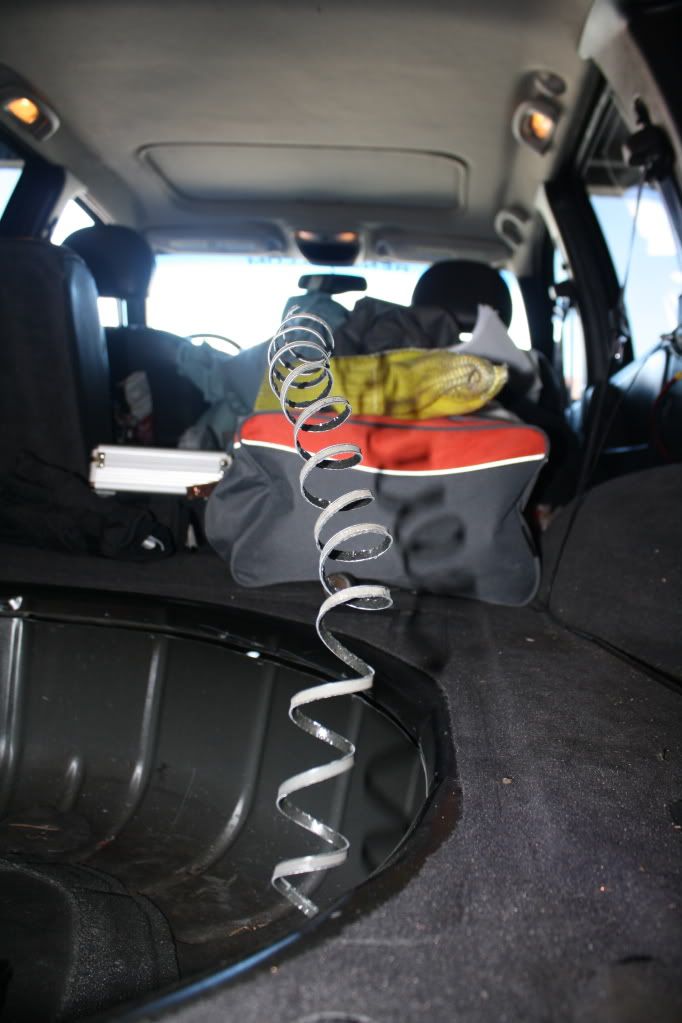
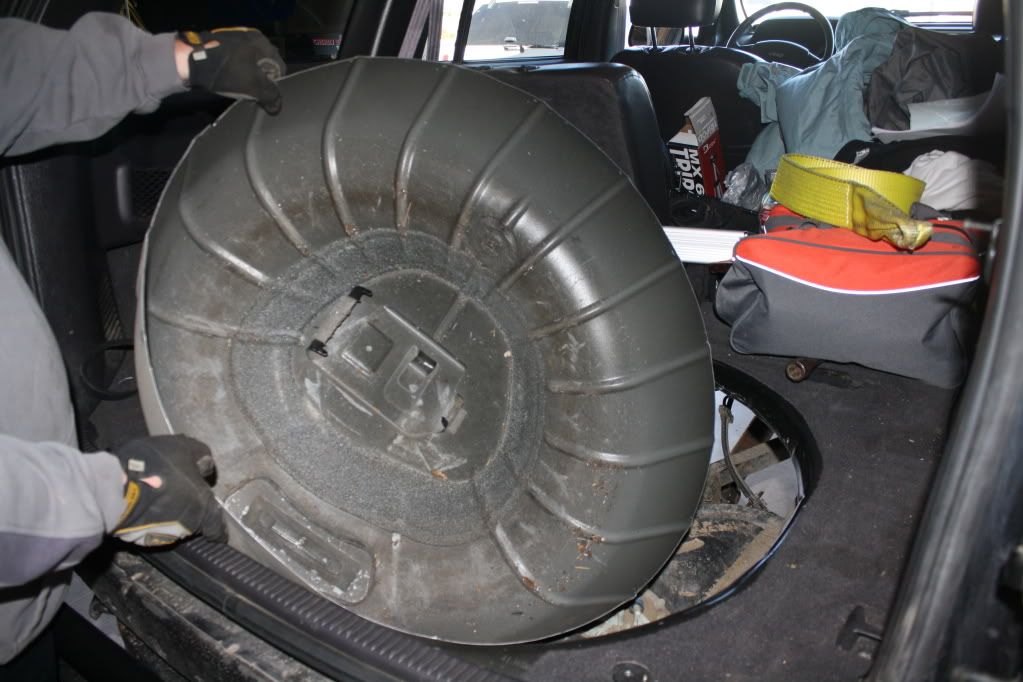
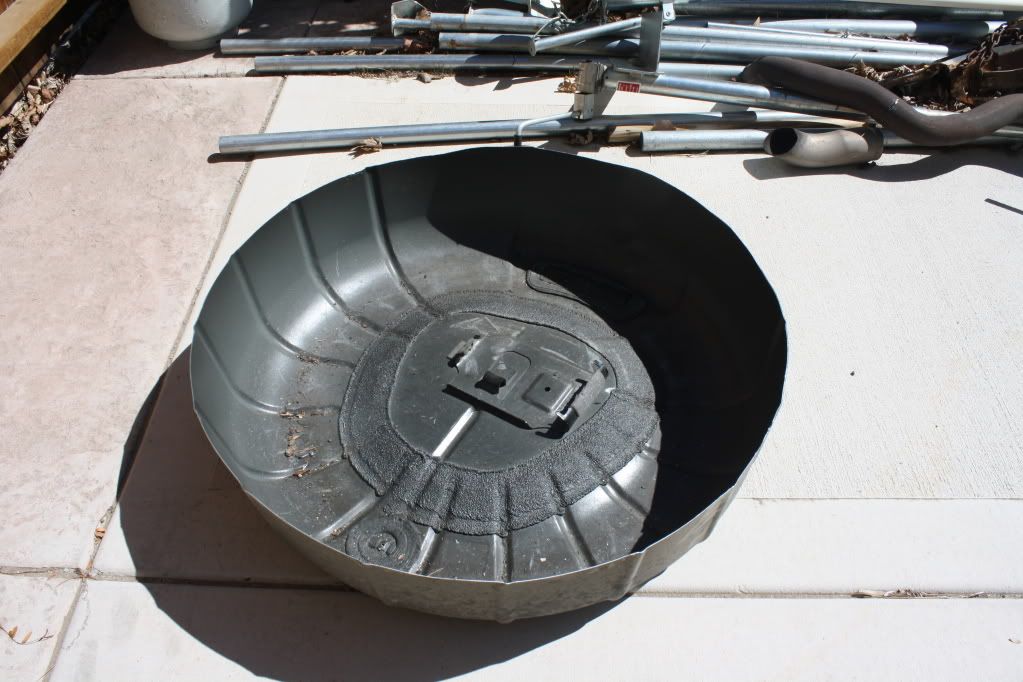
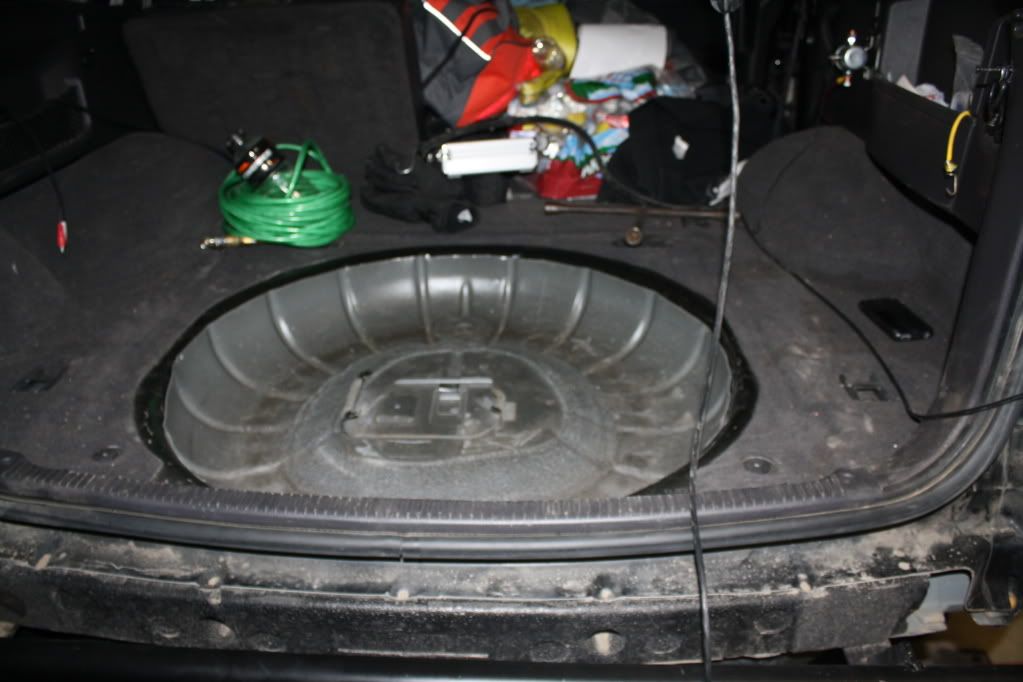
So after that we got the old spare tire tub and used the nibbler to cut the tub to make to be able to fit on top of the gas tank for some lil bit of extra storage .
Then used the duck bills to spread the lips of it , then we drilled in some self tapping bolts .
Then we used some aluminum tape to cover the edges and bolts .
Tada finished !!(lol forgot I left my camera on Manual focus so its a lil blurry
03-29-2009, 02:54 AM
Look at the difference
I know this one looks kinda crooked but we fixed it (ill take some day pics asap)
03-29-2009, 01:10 PM
Sweet, i like how you re used the old spare compartment to still leave a little storage space. I dig.
 03-29-2009, 08:53 PM
nice, i think everyone on here who owns a WJ has this on their to do list
03-30-2009, 12:13 AM
"then.."
lol, just messin with you - looks great!
04-13-2009, 12:53 AM
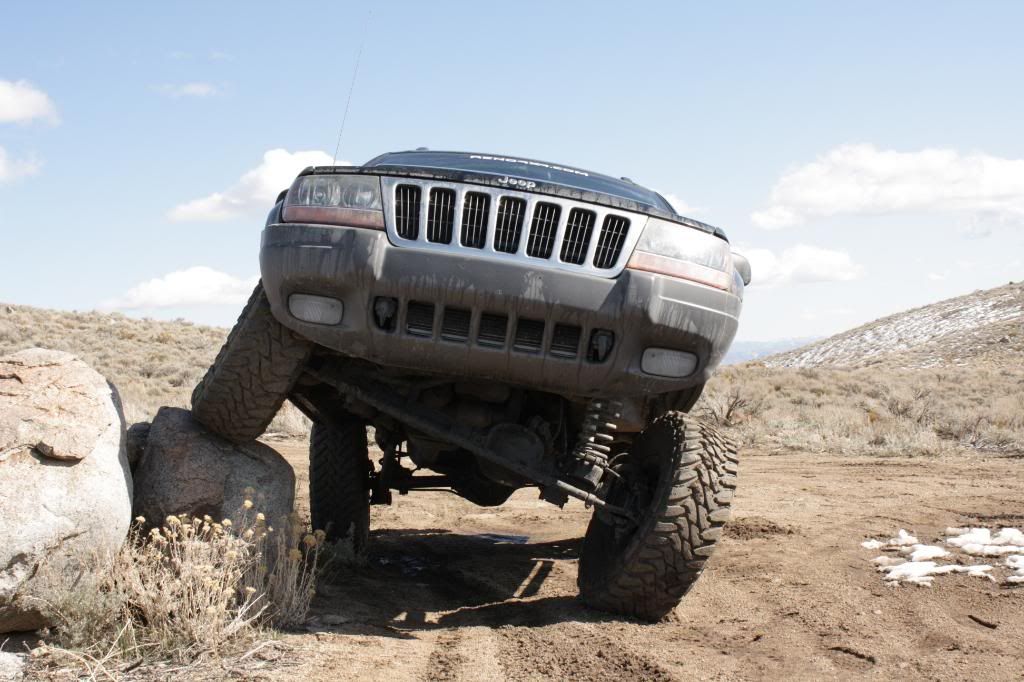
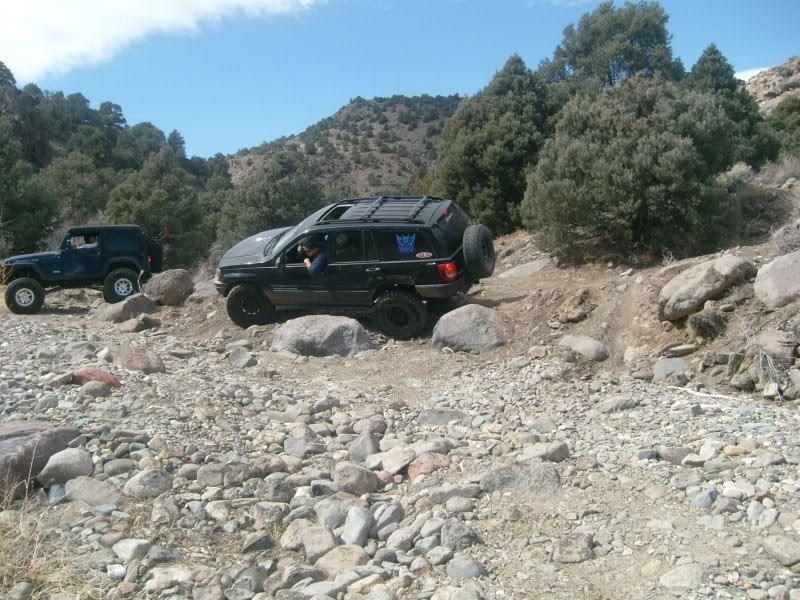
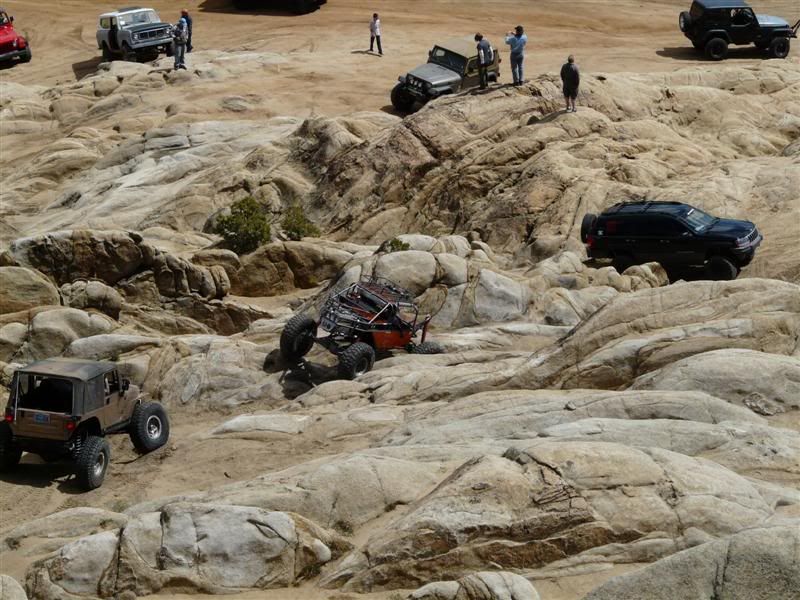
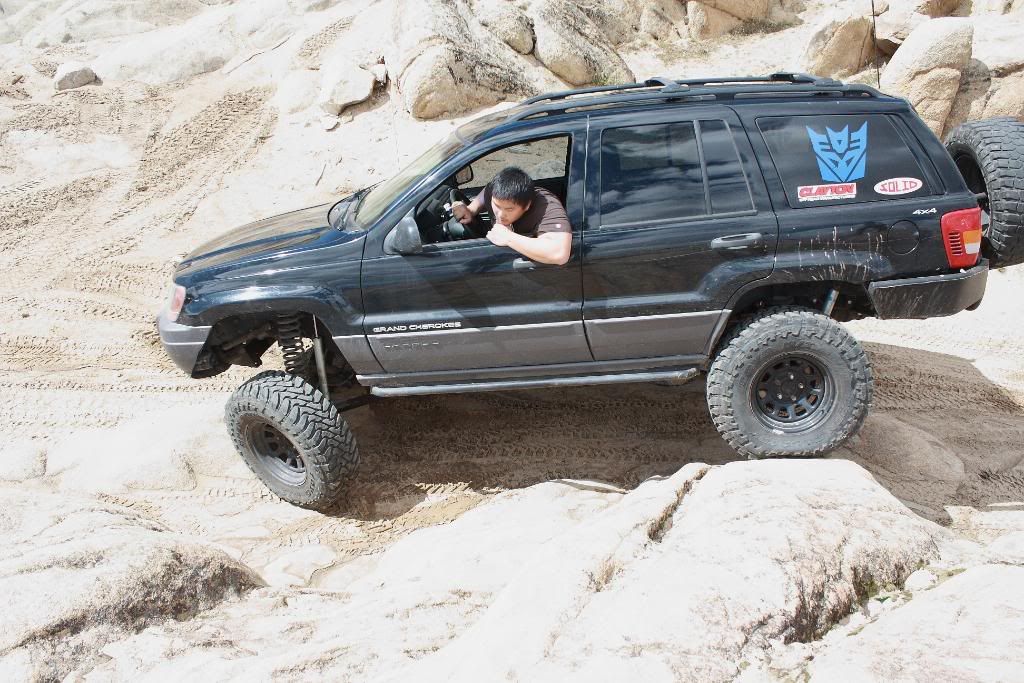
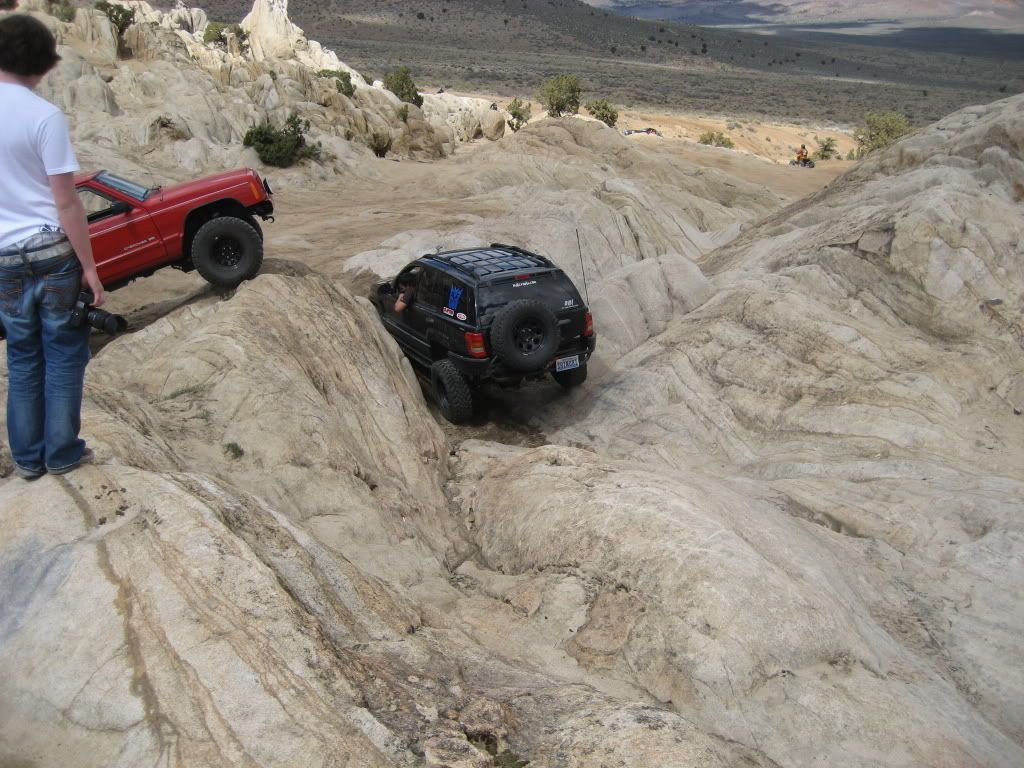
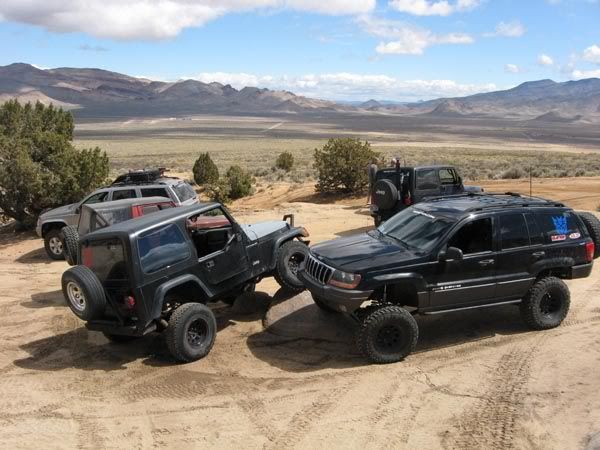
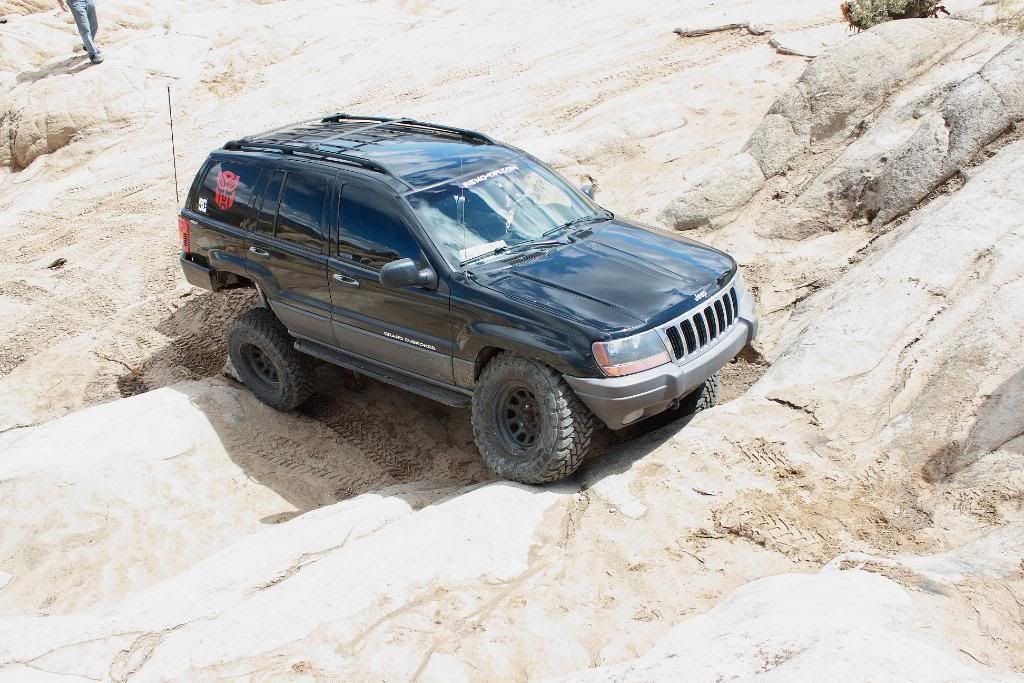
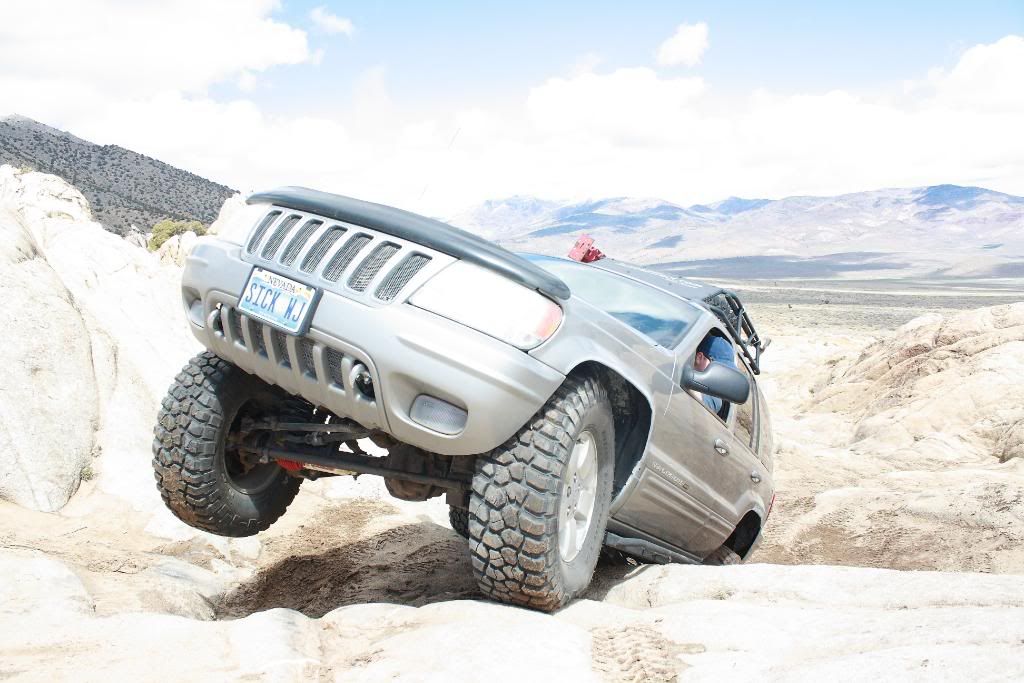
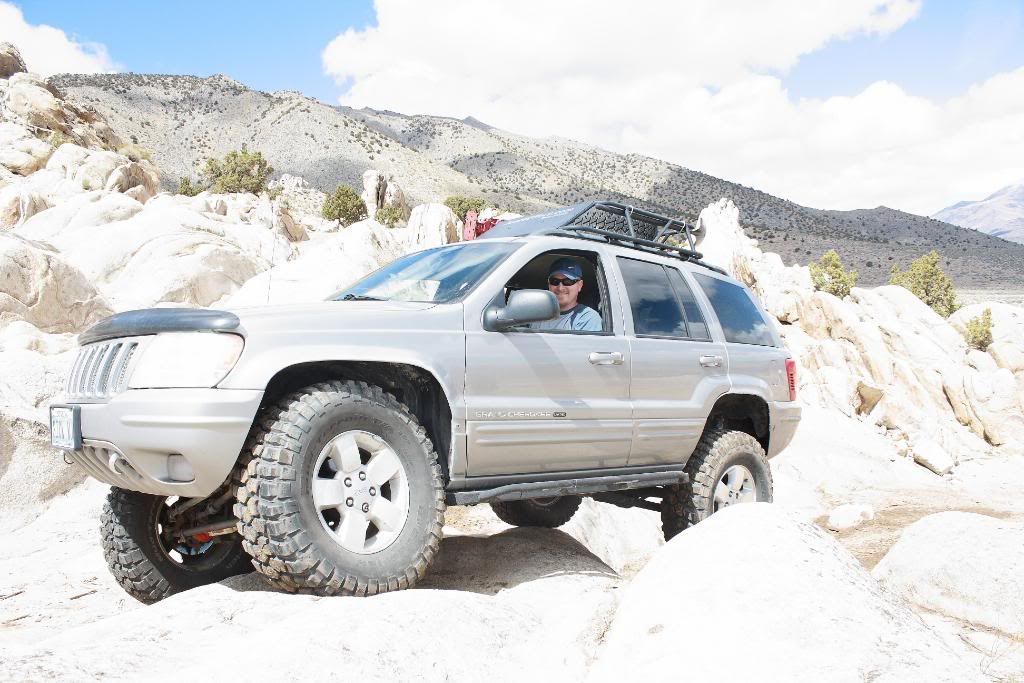
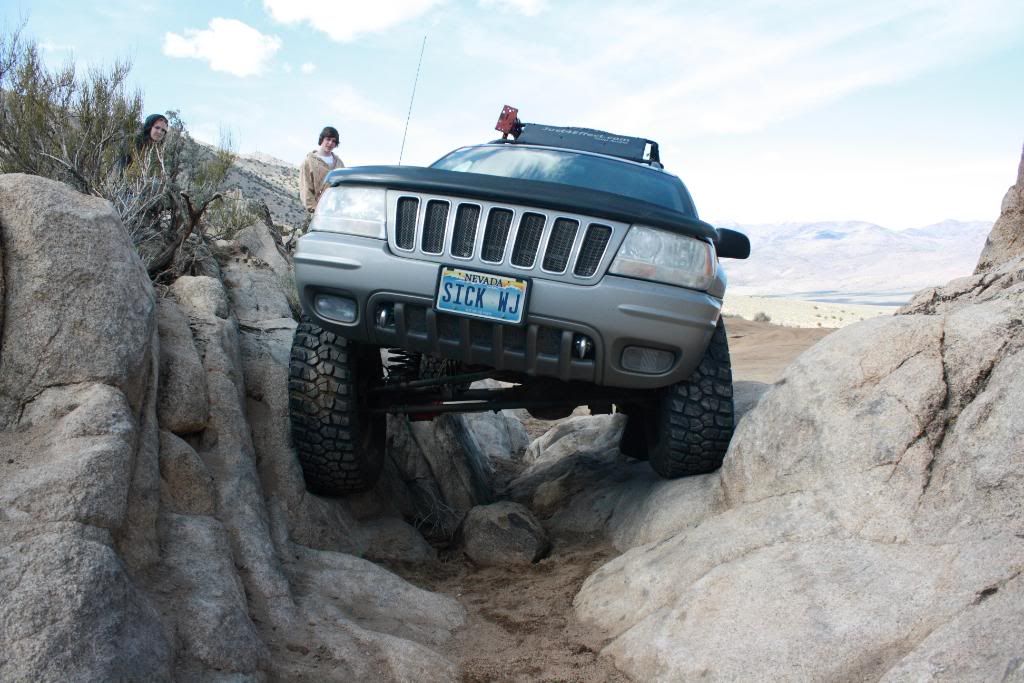
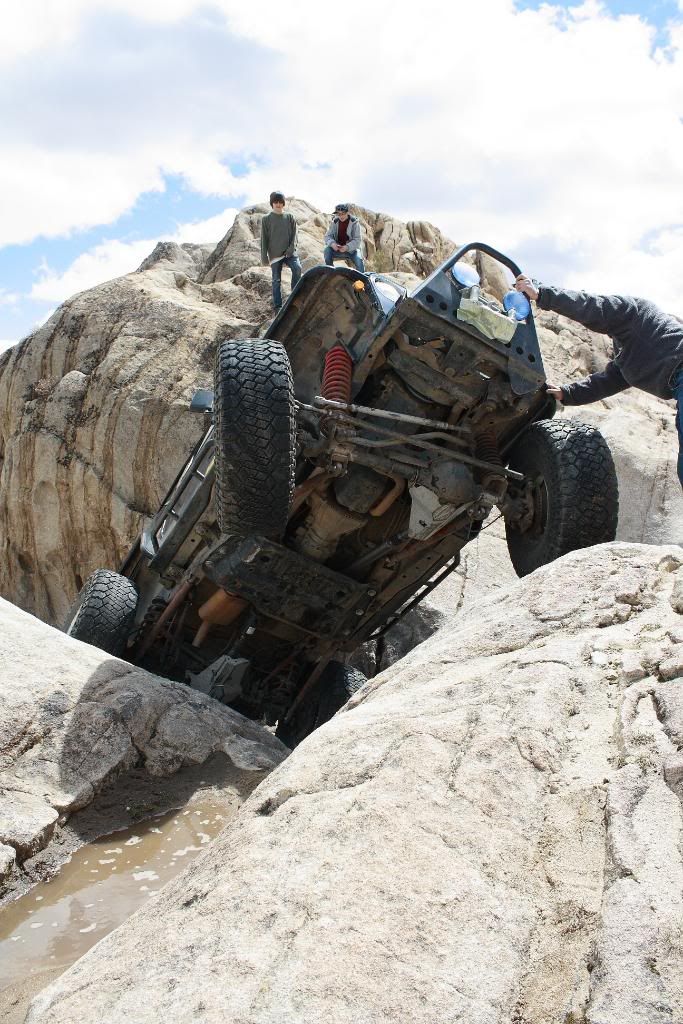
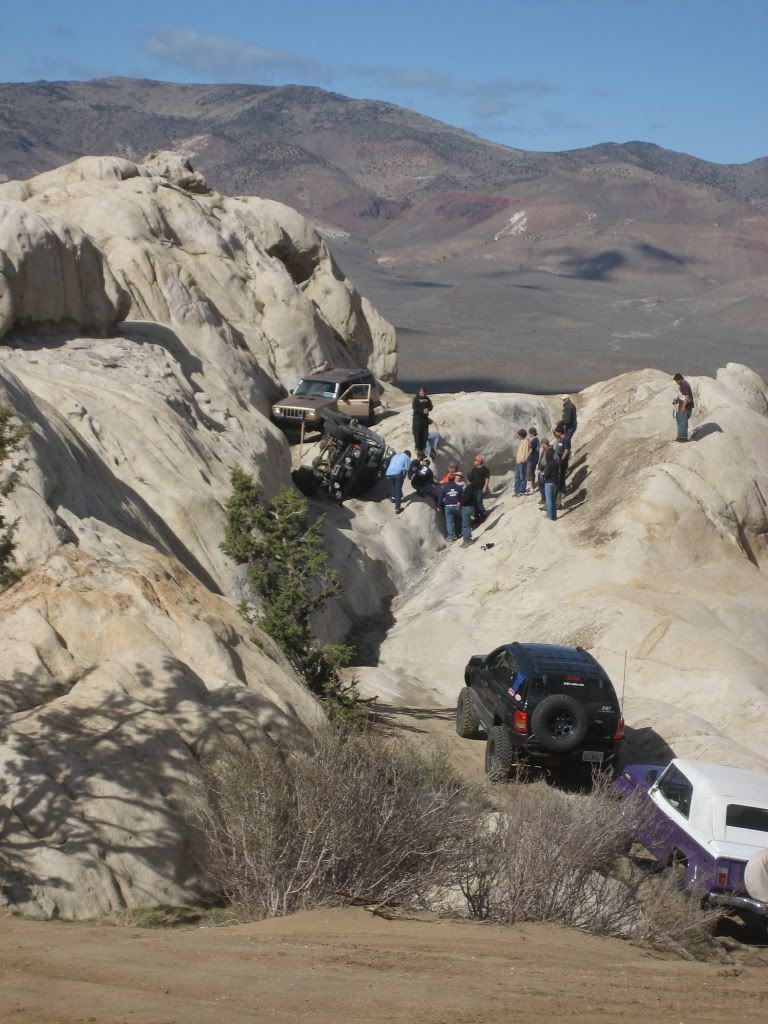
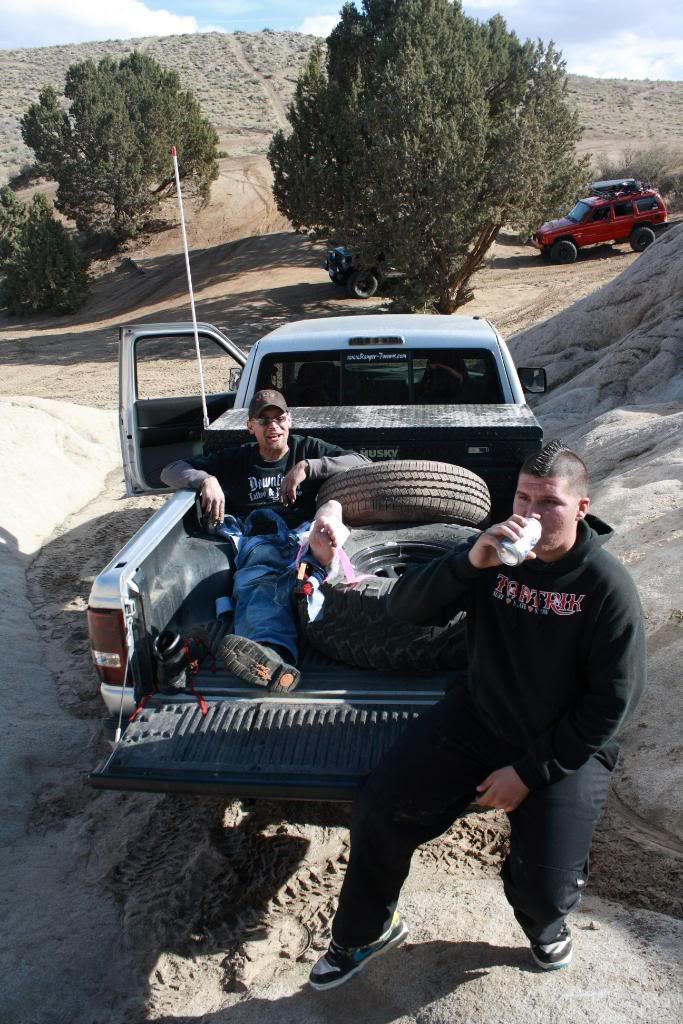
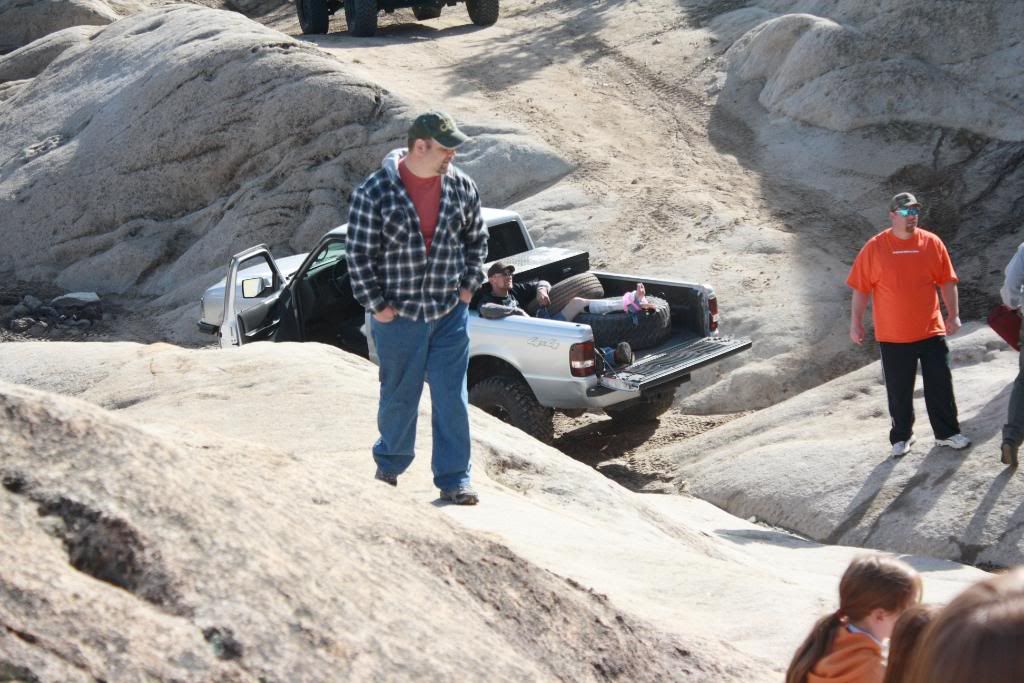
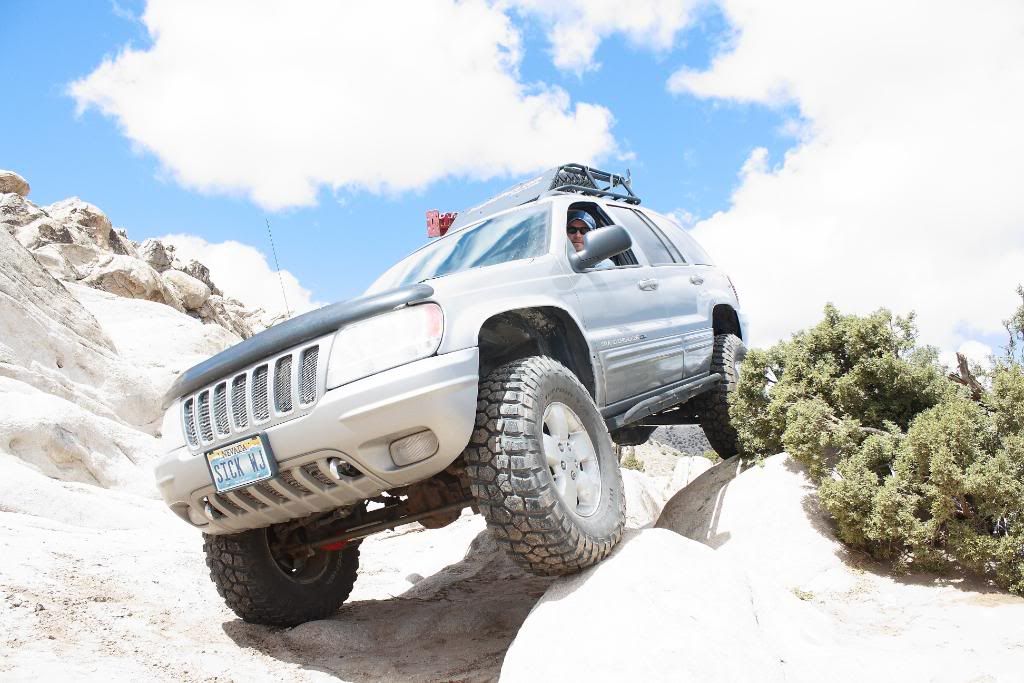
Well went wheeling this weekend at the Moon rocks with my local wheeling group, Go4x4it and Ron4x4 also joined us :thumbsup:
04-13-2009, 12:53 AM
heres Ron4x4 doing the same obstacle
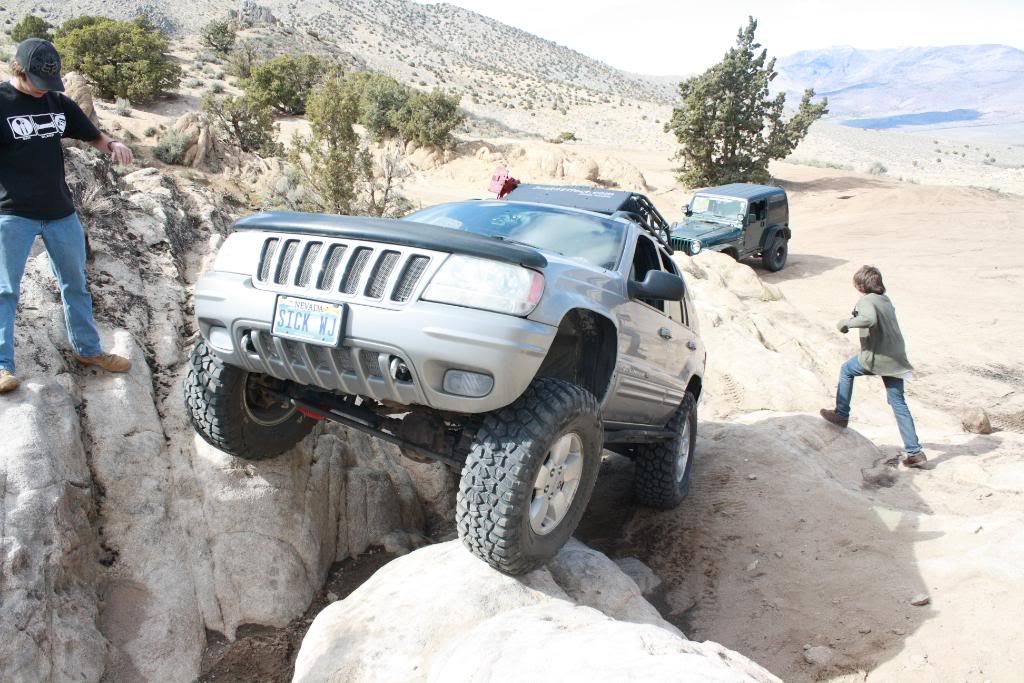
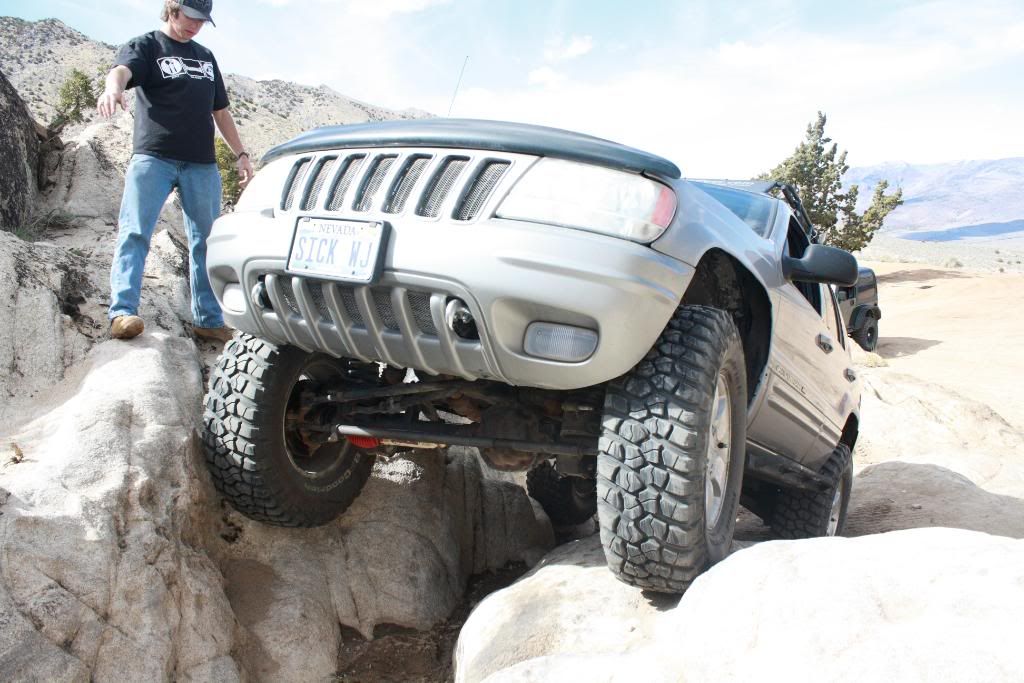
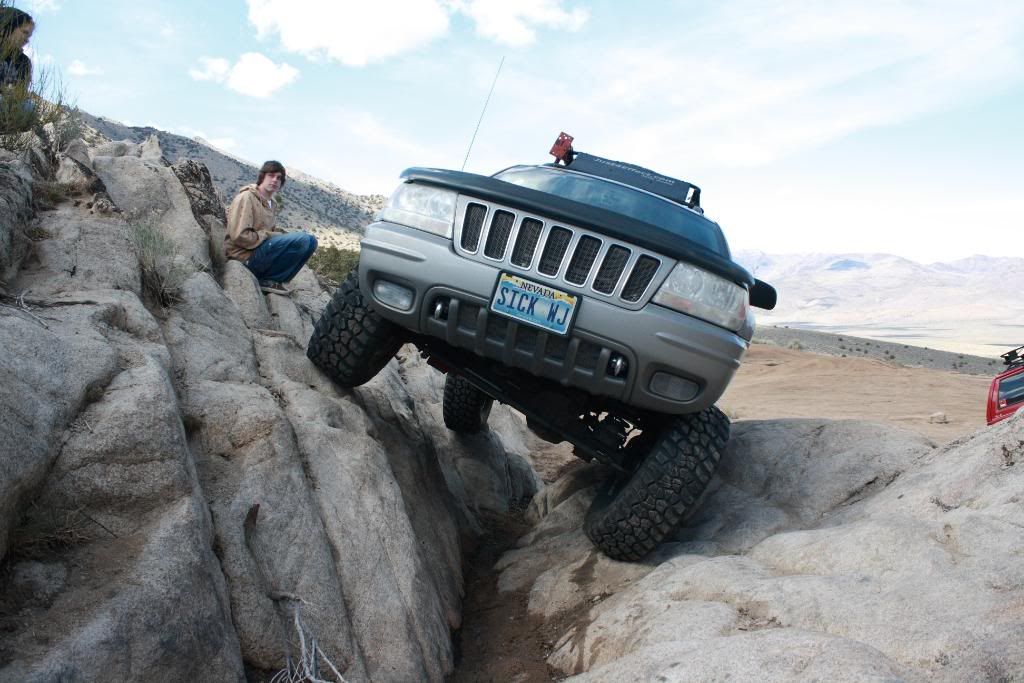
04-13-2009, 12:56 AM
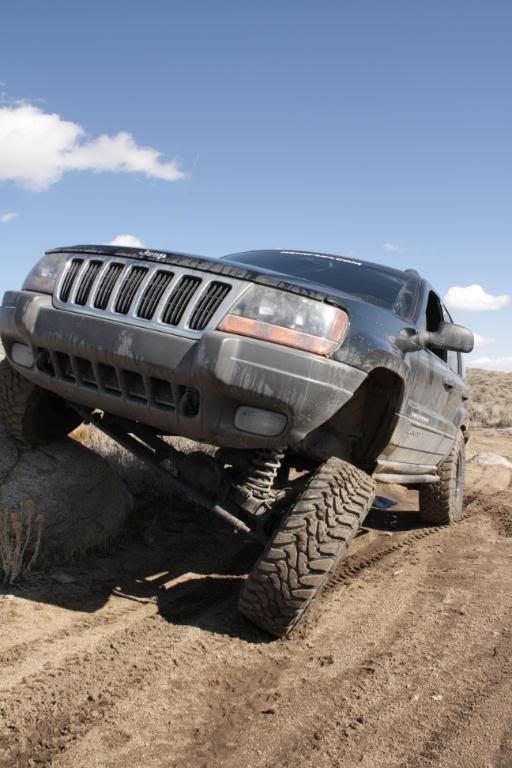
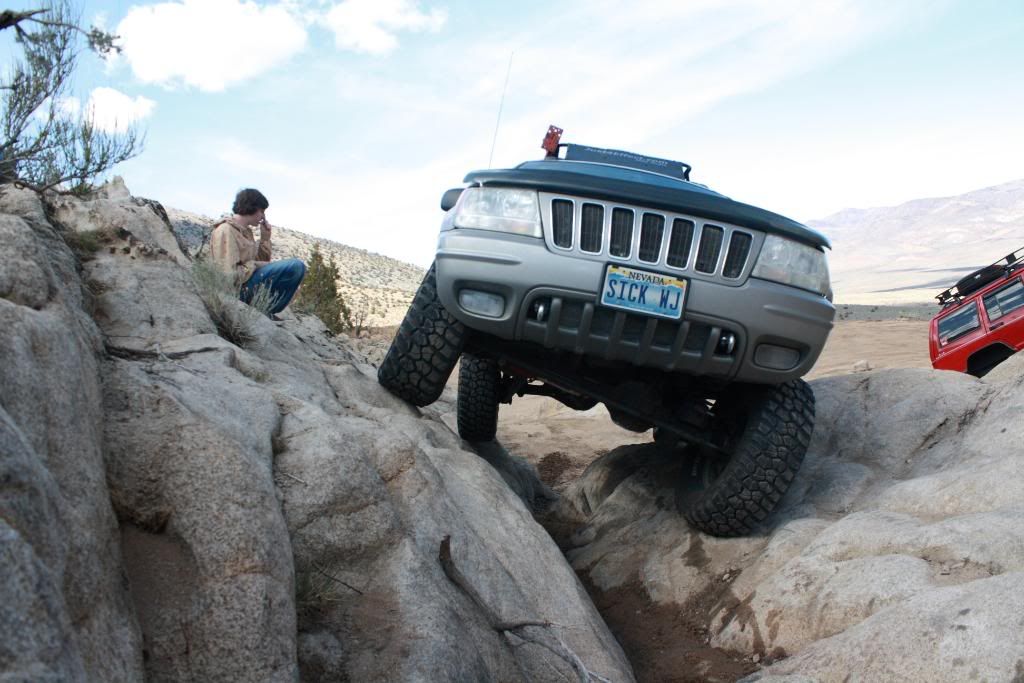
My turn
I guess I need to do some trimming ..
http://www.youtube.com/watch?v=1s8d7yyr4K8
WJ's FTW!!!
04-13-2009, 12:56 AM
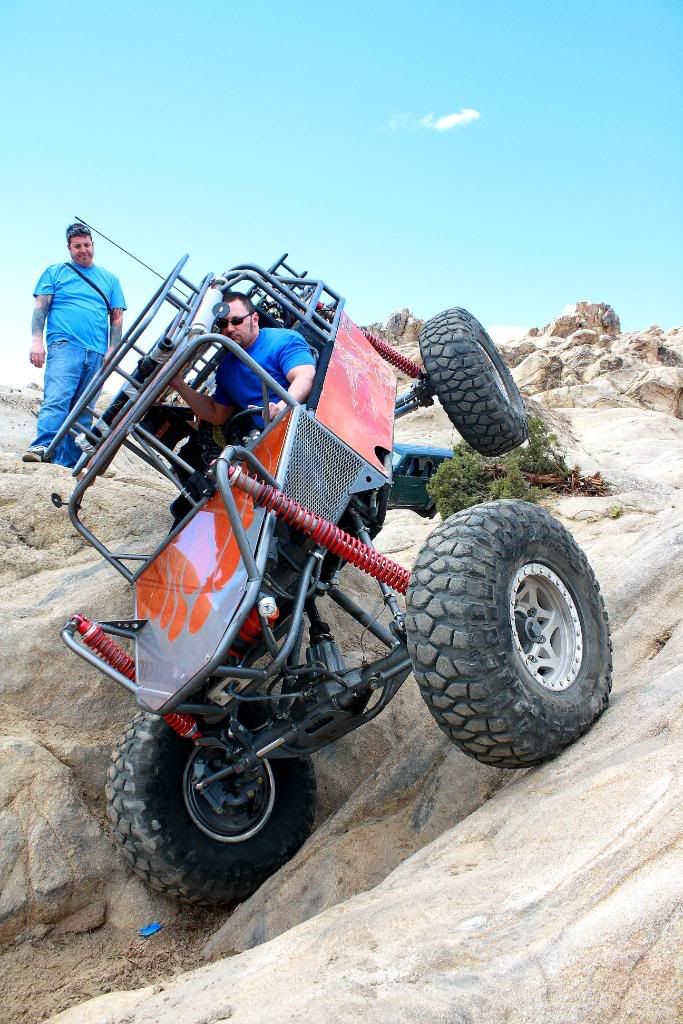
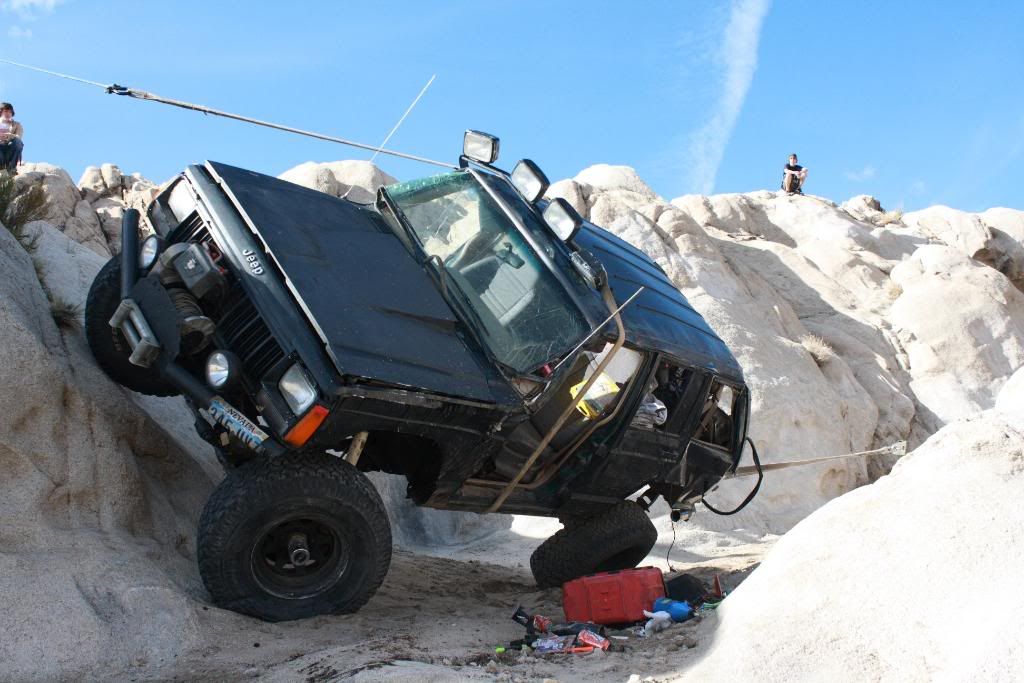
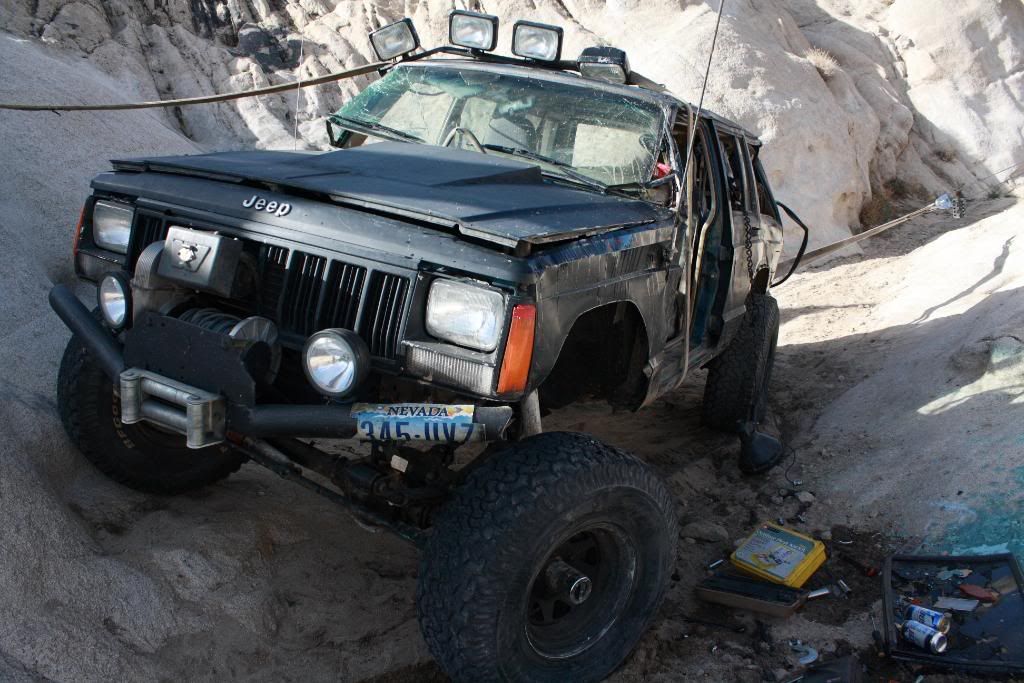
Here are pics of some puckered moments lol
Carnage !!!
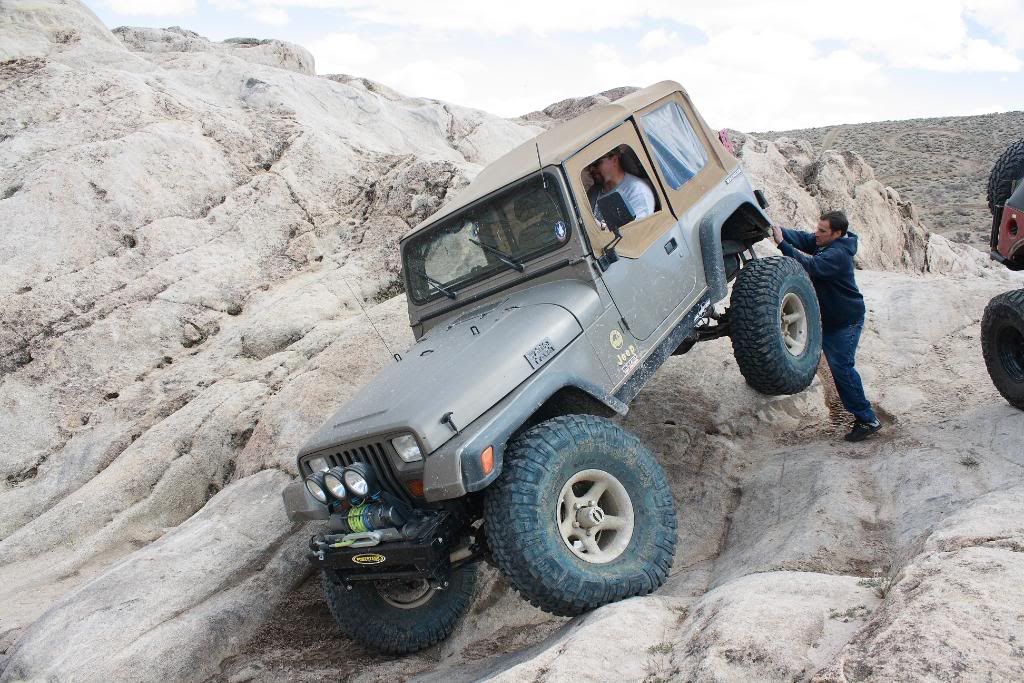
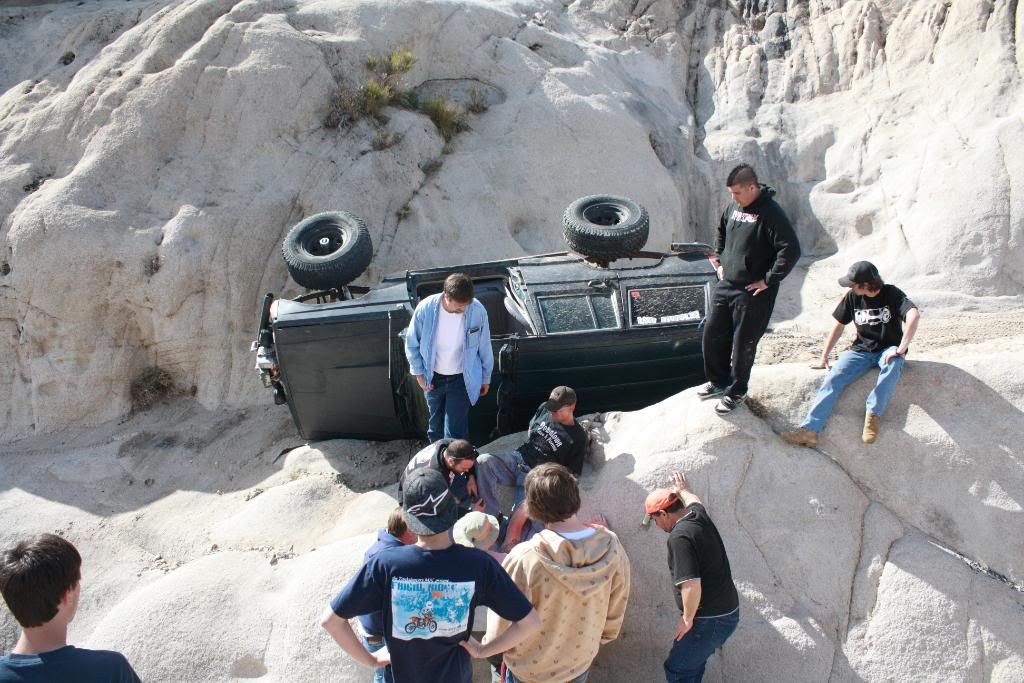
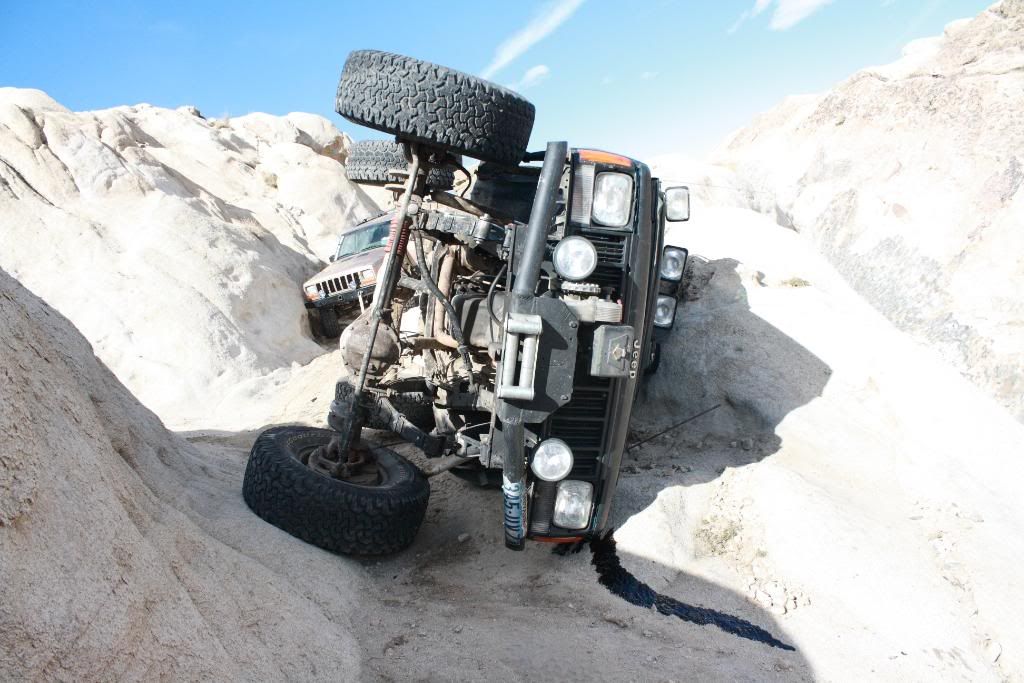
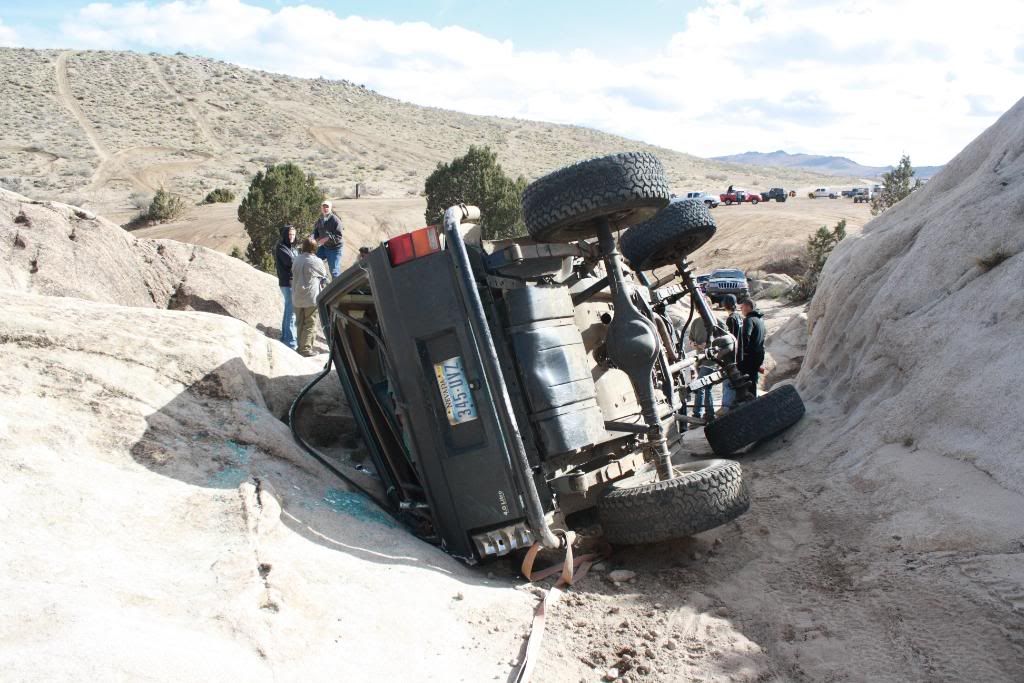
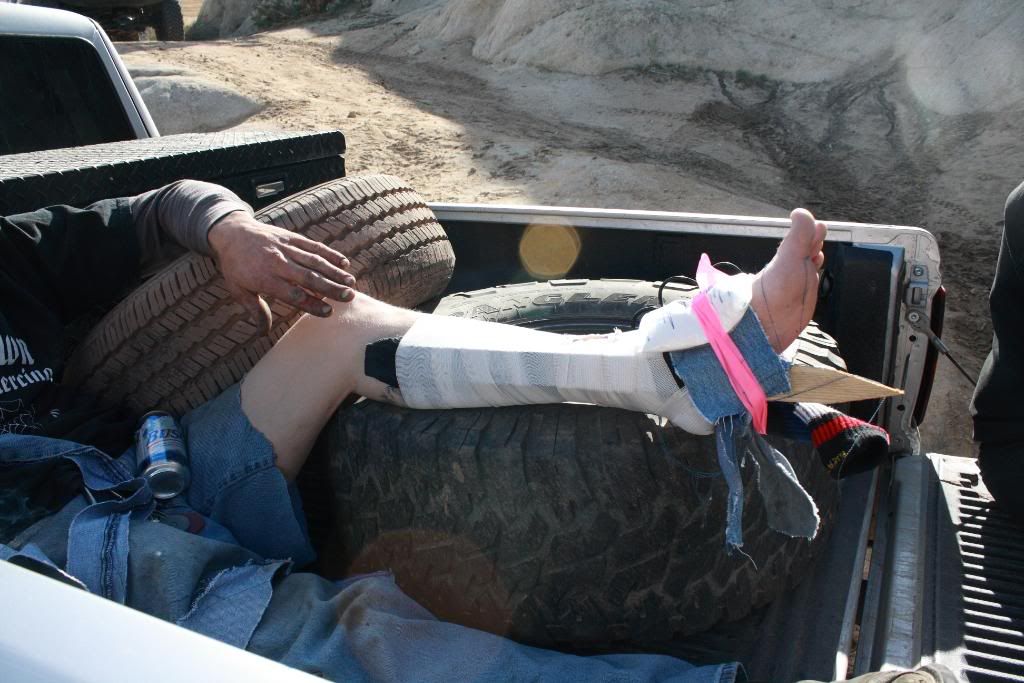
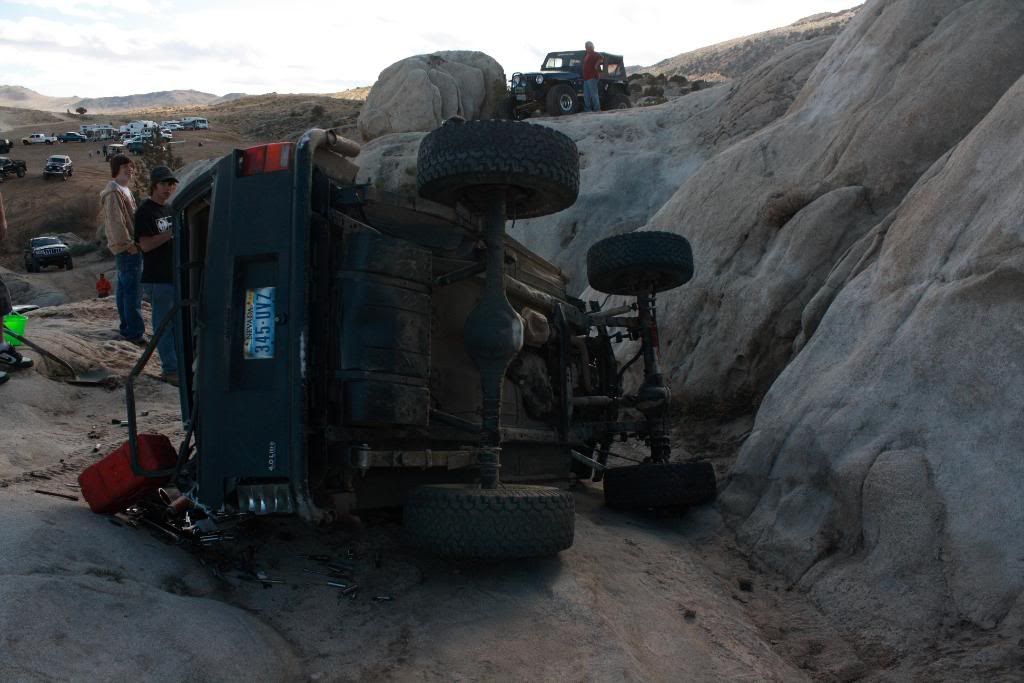
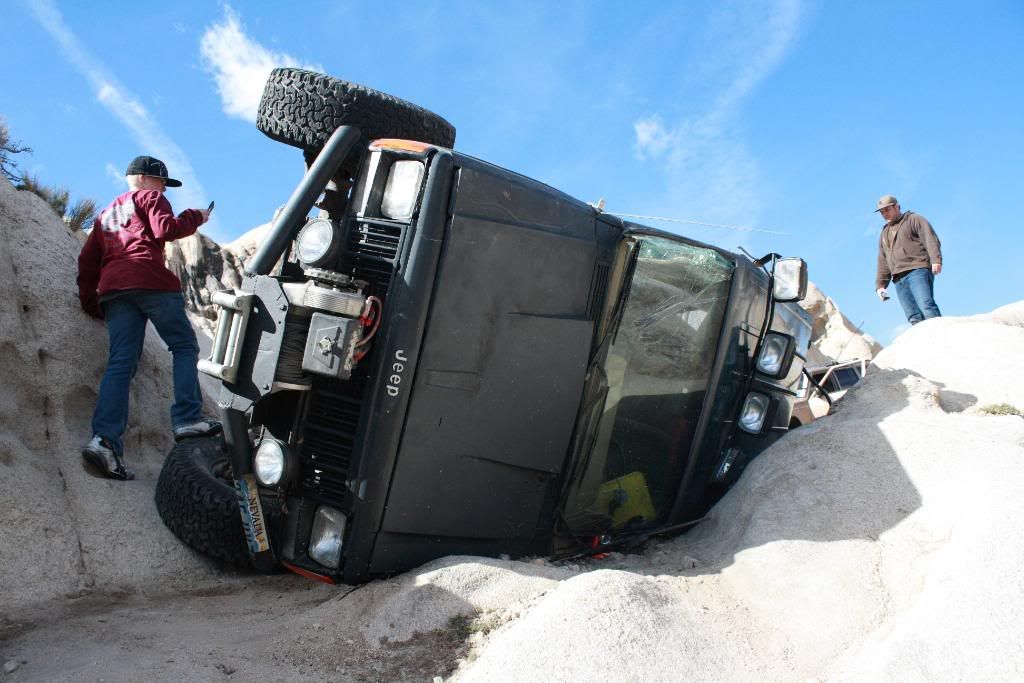
Even with all the fun we were having one of our XJ buddies decides to roll his XJ ...
04-13-2009, 01:08 AM
As the jeep rolled over his foot slipped out and the side of the jeep landed on his leg ...
Then .. another guy that was driving his jeep out decides to roll it a second time ...
good times
 04-13-2009, 02:11 AM
HEY I was there too......To think I let you BBQ for the first time HMM

04-13-2009, 02:24 AM
lol yes ..SaturnCL Joined us too !!

04-13-2009, 08:39 AM
dude, seriously... lol

| « Previous Thread | Next Thread » |
| Thread Information |
Users Browsing this ThreadThere are currently 1 users browsing this thread. (0 members and 1 guests) |