
|
|


 10-07-2013, 10:47 PM
Been a member here for a while, but just not getting into everything with ZJ.
Going to school to be a Mechanical Engineer Technologist, and needed a senior exit project. decided to take my 95 ZJ and turn it into a buggy, more of a firewall buggy, since im keeping firewall and the floor. Jeep started out as my brothers, they upgraded, then it sat in a field for a year+, and now I'm resurrecting it (hence Zombie Jeep). Had to pull the tranny and tcase out of my old XJ and put it in the ZJ. wired up the tranny (AW4) with the selectable switches.
Plan is to put 14 bolt in the rear, dana 44 in the front. 4 linked in the rear with 3 link in the front, running 36s. Once thats done, gonna cut most of the body off and put a cage in place of it. So any of you who have done something similar, any tips are appreciated. to start out, here is how it was when i got it.
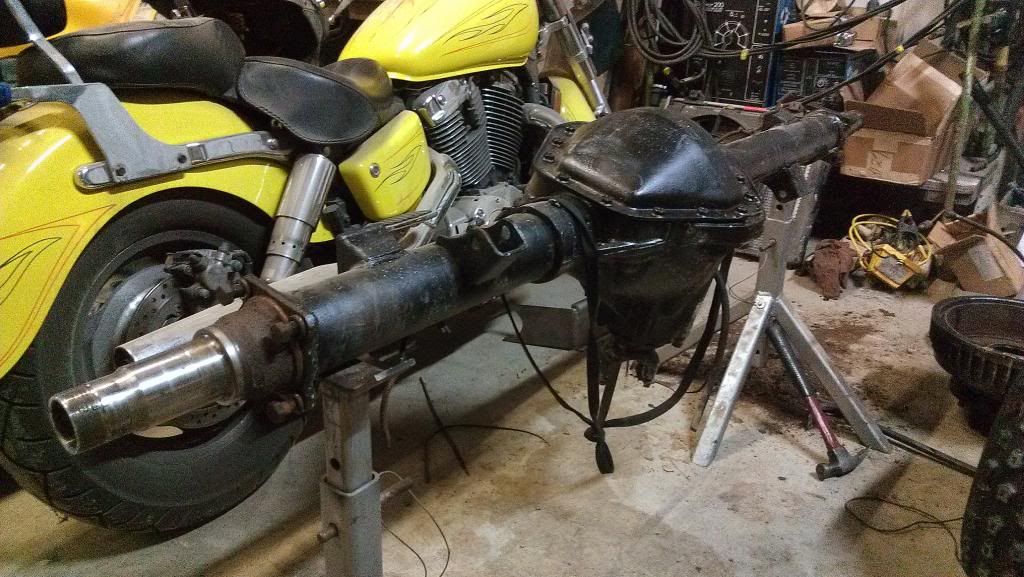
threw the 36's on and took it out for one last spin before it went in for surgery
which resulted in a broken rear axle
Borrowed a car rotisserie from a friend, stripped the interior, pulled the engine, and removed the old axles
Braced up the main section of the frame with 1/4" thick angle. also plan to brace up the areas where the link mounts will go.
Currently im at the point of converting the 14 bolt to disc brakes, and cleaning up the axle to get everything mocked up for the 4 link
 10-07-2013, 11:58 PM
Looks like an awesome project. I wouldnt suggest a 14b for 36s just because of its hang down, it might be ok with a shave kit. But mine grabs every rock i cross even with 42s.
 10-08-2013, 08:38 AM
Solid start! Man how convenient to have a rotisserie! Bet that makes things hella easy to work on!

 10-08-2013, 11:44 AM
Yep good start, looking forward to seeing the progress.
Yes for sure shave the 14b.
10-08-2013, 08:39 PM
Definitely gonna shave the 14b, hangs to low. Gonna start doing that this weekend. And yeah, the rotisserie makes things so nice and easy to work on. no welding and cutting while lying underneath the jeep.
11-22-2013, 07:02 PM
Been quite a while since I've updated this, so here is what I have. might take a few posts.
Got the rear axle underneath the Jeep. didnt have time to shave the 14, since i have a deadline through school. It will come soon though, once I get the part for school done.
Cut holes in the floorboard to make room for the upper frame mounts.
The axle with everything tacked in
Used some PVC pipes to mock up links instead of using the DOM (which I have 2", .25 wall)
Got the rear done (still tacked in, want to run a little more testing on it before i fully weld). Went with shorter links than what is common, mainly since there was so much to work around, and trying to use the calculator to get everything to work right. I was able to set it on the ground, and lift one side up without binding. From the outer edge, I have 8 inches of uptravel until I hit the frame.
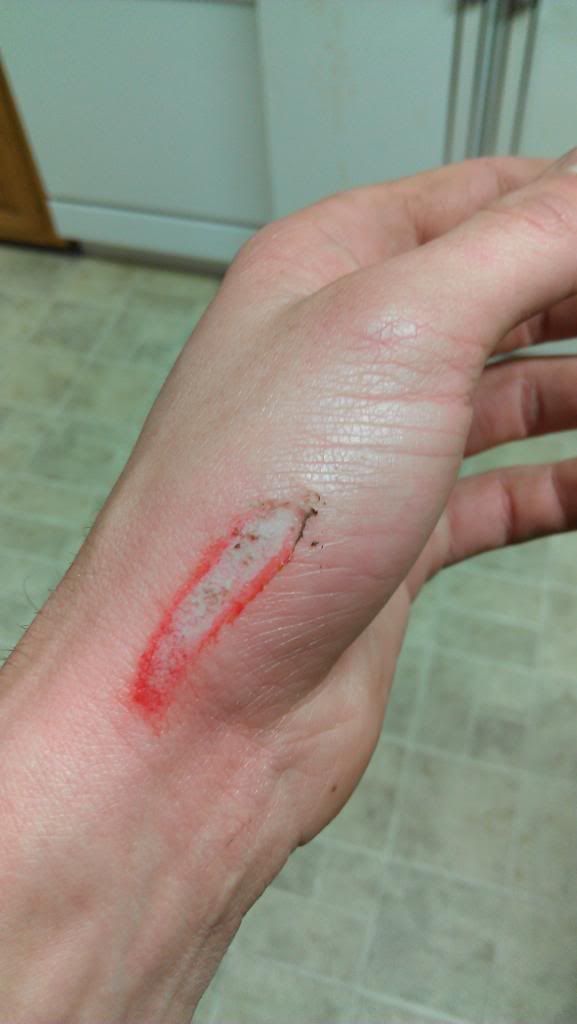
Welded up the spiders too, made the Orb of Traction
And of course, this all couldnt have happened without some injuries. Flap disc took a chunk from my hand
11-22-2013, 07:12 PM
Now time for the front axle
Got it underneath and figuring out where to put everything
The frame mounts that i bought fit perfectly into the frame
Mocked up using the PVC again
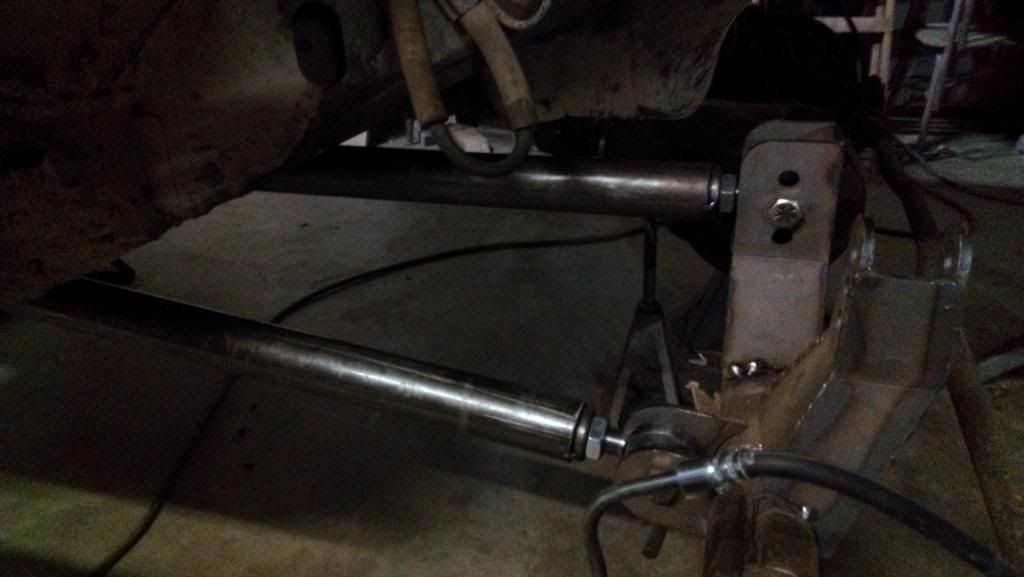
Got the DOM cut and installed. Again, went with shorter links than what is typically seen. for the front, i just went with what fit, since there is so much to work around.
11-22-2013, 07:24 PM
And finally, the cage. The plan was to cut off the body and build a cage in its place. I had a very slight idea of how i wanted it to look, but nothing definite. This was built on the fly in less than week, and I think it couldnt have turned out much better. The body wasnt that bad to get off, just had to go through quite a few cut off wheels and sawzall blades.
Its a convertible!
Also cut 23 inches off of the back. there is a small crossmember there that i cut right along.
Threw the body on my dads ranger to haul it out. Tried to convince him to turn it into a SUV but he didnt like that idea. It fit on there decently.
Bending up the main hoop
End of day 1. Got the sliders, main hoop, and two back braces installed. The keg is on there because i was test fitting it, that is going to be turned into my fuel tank.
End of Day 2, got the center X done, and the rear "fenders" done. Ordered Fox air shocks (Which UPS happened to loose, or they would already be installed), that will sit right at the bend of the "fender".
And this is the almost final product. As far as the school part goes, the only bar left is the one across the windshield. I am going to add onto it all, putting a cage around the front. The tire is my spare, which i plan to mount right there. Going to do purple body (hood has already been painted), and a white cage.
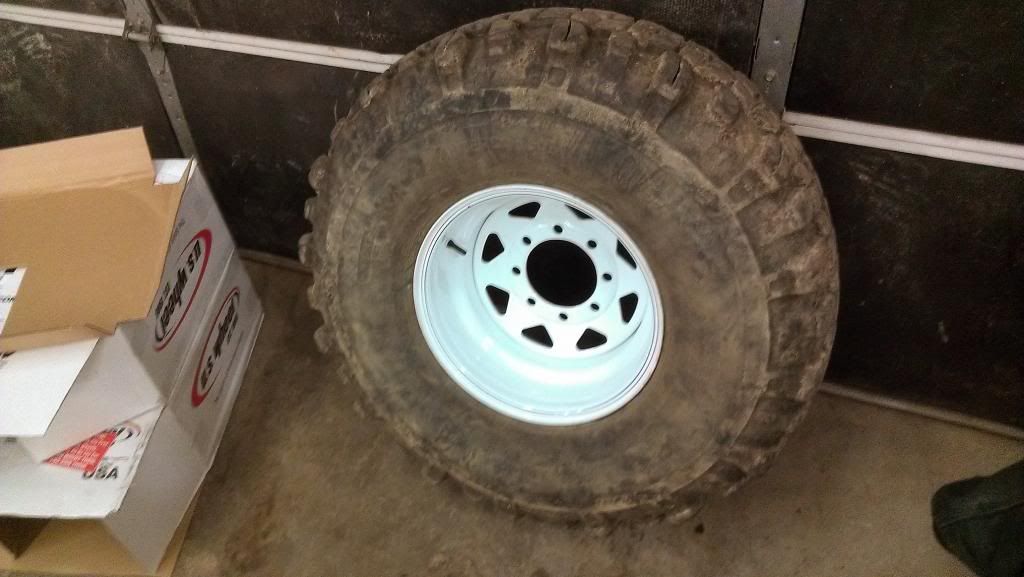
Ordered some wheels for my 36s, 15x8, with 2.5 backspace to give me clearance for the front link bars. and the small backspace also allows me to run them without shaving down the calipers.
11-28-2013, 12:56 AM
I like the way you've got the spare mounted on the cage. It's looking good.
| « Previous Thread | Next Thread » |
| Thread Information |
Users Browsing this ThreadThere are currently 1 users browsing this thread. (0 members and 1 guests) |


