|
|


 03-19-2010, 03:06 PM
I've had lots of help though. I couldn't do it all myself this quick! lolOriginally Posted by downtowncb


 03-23-2010, 12:18 AM
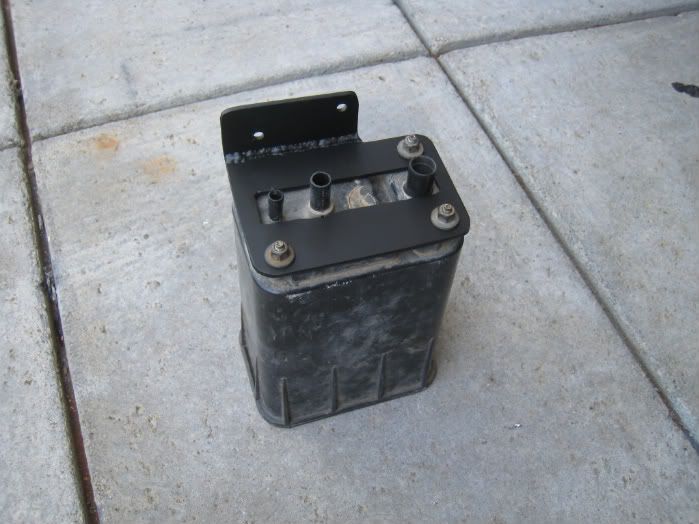
I made a bracket to turn the evap canister on its side.
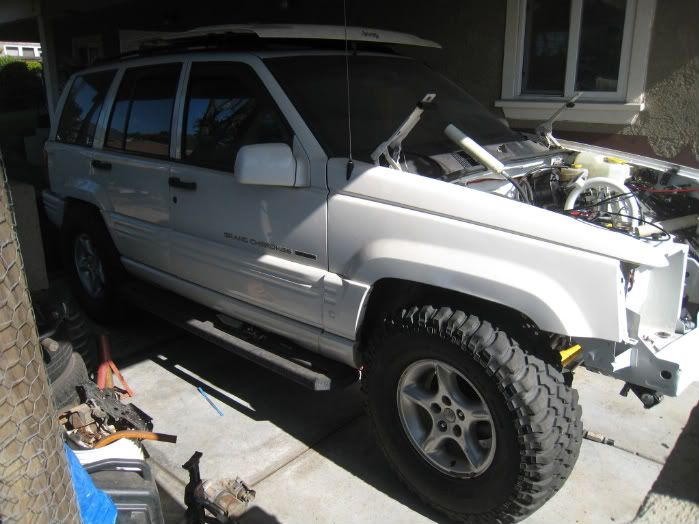
Who says you cant fit 33s on a stock height grand! I had to get the rear springs out because Im doing a spring swap with BigClay. I had RE 4.5 coils with a 2 budget boost and now Im swapping in Clayton 7 coils and giving Clay all of the 4.5 coils.
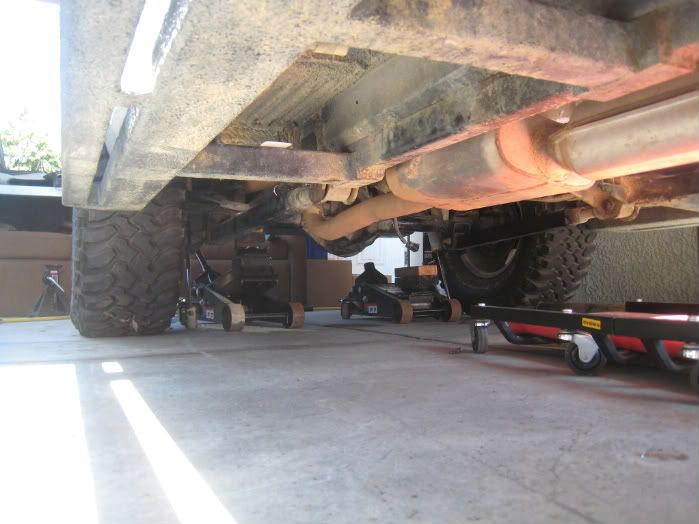
Flat belly.
03-23-2010, 12:41 PM
I have 35's on a 2" lift. with a little trimming anything is possible.
 03-23-2010, 02:25 PM
 03-23-2010, 02:30 PM
kevin garnett? is that you?
03-23-2010, 02:38 PM
prove it.
03-24-2010, 12:48 PM
I will take pics this weekend. Im never home when its light durring the week between school and work.
03-24-2010, 12:50 PM
wow didn't expect to get a response, now I'm excited!
03-24-2010, 01:00 PM
I wanna see how the rear doors are cut. Cuz thats the only way I see that working. Just to be clear, you can actually drive and steer it right? Also post a new thread and link it here so you arent whoring up downtown's build thread. Unless he doesnt mind.
03-24-2010, 01:33 PM
You could just do moderate cutting/ BFHing and run 35s at 2" of lift with a lot of bumpstop (that's what I run with 33s with some bumpstop), but he's had a bunch of threads asking for info about comp cutting and longer clayton's arms... It'd be very do-able with a couple extra inches of wheelbase. Start a new thread.
Highjack off
downtowncb, is the major fab work over, then? That's always a good feeling. How's the manifold situation looking?
03-24-2010, 06:31 PM
Stock wheelbase. I am going to long arm and 4 link it because it is real tight, especially in front. The rear is trimmed right to the door edge and there is plenty of room. Im pushing the rear axle back 5" and the front forward at least 4" so i can get 39" on there by next "rubicon" season. It runs, stops, and turns fine (except the death wobble which is from my loose steering). The front barely rubs but I am going to dove nose it and that problem will be gone. I will post pics in my build thread. Now I will stop whoring your thread, sorry man.
03-24-2010, 11:59 PM
Almost all the major fab work is done! I still have to finish the passenger side motor mount when I put the engine in tomorrow, but that won't take long. I got the intake and filter in today.
I finished the fuel system.
Shanana bitch! I finally got the exhaust bolt drilled out and the Helicoil in.
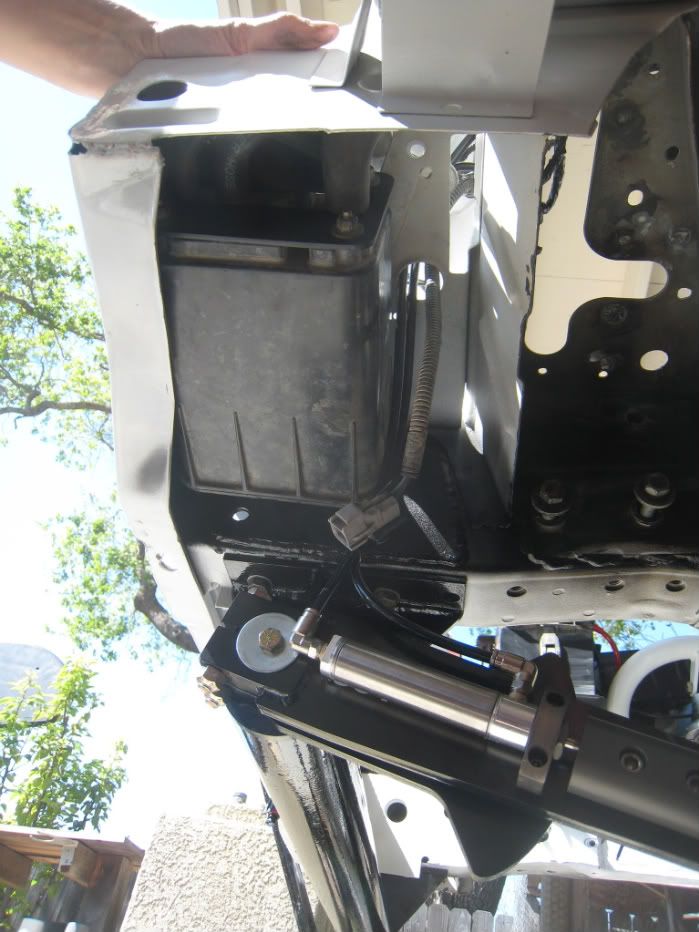
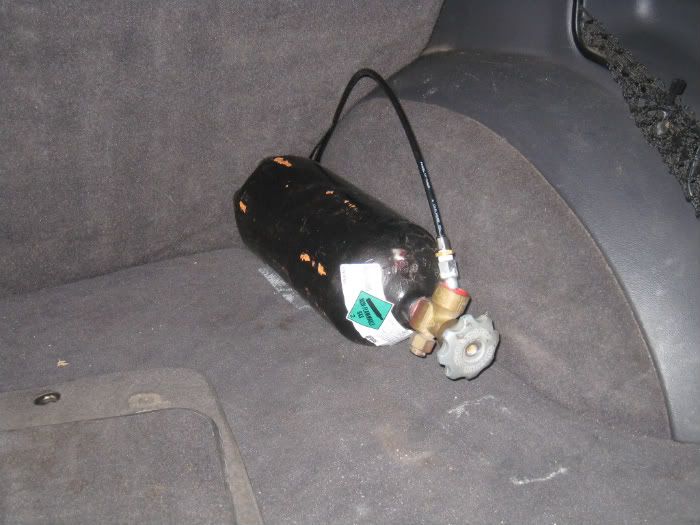
And here is the coil over and air bump charging tool I pieced together from PowerTank and McMaster. I am using the nitrogen tank also to power the sway bar disconnect til down the road when I can determine if I can fit a York on this motor too. So today I purchased a 20 cu. ft. tank from Air Gas that I will mount in the back of the Jeep.
Tomorrow the motor is going in and getting all it's fluids and running tranny cooling lines. With any luck I will be able to fire it up by Friday.
03-25-2010, 12:50 AM
Sweet! I bet you can't wait to turn the key.
I had 4 of those bastards break off in the heads. Talk about a PITA. I probably should have just gotten new (to me) heads, but I drilled and tapped every one of them to 10mm because I was bored and being a total cheapass. Thanks for reminding me that I need to order some new bolts.
03-25-2010, 12:59 AM
My god, if I didn't have roommates that were gear heads and a very understanding girlfriend I would have been shot by now out of shear annoyance because all I've talked about for the last week is finally starting and driving the Jeep! I was driving a friends Yukon today with the same motor and just grinning like an idiot thinking that the same motor in that thing, and they are pretty quick for an SUV, will be living in my Jeep shortly.
I bought a new set of stronger (supposedly) head bolts and a tap and went through and cleaned out all the threads. I do NOT want a repeat of this with the engine in the Jeep.
 03-25-2010, 01:03 AM
What head bolts did you go with (grade, coating, etc) and where did you get them?
I guess I got lucky not having any stubborn bolts on mine. Maybe it being a GA engine and only having 58k on it helped though
03-25-2010, 01:21 AM
I just made a retarded realization, I purchased grade 8 head bolts for a small block chevy, forgetting these new motors are all metric. Doh
So I guess I have a standard set of bolts haha.
03-25-2010, 11:24 AM
IIRC the factory head bolts are 10.9 grade. They are one use only tty bolts and plenty strong for all but some forced induction applications. Im running them on my 530 horse ls. FWIW
When you say head bolts do you mean exhaust manifold bolts or cylinder head bolts.
Oh and good thing you mentioned you have a GF I was wondering about the pink nail polish in the engine pic LOL.
03-25-2010, 12:20 PM
My bad, exhaust manifold bolts. And ya those are her toes haha.
03-26-2010, 12:04 AM
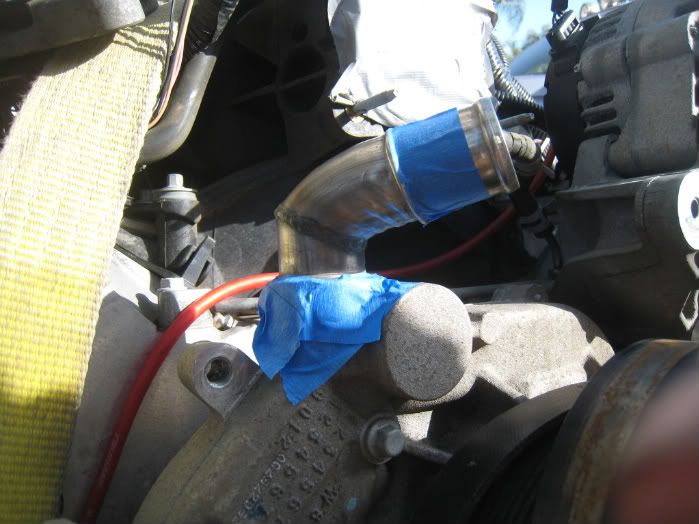
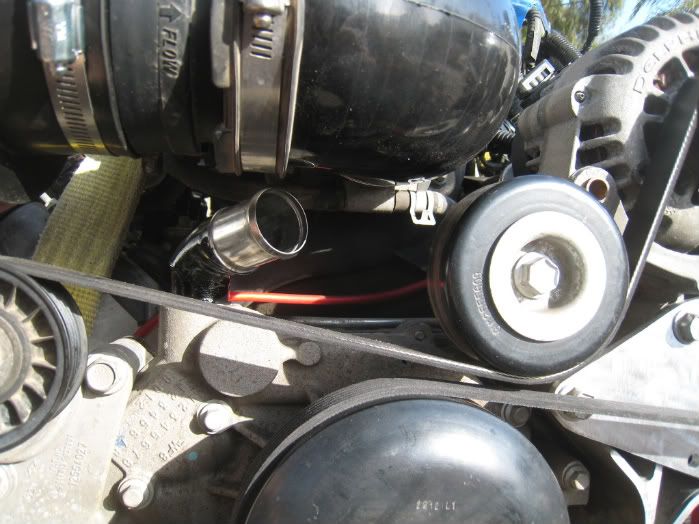
Cut, rotated and TIGd the water neck to clear the intake and aim it at the right spot on the radiator.
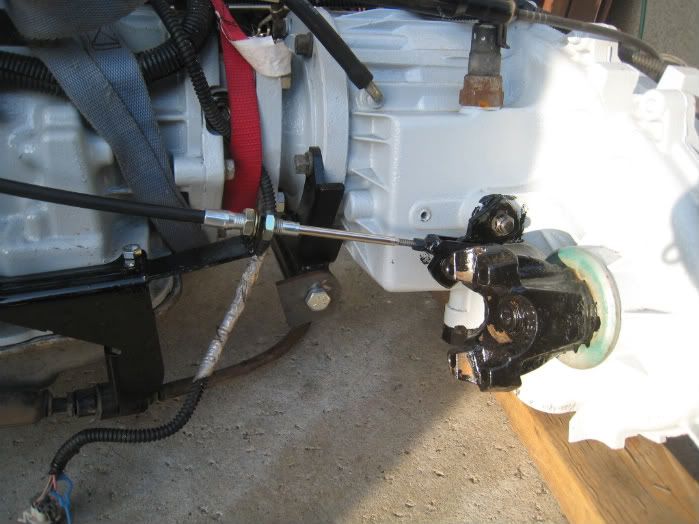
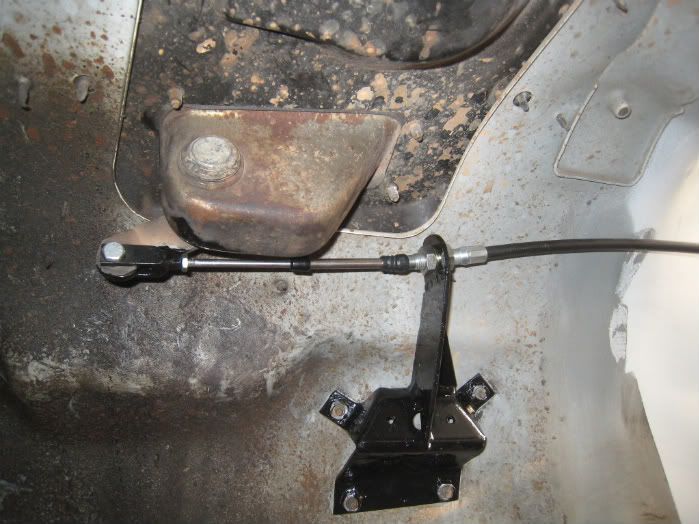
Got the transfer case shift linkage done. I used a push pull cable from McMaster.
Got the engine in this evening. Tomorrow is going to be a long day but with any luck I might be able to fire it up, if not then definitely Saturday.
03-26-2010, 10:01 AM
Nice work on the linkage and the whole project obviously. Very clean. I believe you may be just as anal as I am.
Thats a compliment BTW LOL
03-29-2010, 10:57 PM
You're not the first person to call me anal about the details but I like the results of my anal retentiveness.
03-29-2010, 10:59 PM
Ok, I know Saturday has come and gone and it still isnt running. The only thing keeping me from starting it is not having a y-pipe. I need flanges that bolt to the Camaro headers. I found a local muffler shop that by some chance has a set that will bolt right up that he says he had made 5 years back for a Camaro but ended up not using; but he wants $65 for them. Im going to go back and haggle with him tomorrow.
On to the update, here is the nitrogen tank in the back of the Jeep. Im using it to charge the shocks and run the sway bar disconnect. I have a 1/4 air line running through the cab and out the firewall. The regulator will be here in a couple of days.
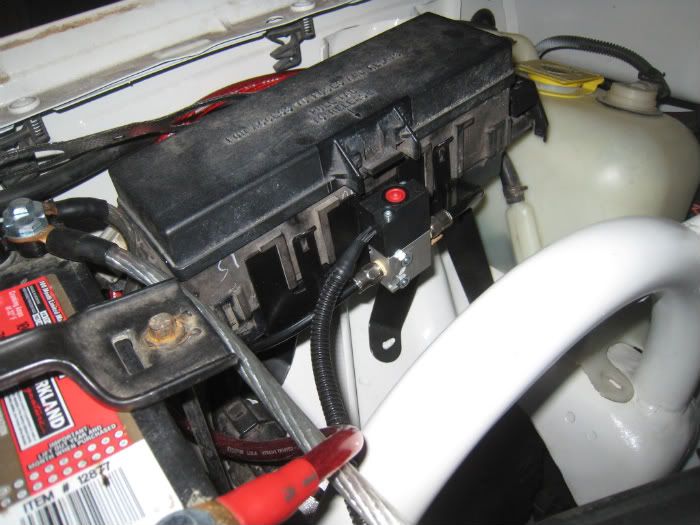
Heres the air valve mounted on the side of the fuse box.
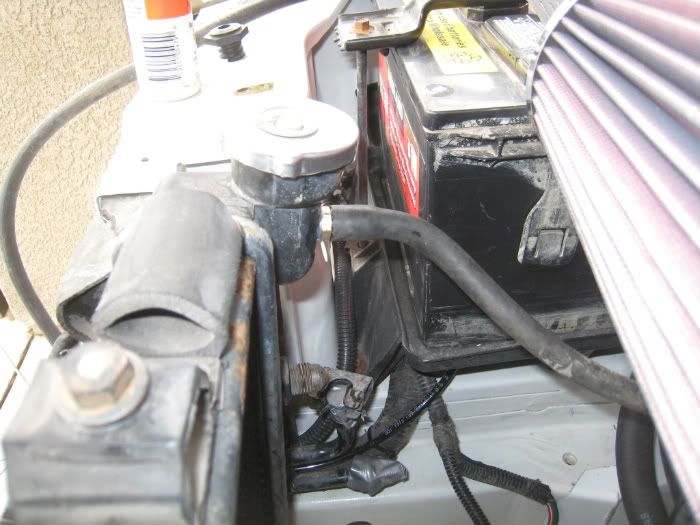
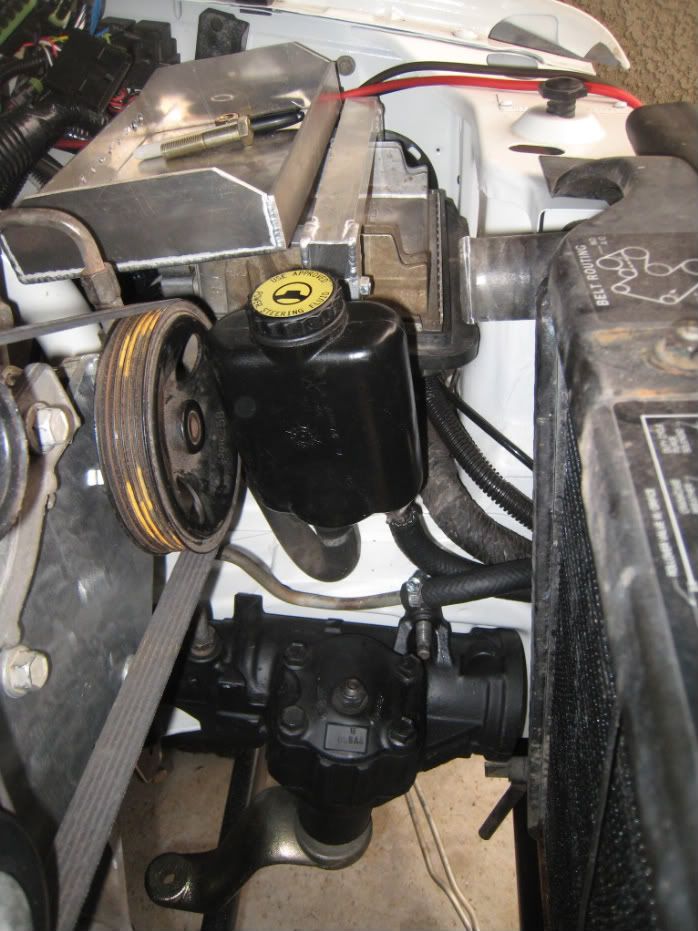
Here is where I ran the steam line. I taped a hole for ¼ npt and installed a barbed fitting.
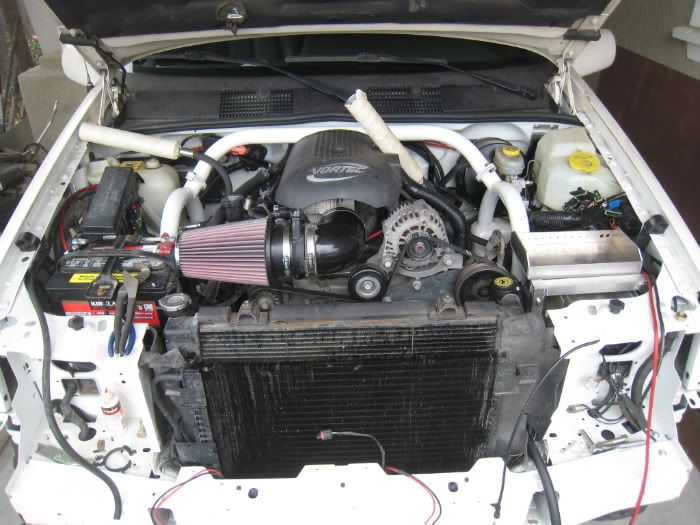
Here is how it sits right now.
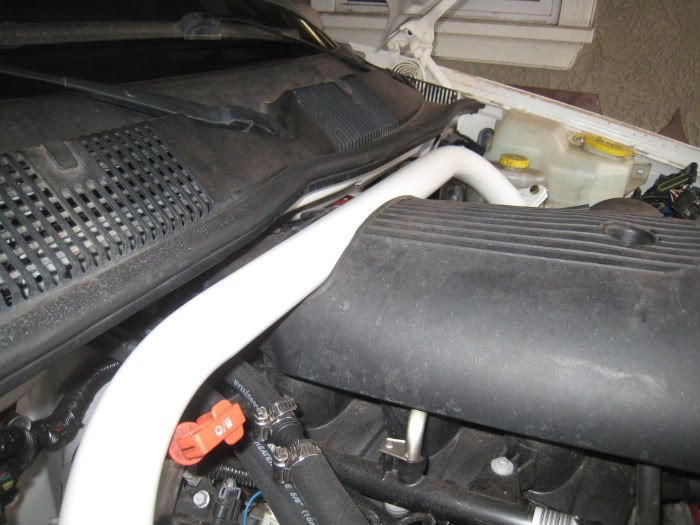
Had to keep the Vortec cover.
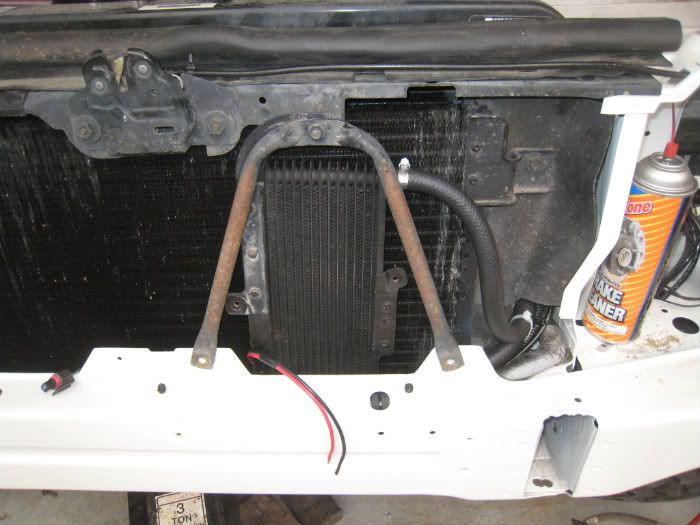
I converted the old transmission cooler to power steering duty.
Dont worry, the reservoir clears fine and isnt going anywhere.
03-29-2010, 11:03 PM
Dude. E-knucks. You are doing some damn clean work.
 03-29-2010, 11:11 PM
fuckin x2
 03-29-2010, 11:19 PM
What are you doing for a transmission cooler?
| « Previous Thread | Next Thread » |
| Thread Information |
Users Browsing this ThreadThere are currently 1 users browsing this thread. (0 members and 1 guests) |
| Tags for this Thread |


 you seem to work very fast.